When installing Ubuntu, a swap file is created. The swap file is usually about 2 GB, though sometimes it can be larger. This swap file can do the trick for most Ubuntu users these days, as most modern PCs have a lot of performance and RAM.
If you rely on swap a lot on Ubuntu because you’re regularly using up your physical RAM, the 2-4 GB swap file isn’t enough. Thankfully, it is possible to increase the swap’s size from the default to something much larger.
 To start the process of increasing your swap size, you’ll need to open up a terminal window. Sadly, the Ubuntu swap file is a system-level file, and it requires root terminal access to modify.
To open up a terminal window on the Ubuntu desktop, press Ctrl + Alt + T on the keyboard. Alternatively, you can launch the terminal by searching for “Terminal” in the app menu.
Turn off default swap
Before you can create a new swap file, you must turn off the old one. To turn off the old swap, go to the Linux terminal and execute the swapoff command on the Ubuntu swapfile located in the / directory.
sudo swapoff /swapfile
Once the default Ubuntu swap file is disabled, verify it. You can verify the swap by executing the free command with the -h command-line switch.
free -h
Look at the “Swap:” column. If it says 0B in each spot, you’ve effectively shut off the Ubuntu default swap file. If not, re-run the swapoff command and try again.
Delete the existing swap file
Now that the default Ubuntu swap file has been turned off, it needs to be deleted from the system. Why? If we do not delete the default swap file, it could conflict with the new swap file we create, as they will be using similar file names.
To delete the default swap file from your Ubuntu system, you must elevate your terminal session to the root account. The root account is the only account on your Ubuntu system that can delete files and folders from the / directory.
To access the root account in Ubuntu, make use of the sudo -s command below.
sudo -s
Once you’ve got root access in the terminal, use the rm command to delete the default Ubuntu swap file from your computer.
cd /
rm swapfile
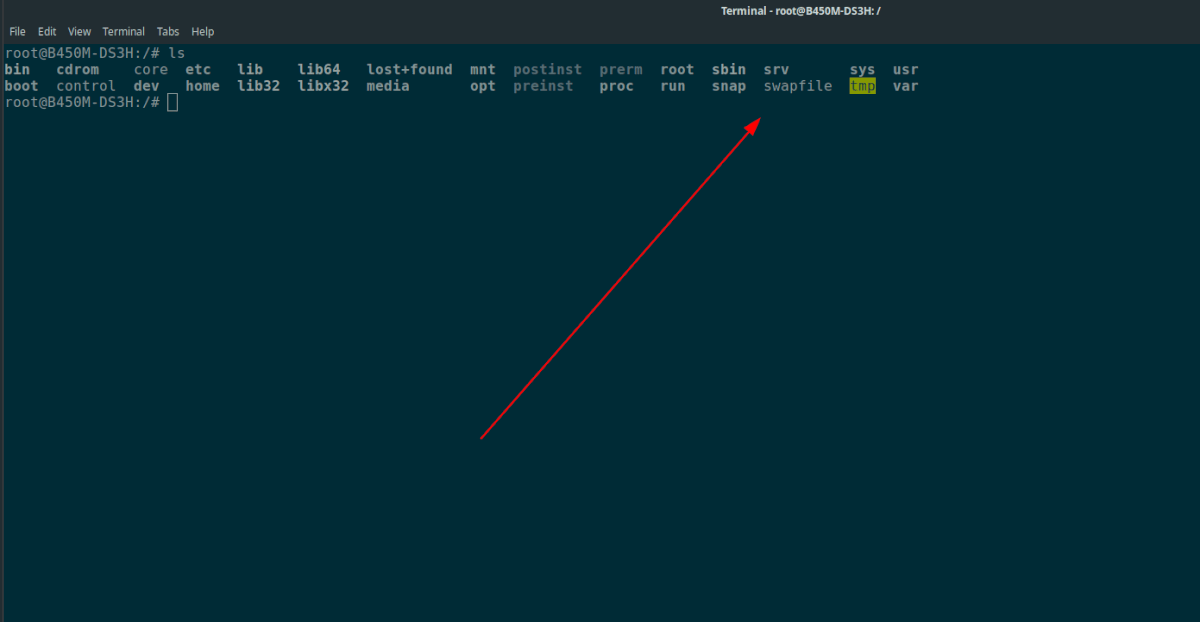
When the rm command is run, the default Ubuntu swap file will be gone from your system. To confirm that it is gone, execute the ls command in the / directory. If you do not see “swapfile” in the files’ list, it has been successfully deleted.
ls
Create a new swap file
Now that the default Ubuntu swap file has been deleted from your system, it is time to create a new one. To make a new swap file, you’ll need to use the dd command. The dd command is handy and will be able to create a new swap file as big or as small as you like.
To create a new swap file, you must first determine the size in Megabytes, as that’s what dd uses. For example, to make an 8 GB swap file, you’d do 8 x 1024, which calculates to 8192 MB.
Once you’ve calculated how large you want your new Ubuntu swap file to be, enter it into the command below to create a new swap file.
sudo -s
dd if=/dev/zero of=/swapfile bs=1M count=YOUR_MEGABYTE_NUMBER_HERE
The dd command will take a bit of time to complete. When it is done, your new swap file will be in the / directory, where the old swap file was.
After creating the new swap file, use the chmod command to update the swap file to the correct permissions.
chmod 600 /swapfile
Enable new swap
With the new swap file created and its permissions up to date, it is time to enable the new swap on your system. To do that, we’ll need to make use of the mkswap command. It will scan the new swap file and allow it to be used as swap space.
Using the mkswap command below, enable your new swap file in Ubuntu.
mkswap /swapfile
Once the mkswap command is executed, you’ll see a command-line output that says “setting up swap space,” followed by the swap UUID and its size.

After executing the mkswap command, it is time to use the swapon command to turn on the new swap file in Ubuntu. Using the swapon command below, turn on the new swap in Ubuntu.
swapon /swapfile
When the new swap file is turned on, you will be able to verify it by executing the free -h command. Look under the “Swap:” column to confirm that it is working.