Got an animated GIF image you wish to extract frames out of on your Linux desktop? Can’t figure out how to do it? We can help! Follow along with this guide as we go over two easy ways to extract frames from GIFs on Linux!
Method 1 – GraphicsMagick
The best way to extract individual frames from a GIF image on Linux is with the GraphicsMagick tool. It has a robust command line, and you can use it to decompile an entire GIF to individual PNG frame files.
Sadly, the GraphicsMagick tool doesn’t come pre-installed on very many Linux operating systems. As a result, you’ll need to get the app installed on your computer before attempting to use it.
To start the installation of GraphicsMagick on your Linux PC, open up a terminal window. Open up a terminal window on the Linux desktop and press Ctrl + Alt + T on the keyboard. Or, alternatively, search for “Terminal” in the app menu and open it that way.
Once your terminal window is open, follow along with the installation instructions outlined below that corresponds to the Linux operating system you use on your PC.
Ubuntu
On Ubuntu, you can get the GraphicsMagick application up and running by making use of the following apt install command below in a terminal window.
sudo apt install graphicsmagick
Debian
If you’re on Debian Linux, you’ll be able to get the GraphicsMagick tool working on your system with a single apt-get install command in the terminal window.
sudo apt-get install graphicsmagick
Arch Linux
If you’re an Arch Linux user, you’ll be able to install the GraphicsMagick application on your system through the “Extra” software repository using the pacman command below.
sudo pacman -S graphicsmagick
Fedora
Those using Fedora Linux will be able to get the GraphicsMagick application up and running by making use of the following dnf install command below in a terminal window.
sudo dnf install graphicsmagick
OpenSUSE
OpenSUSE Linux has the latest GraphicsMagick tool in their software repositories. To get it working on your system, use the following zypper install command below in a terminal window.
Generic Linux
If you’re using a Linux operating system not covered in this guide, you can install GraphicsMagick on your computer by searching for “graphicsmagick” and installing it using your package manager. Alternatively, you can go to the official website and follow the installation guide.
Extracting frames with GraphicsMagick
To extract frames from a GIF using GraphicsMagick, use the gm convert command. However, first, you must use the CD command to move to the directory you have your GIF image in. In this example, the GIF is in “Pictures.
cd ~/Pictures
Once in the directory, begin the decompilation. It shouldn’t take long.
gm convert MY-GIF.gif -coalesce +adjoin GIF_Frame%3d.png
When the conversion is complete, you’ll see many PNG images with the filename “GIF_FRAME” followed by a number. Look through these image files for the frame you wish to keep and delete the rest.
Method 2 – Gimp
If the command-line isn’t for you, another way to extract frames from a GIF image is by importing the GIF into Gimp, exploring the animation as individual frames, and saving the frame you want.
To get started with extracting frames out of GIF image files using Gimp, you’ll need to install the program. To install Gimp, please follow our installation guide.
Extracting frames with Gimp
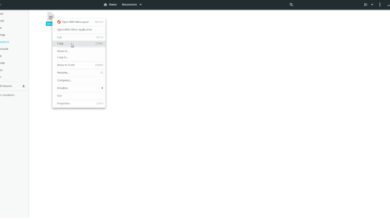
Extracting individual frames from a GIF file in Gimp is pretty straightforward. To start, open up the Linux file manager and right-click on your GIF with the mouse. Then, look through the right-click menu for “Open with” and hover over it.
After hovering over “Open with,” select the option “Open with GNU Image Manipulation Program” and click on it. Doing this will load your GIF into GIMP.
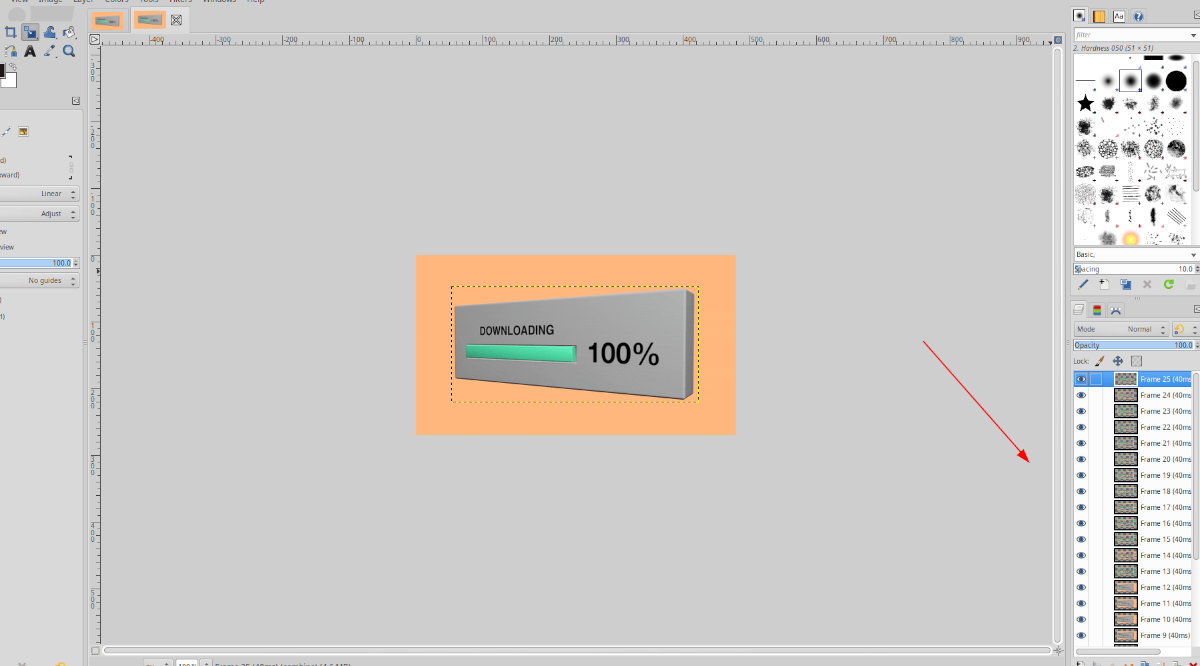
Once the GIF is loaded into GIMP, look at your layers. Each frame in the GIF is its own layer. From here, click on the eye icon to hide every single frame so that nothing is showing on the canvas.
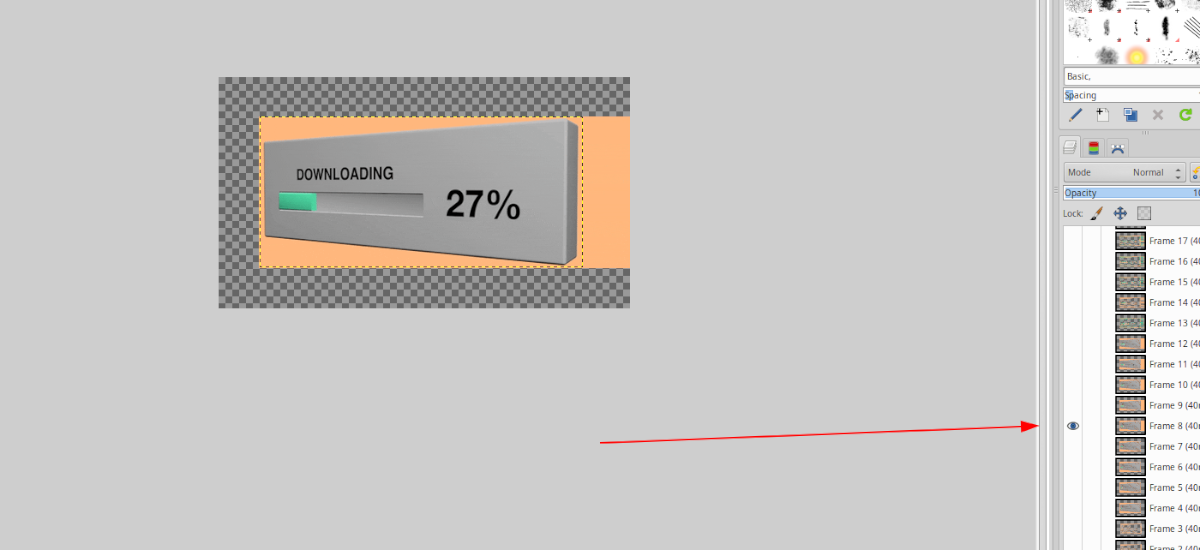
When all images are hidden (by clicking on the eye icon), go through the layers and locate the individual frame you wish to extract. Then, click on the eye icon for the frame you want to show on the canvas to be the only layer visible.
Now that your chosen frame is the only one visible on the canvas click on the “File” menu to reveal its options. Then, click on the “Export As” button to begin the exporting process.
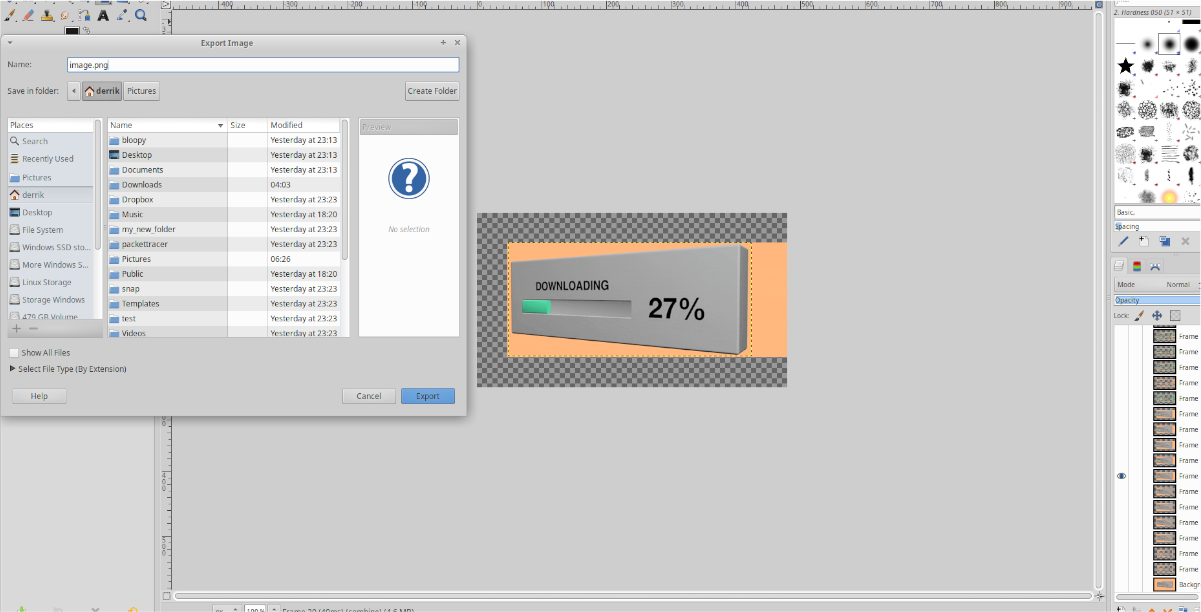
In the “Export” menu, save your frame as a PNG file or JPG file. Be sure to choose a familiar location on your Linux file system to save it. Otherwise, you may forget when you put the image file.