Need to find files and folders on your Linux PC fast? Check out Search Monkey! It’s an excellent application that can find files and folders with lightning speed. This guide will show you how you can use Search Monkey to find files on your Linux system.
Installing Search Monkey on Linux
The Search Monkey app is not pre-installed on any Linux operating system. As a result, we must demonstrate how to get the app installed on Linux before going over how you can use it to find folders and files.
To get the Search Monkey application installed on your computer, you’ll need a terminal window. You can launch a terminal window on the Linux desktop by pressing Ctrl + Alt + T on the keyboard. Or, search for “Terminal” in the app menu and launch it that way.
With the terminal window open and ready to use, the installation of Search Monkey can begin. Follow along with the installation instructions outlined below that correspond with the Linux OS you currently use.
Ubuntu
Since Ubuntu 18.04 LTS, the Search Monkey application has been available for installation in the “Universe” software repository. To get the app working on your Ubuntu system, you’ll have to enable this repository.
To enable the “Universe” software repository, enter the following add-apt-repository command into the terminal window.
sudo add-apt-repository universe
Following adding the software repository to your computer, you will need to refresh software sources. To do that, enter the following update command in a terminal.
sudo apt update
Finally, with the Universe software repository enabled and ready to go, you’ll be able to install Search Monkey on your computer using the apt install command.
sudo apt install searchmonkey
Debian
If you use Debian 11, 10, 9, or Sid, the Search Monkey application is available to you for installation in the “Main” software repository. To get it working on your computer, use the following apt-get install command in a terminal window.
sudo apt-get install searchmonkey
Arch Linux
Unfortunately, the Search Monkey app is not officially supported by the Arch developers and is not in any official repository. Thankfully though, you can still get it working on Arch Linux via the Arch Linux User Repository.
To get started with the AUR, you will need to install the Trizen AUR helper. To get this app working, enter the commands below in a terminal window in succession.
sudo pacman -S git base-devel
git clone https://aur.archlinux.org/trizen.git
cd trizen/
makepkg -sri
Finally, with the Trizen AUR helper up and running, install the latest release of Search Monkey on your computer using the trizen -S command.
trizen -S searchmonkey-gtk
Fedora and OpenSUSE
If you use Fedora or OpenSUSE, you will be able to get Search Monkey working. However, you’ll have to download an RPM file and install it as the app is not officially supported by your operating system.
To get your hands on the latest Search Monkey RPM, use the following wget download command in a terminal window.
wget https://sourceforge.net/projects/searchmonkey/files/gSearchmonkey%20GTK%20%28Gnome%29/0.8.3%20%5Bstable%5D/searchmonkey-0.8.3-1.el7.centos.x86_64.rpm/download -O ~/Downloads/searchmonkey-0.8.3-1.el7.centos.x86_64.rpm
After downloading the RPM package to your computer, install it on your Fedora or OpenSUSE system with the commands below.
Fedora
cd ~/Downloads/
sudo dnf install searchmonkey-0.8.3-1.el7.centos.x86_64.rpm
OpenSUSE
cd ~/Downloads/
sudo zypper install searchmonkey-0.8.3-1.el7.centos.x86_64.rpm
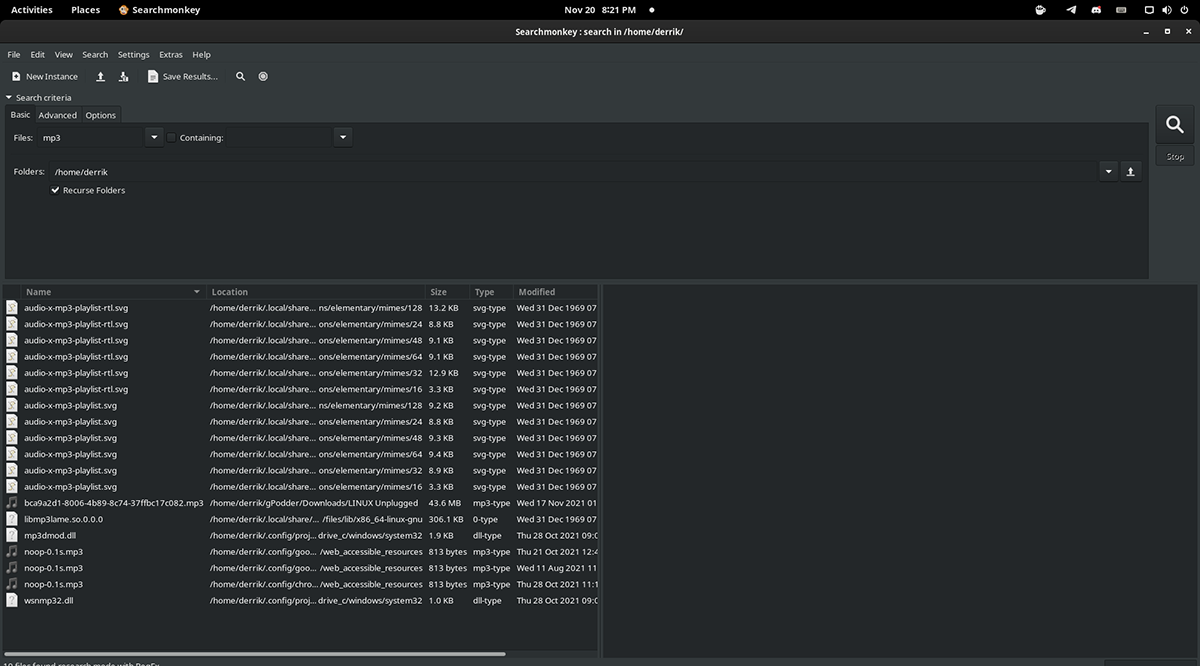
Use Search Monkey to find files and folders
Open up the app via the application menu to find files and folders with Search Monkey on your Linux system. With Search Monkey open, follow the step-by-step instructions below.
Step 1: Inside the Search Monkey application, find the “Options” tab, and click on it with the mouse. Selecting the “Options” tab will take you to the Search Monkey options area.

Step 2: In the options area, find “Ignore files beginning with ‘.’ and uncheck the box. Deselecting this option will make Search Monkey able to search in hidden folders on your Linux computer.
Step 3: Find the “Basic” tab and click on it with the mouse. In the “Basic” tab, find the “Files” text box. In this text box, type out your search term.
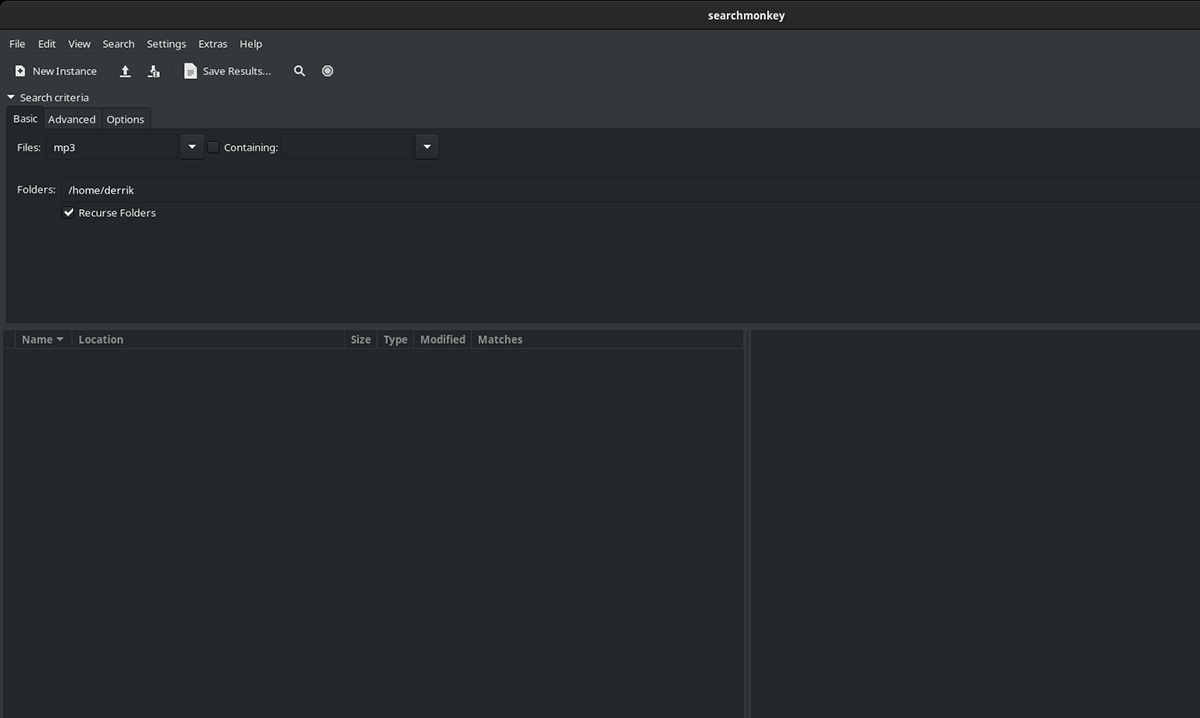
Step 4: Find the “Containing” text box and check the box next to it. Then, type in a keyword in the file that can help Search Monkey locate what you are looking for.
If you do not want to search with the “Containing” feature, feel free to skip this step.
Step 5: Find the magnifying glass icon and click it to search. Search Monkey will take some time, but when the search is complete, you will see results in the bottom-left corner of the app.
To access files in the Search Monkey search results, right-click and select “Explore Folder.” Alternatively, click “Delete File” if you wish to remove the file from your computer.