Are you new to Ubuntu Linux? Can’t figure out how to change your monitor screen resolution? We can help! Follow along with our guide as we go over how to change monitor resolutions on each flavor of Ubuntu.

Change resolution – Ubuntu
If you are using the traditional Ubuntu Linux desktop (Gnome Shell), changing resolution is done in the Gnome Shell settings area. Here’s how to do it on your system. To start, press the Win key on the keyboard to open up the “Activities” search area.
Once you are inside the Activities search area, type out “Display” in the text box. After typing, you should see “Choose how to use connected monitors and projectors” next to “Display” in the search results. Click on them with the mouse to open up the display settings.
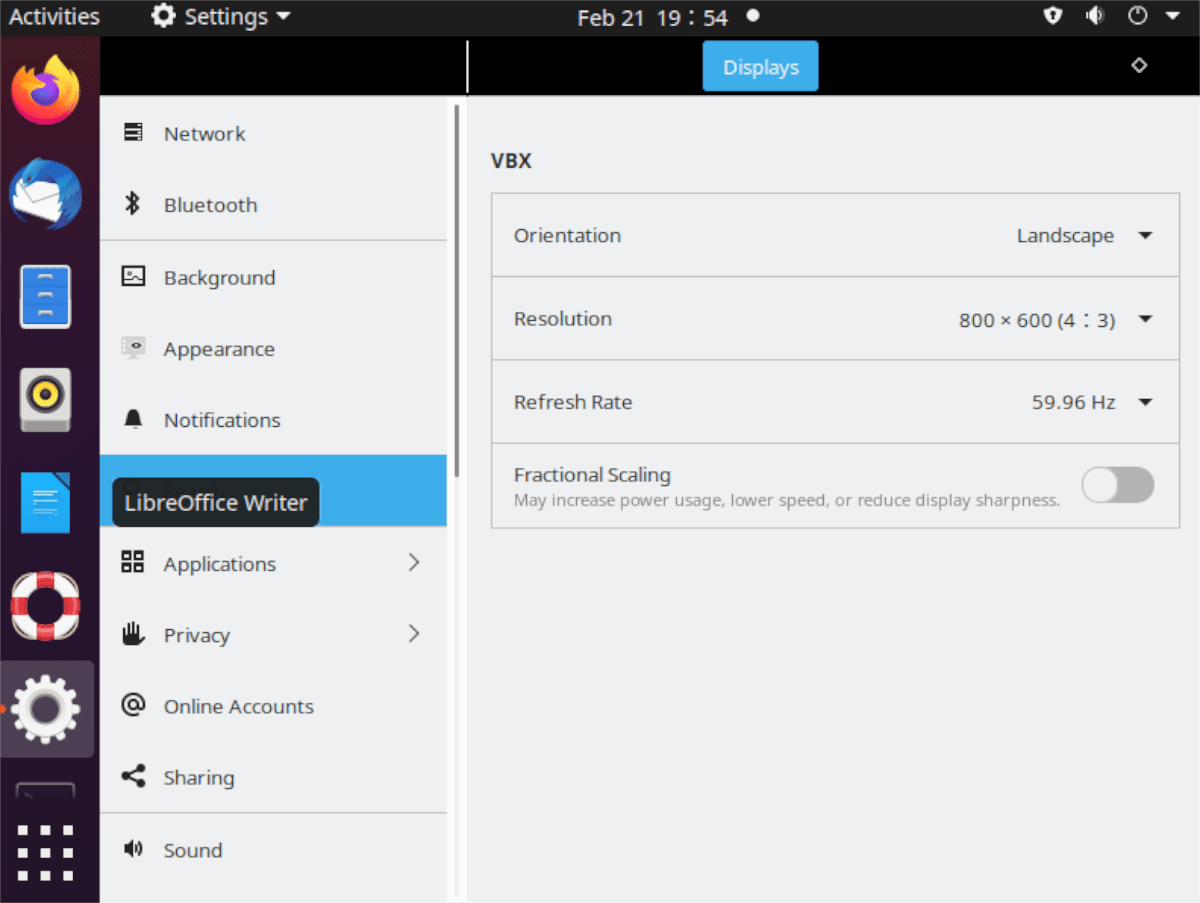
In the display settings for Gnome Shell, you’ll see an overview of the monitor you are currently using, as well as its orientation, refresh rate, and other things. Find the menu next to “Resolution” and click on it with the mouse.
Upon clicking on the resolution menu, you will see various resolution options to choose from. Look through the menu and choose the resolution that best suits your needs. For best results, choose your monitor’s native resolution.
When you’ve chosen your new resolution in Gnome, a notification will appear asking if you want to keep the changes. Select “Keep Changes” to apply the new resolution permanently.
Change resolution – Kubuntu
Those using Kubuntu will need to change screen resolution in the KDE Plasma 5 display configuration area. To start the process, open up the Plasma application launcher by pressing the Win key on the keyboard.
After opening up the Plasma application launcher, type out “Display” in the search box. Plasma will then search and display search results. Click on “Display Configuration” in the search results to open up the KDE Plasma 5 display configuration area.
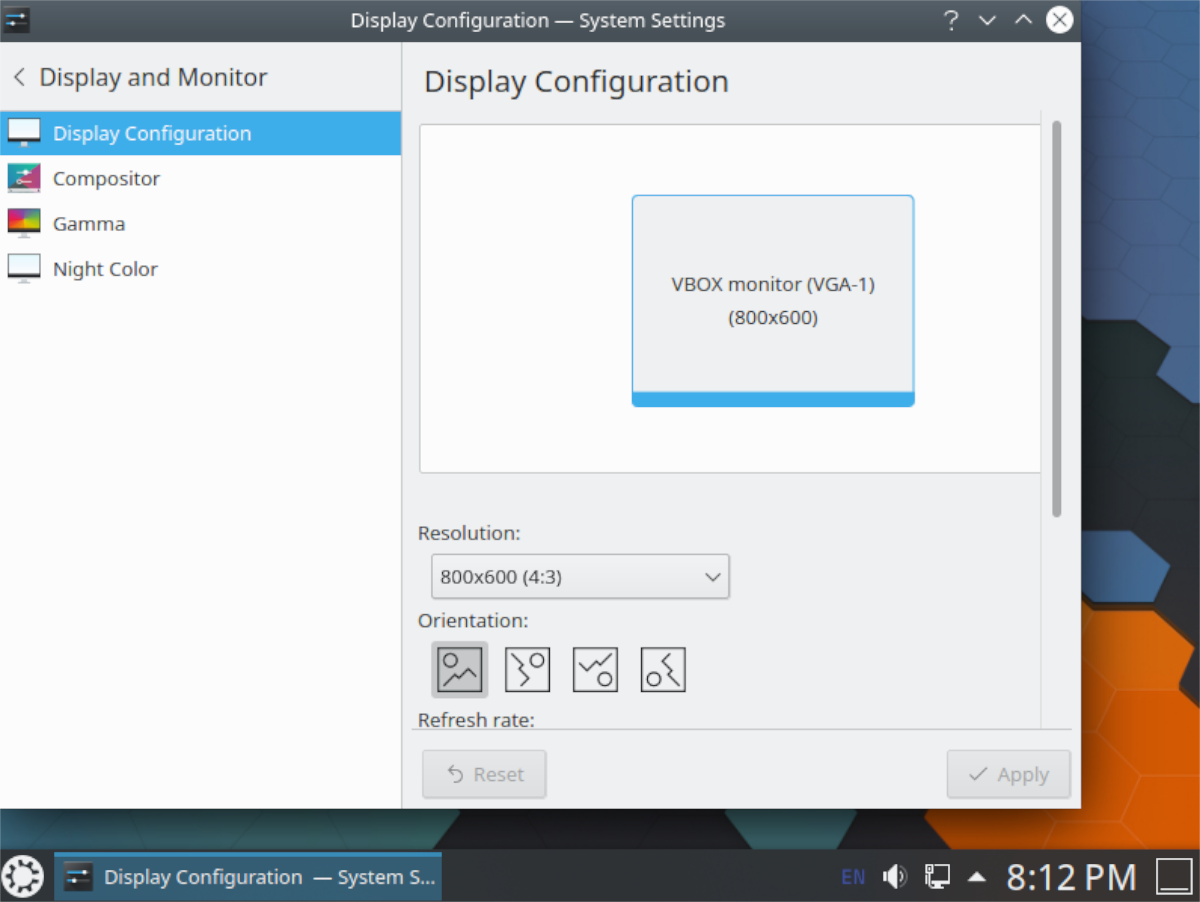
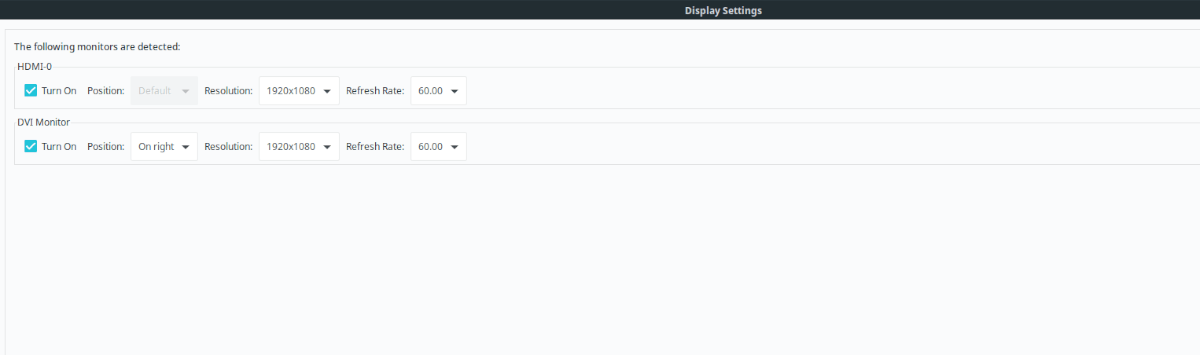
Inside of the Display Configuration app, there are many things to see, like your monitor layout, refresh rate information, monitor screen orientation, etc. Look for the “Resolution” area and click on the menu next to it.
Look through the resolution menu for the screen resolution you desire. Once the new resolution has been chosen, click on the “Apply” button to apply the system’s changes.
Change resolution – Xubuntu
If you’re using Xubuntu, the XFCE flavor of Ubuntu, you will need to change your resolution settings within the XFCE “Display” menu. To start the process, press the Alt + F3 keyboard combination on the keyboard.
By pressing Alt +F3 on the XFCE desktop, you will launch the XFCE application finder. In the finder, type out “Display.” You’ll then see a “Display” program. Select it with the mouse, and click on the “Launch” button to open it up.
Once you select the “Display” program, the XFCE Display app will appear. In this app, you will see a layout of your monitor(s), as well as information on refresh rate, resolution, rotation, etc.
To change your resolution in XFCE, find the “Resolution” menu and select it with the mouse. After that, sort through and choose the resolution that you prefer. Then, click “Apply” to confirm the changes.
Change Resolution – Ubuntu Mate
Those using Ubuntu Mate and the Mate desktop environment will need to change the Mate Displays area’s screen resolution. To change your screen resolution in Ubuntu Mate, start by pressing the Alt + F2 on the keyboard.
By pressing Alt + F2 on the keyboard, you will open up the Mate application quick-launch window. From here, type out the command “mate-display-properties.”
mate-display-properties
After typing out the command in the text box, press the “Run” button to open up the Ubuntu Mate display properties area. Once inside of the Ubuntu Mate display properties area, locate the “Resolution” menu.
Click on the “Resolution” menu with the mouse to reveal various screen resolution options. Look through the menu and click on the new resolution with the mouse. Then, click on the “Apply” button to confirm the changes.
Change Resolution – desktop agnostic
If you’re using Ubuntu, but not any of the mainstream desktop environments, and still wish to change monitor resolutions, you can do it with the LXRandR app. To start, open up a terminal window and install the program on your computer.
sudo apt install lxrandr
Once the app is open, type in lxrandr into the terminal to open up the GUI app. When the app is open, you should see a description of your monitor, as well as various settings.
Look through for the “Resolution” menu, and click it with the mouse. From there, choose your new monitor resolution. Then, click on the “Apply” button to confirm the changes.