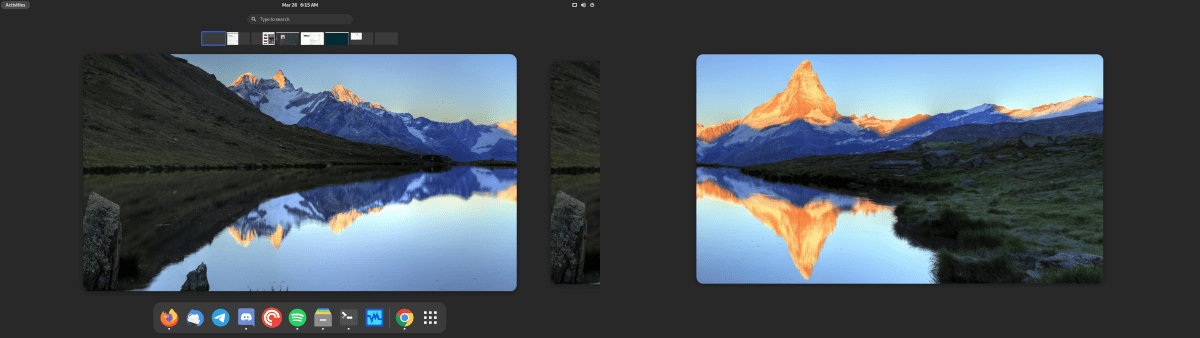
The next generation of the Gnome Shell desktop is here, and it is called Gnome 40 (AKA Gnome 4.0). It comes with a completely redesigned desktop that Linux geeks are sure to love. In this guide, we’ll show you how to try it out early, before it’s released into the wild.
Method 1 – Install Fedora 34 Beta
The easiest way to get up and going with the new Gnome 40 desktop environment is to install the Fedora 34 Beta. The beta has a pre-configured Gnome Shell 40 desktop, and users don’t need to do any special setup to use it.
To get started with Fedora 34 Beta, head over the official Fedora website. Once on the website, find the “Download Now” button under the “Fedora Workstation section of the website and click on it.
After selecting the “Download Now” button with the mouse, you’ll be taken to the Fedora Workstation download page. Look for the “Download” button next to “Fedora 34: x86_64 DVD ISO” and select it to start the download.
Once the Fedora 34: x86_64 DVD ISO file is done downloading, you will need to create a bootable install USB. To do this, please follow our guide on how to create a Linux install USB.
When you’ve created your Fedora 34 Beta install USB, plug it into the PC you plan to use Fedora 34 Beta on, and reboot it into the BIOS. From there, configure it to boot from the Fedora 34 Beta USB.
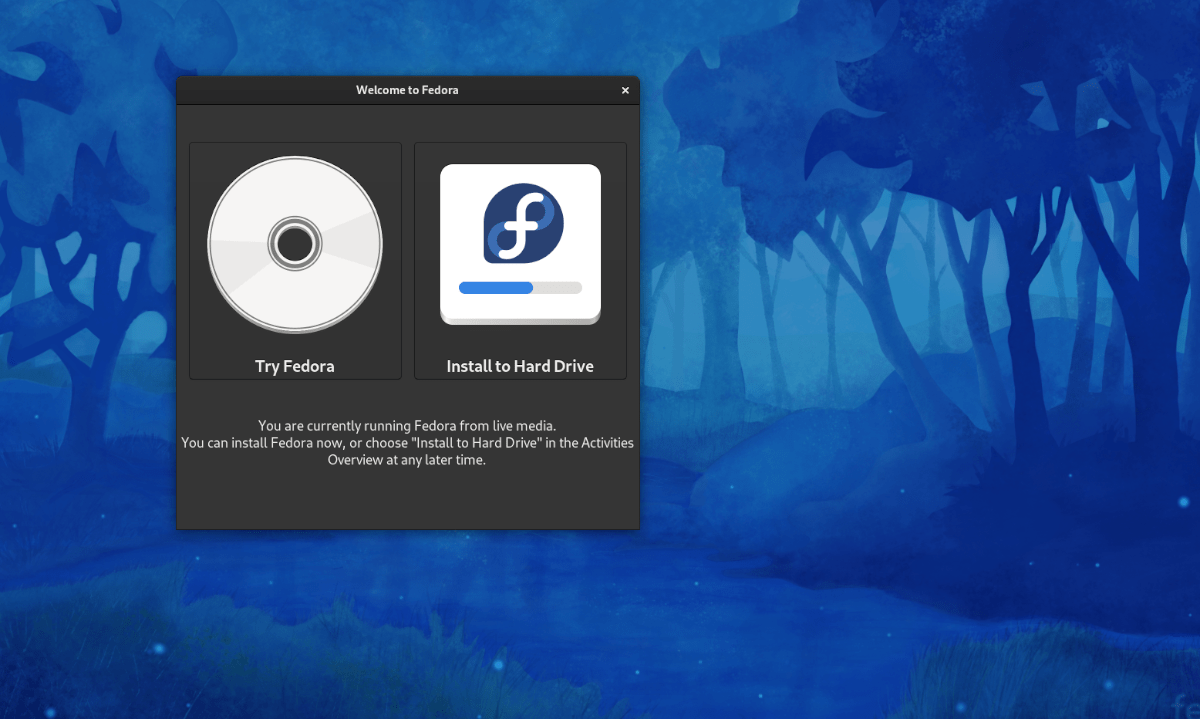
Once your PC boots up the Fedora 34 Beta USB, follow the step-by-step instructions below to get Gnome 40 working!
Step 1: Locate the “Install” to Hard Drive button and click on it with the mouse to start up the installation process for Fedora 34 Beta.
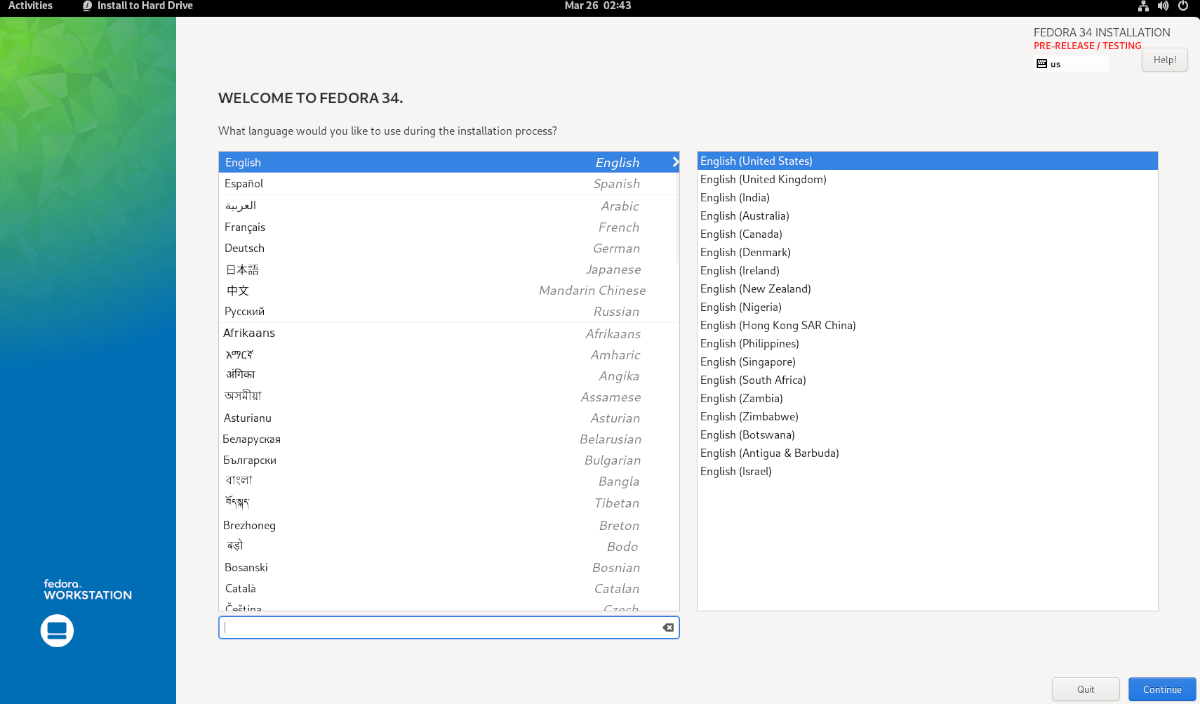
Step 2: Upon clicking on the install button, the Fedora Anaconda installer will appear. Using your mouse, select the language you speak in the menu. Then, click “Continue.”
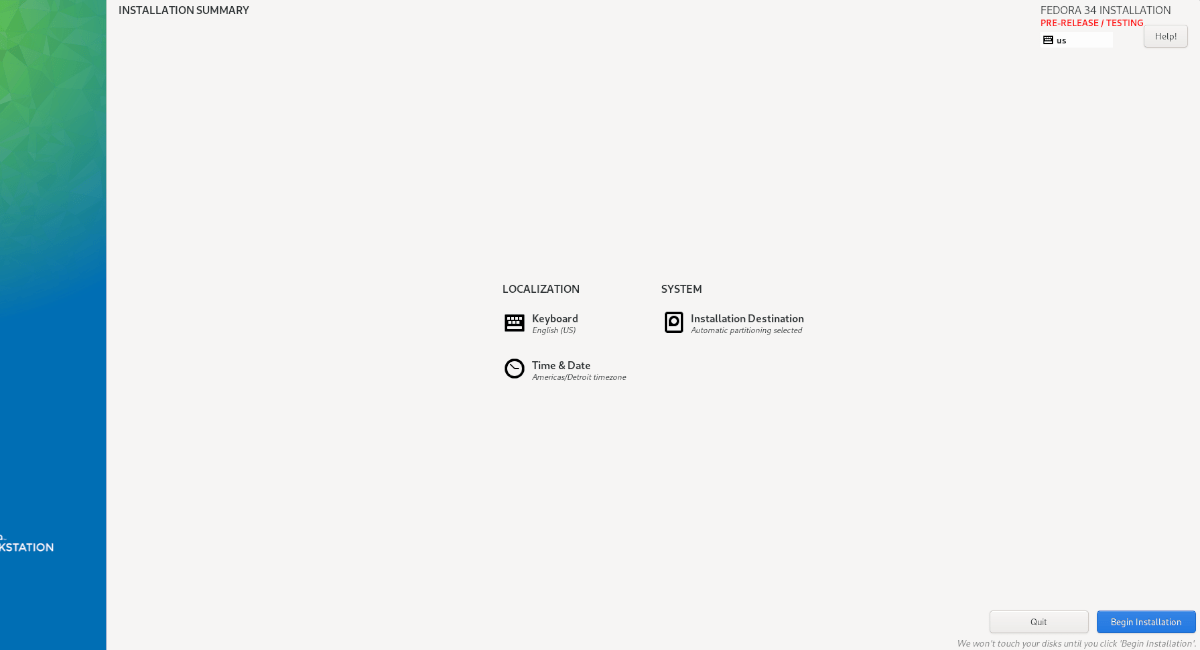
Step 3: Find the “Installation Destination” button, and click on it with the mouse. Then, select the hard drive you wish to install Fedora 34 to and click on “Automatic.”
Only select “Custom” or “Advanced” if you are a Fedora veteran and know what you’re doing! Click on the “Done” button when you’re done.
Step 4: After clicking on “Done,” the installer will show a window with the name “Installation” options. Select the “Reclaim” space button, then select “Delete all” to remove all existing partitions on the hard drive you are installing Fedora 34 Beta.
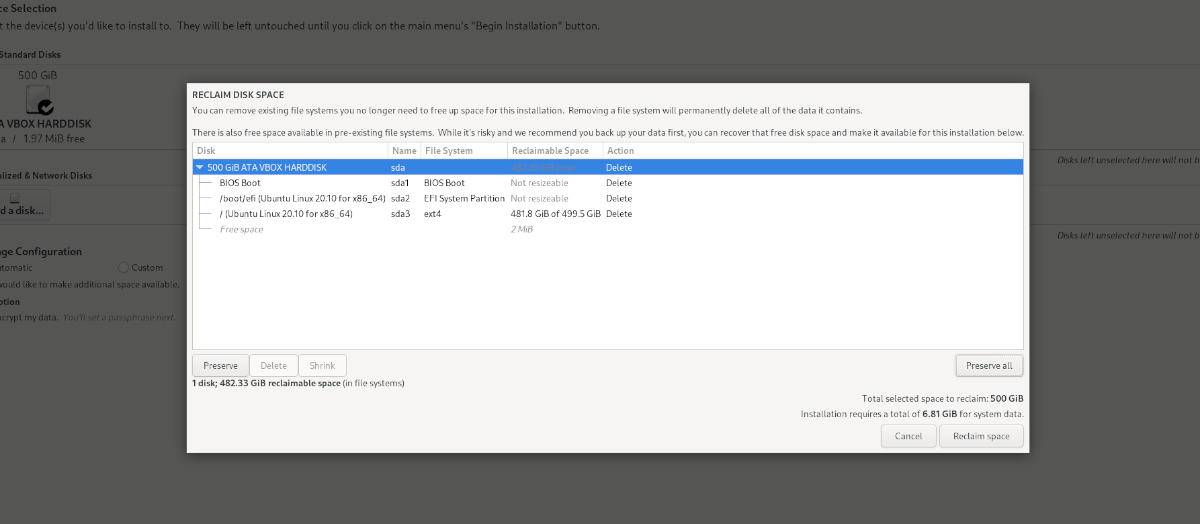
Click on “Reclaim space” when done.
Step 5: Find the “Begin Installation” and click on it to install Fedora 34 Beta to the hard drive. Keep in mind that this installation may take a bit of time to complete.
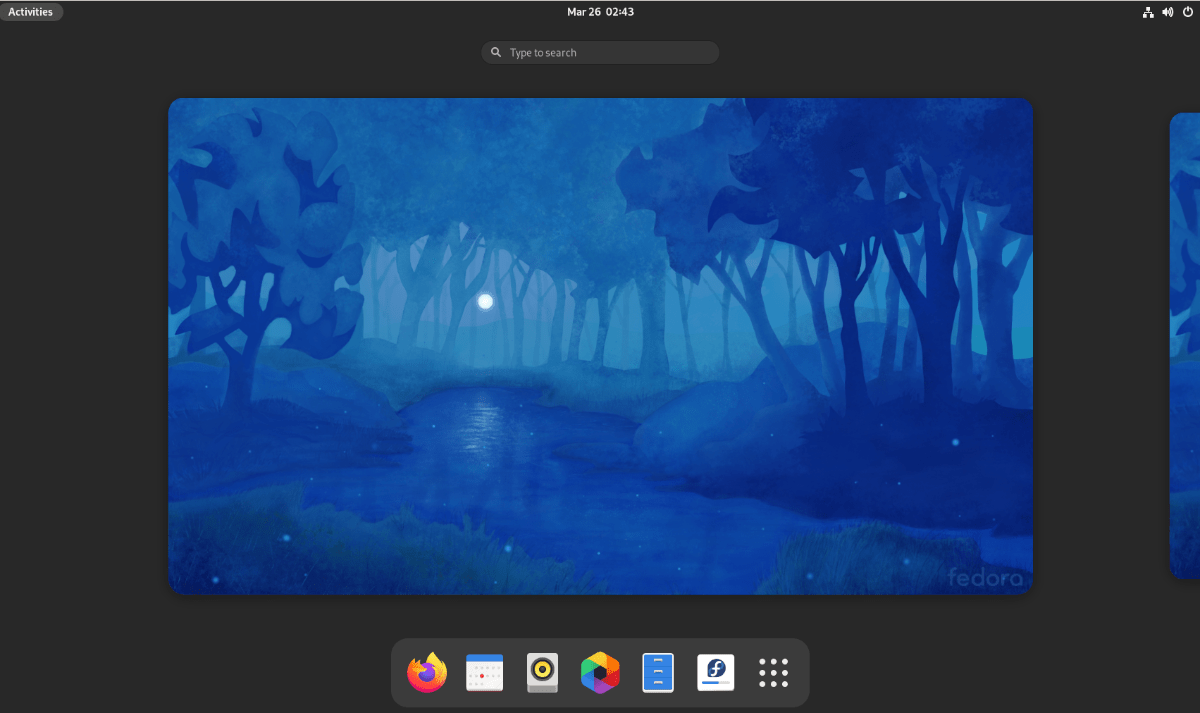
When the installation of Fedora 34 Beta is complete, reboot your PC. Upon rebooting, your new Fedora 34 Beta system will be up and running using the latest Gnome 40 desktop environment!
Method 2 – Arch Linux
If you’re on Arch Linux, you’ll be able to test drive Gnome Shell 40 right now. All that is required is enabling the “gnome unstable” software repository. To start, open up a terminal window.
Once a terminal window is open on the Arch Linux desktop, launch the /etc/pacman.conf file in the Nano text editor.
Note: in this guide, we’re using the Nano text editor, as it is the easiest to use. Feel free to use another editor if you so choose.
sudo nano -w /etc/pacman.conf
In the Nano text editor, make your way to the [multilib] section of the file. Once there, find Include = /etc/pacman.d/mirrorlist directly below [multilib] and press the Enter key to create a new line.
On the new line directly below Include = /etc/pacman.d/mirrorlist, write out the following code.
[gnome-unstable]Include = /etc/pacman.d/mirrorlist
After writing out the new code into the /etc/pacman.conf file, press the Ctrl + O button to save your edits in Nano. Then, press the Ctrl + X button to close the editor entirely.
Once the editor is closed, you must re-sync Pacman. To resync, enter the following command.
sudo pacman -Syy
Now that Pacman is resynced, the installation of Gnome 40 on Arch Linux can begin. To start, install the “gnome-shell” package group.
sudo pacman -S gnome-unstable/gnome-shell
Next, install the gdm package, which is used for logging into Gnome 40. Using the Pacman command below, install it.
sudo pacman -S gnome-unstable/gdm
Following the gdm package, you’ll need to install the “gnome-extra” package group. To do that, enter the command below.
sudo pacman -S gnome-unstable/gnome-extra
Once all packages are installed, re-open the Nano text editor with the command below.
sudo nano -w /etc/pacman.conf
Inside of Nano, find IgnorePkg=” remove the “#” from in front of it. Then, paste the code below after IgnorePkg = .
evolution evolution-data-server gdm gnome-calendar gnome-clocks gnome-contacts gnome-control-center gnome-session gnome-settings-daemon gnome-shell gnome-shell-extensions gnome-todo gnome-weather mutter
Save the edits by pressing Ctrl + O, and exit Nano with Ctrl + X. To re-enable upgrading, place a # symbol in front of IgnorePkg= in /etc/pacman.conf and save.