Ventoy is an incredible tool that allows users to load ISO files up without flashing them with tools like Etcher. However, Ventoy isn’t exactly easy to set up. That’s where we come in. Follow along with this guide as we show you how to set up and use Ventoy on Linux.

Downloading Ventoy on Linux
The Ventoy app must be downloaded to your computer before you can install it on a removable USB flash drive. Open up a terminal window to get your hands on the latest Ventoy for Linux.
Unsure about how to start up a terminal window on your Linux desktop? It’s easy. Just press Ctrl + Alt + T on the keyboard. You’ll also be able to start it up by searching for “Terminal” in the app menu and launching it that way.
Once the terminal window is open and ready to use, run the wget download command below to grab the latest release of the tool.
wget https://github.com/ventoy/Ventoy/releases/download/v1.0.63/ventoy-1.0.63-linux.tar.gz -O ~/Downloads/ventoy-1.0.63-linux.tar.gz
Don’t want to use the terminal window to download the latest version of the Ventoy application on Linux? You can also download it directly to your computer via Github.
Extracting Ventoy and running it
The Ventoy tool must be extracted from the TarGZ archive downloaded via Github. To extract the archive’s contents, start by using the CD terminal window and enter the “Downloads” folder.
cd ~/Downloads/
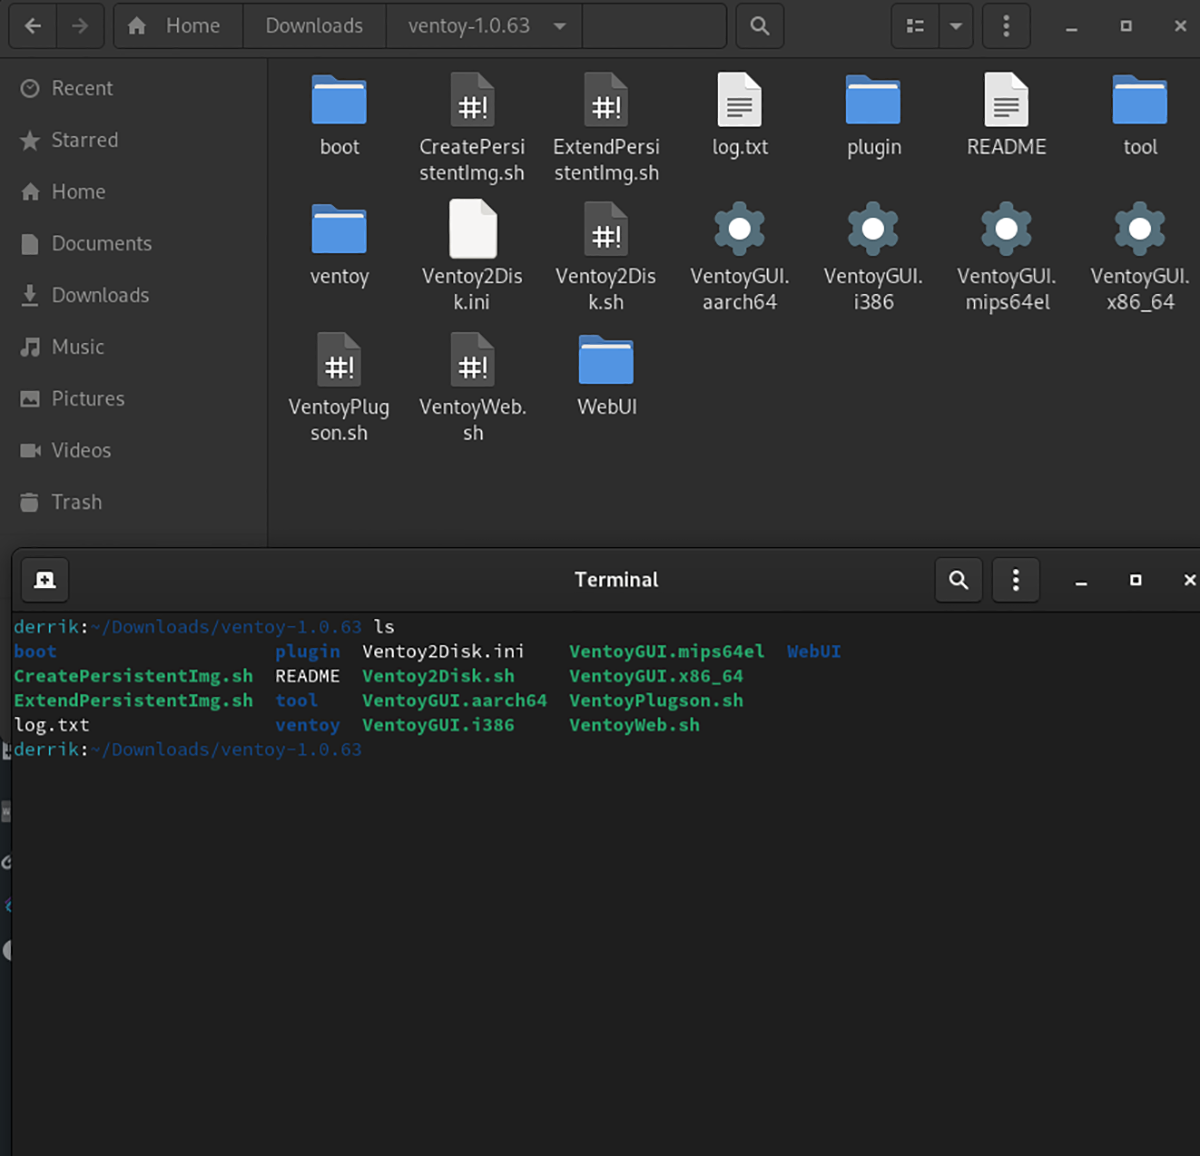
Inside of the “Downloads” folder, you’ll be able to extract the contents of the Ventoy TarGZ archive. To do that, run the tar xvf command below on the “ventoy-1.0.63-linux.tar.gz” archive.
tar xvf ventoy-1.0.63-linux.tar.gz
Once the archive is extracted, you can run the program with the command below.
./VentoyGUI.x86_64
When the Ventoy GUI application is opened and ready to use, plug your USB flash drive into the computer. The Ventoy GUI tool should then auto-detect your USB flash drive.
Ventoy terminal installation
The GUI installation for Ventoy is recommended. However, if you prefer to use the command line, the instructions for setting it up are on the official Ventoy website. For more information, click here.
Creating a Ventoy USB on Linux
Creating a Ventoy USB bootable drive is easy to create. To do it, go to the GUI app that you launched previously. Then, ensure your USB flash drive is plugged into the USB port.
With the USB plugged in, locate the “Install” button and click on it with the mouse. Selecting the “Install” button will prompt Ventoy to partition your USB flash drive and install itself to the hard drive. This process will not take that long.
Secure-boot support
If you plan to use Ventoy with secure-boot support, you will have to enable it ahead of time. To enable it, find the “Options” button, and check the box next to “Secure Boot Support.” Once this button is checked, click on the “Install” button, and Ventoy will install itself on your USB flash drive with secure boot support.
How to use Ventoy
With Ventoy, you need to download any Linux ISO file and place it on the flash drive with Ventoy installed onto it. No fiddling with Etcher or other USB flashing tools.
To set up Ventoy on your Linux system, start by plugging the USB flash drive into your PC. Once the flash drive is plugged in, open up the Linux file manager and mount the “Ventoy” USB device.
Upon mounting the Ventoy USB device, download your favorite Linux operating system. Heck, download 2, 3, 4, or 5! Ventoy can boot all of them at once!
Note: do you need help finding where to download Linux ISO files? Check out DistroWatch.com. It’s a database of Linux operating systems, and they provide easy-to-access download links.
After you’ve downloaded your favorite Linux operating system ISO(s), place them on the Ventoy USB device, and allow them to copy over. Copying should take no more than a few minutes.

When copying is finished, reboot the PC and keep the Ventoy USB plugged in. Then, load up the BIOS. Once you’ve loaded up your computer’s BIOS, find the boot options, and configure the system to boot from USB.
When the Ventoy USB has loaded up on your computer, you will see a “Ventoy” menu. Ventoy will display all ISO files you’ve added to the system in this menu. Select the OS you wish to load using the arrow keys on the keyboard.
Once you’ve chosen the OS you wish to load, press the Enter key to start it up. Upon pressing Enter, Ventoy will boot the ISO file directly from the USB, allowing you to install the operating system.