CutefishOS is a beautiful operating system built on Ubuntu that gives users a practical and straightforward experience. It uses the Cutefish desktop environment. Here’s how you can get the CutefishOS operating system installed onto your computer.
Downloading CutefishOS
To download CutefishOS, head over to the official website. Once on the website, find the download button and click on it with the mouse. When you select this button, a download page will appear.
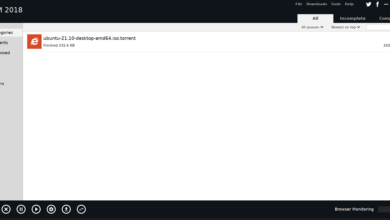
On the download page, there are two download links. One link is a MEGA link, and another is a direct link. For best results, select the “Direct Link” one. Once you’ve clicked on the link, CutefishOS will begin downloading to your computer.
Please keep in mind that this version of CutefishOS is a developer beta. This operating system is still being worked on and may be unstable in some instances. When the download is complete, insert a USB flash drive into the USB port and move to the next section of the guide.
Creating a CutefishOS USB
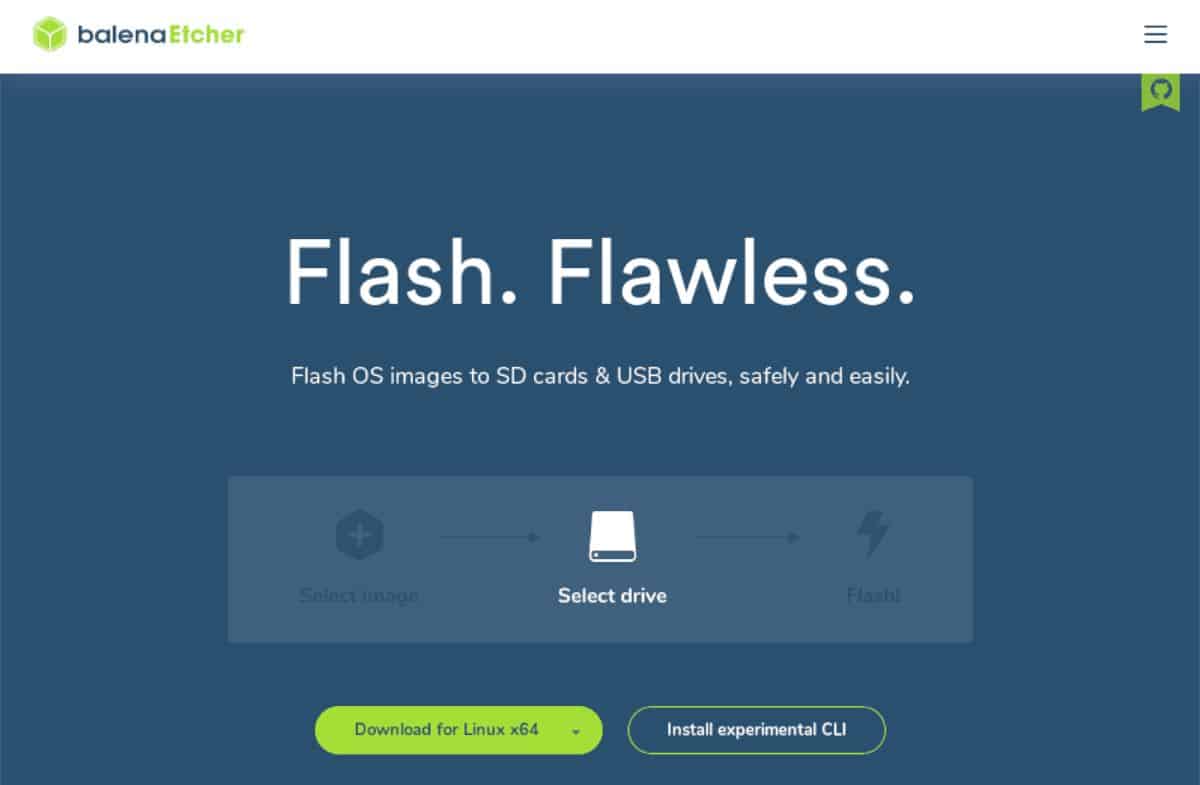
CutefishOS must be set up on a USB flash drive to install a computer. To set up the OS on a USB flash drive, you must download the Etcher program. Etcher is cross-platform and makes setting up bootable USB installers extremely easy.
Head over to the official website to get your hands on the latest Etcher. Once on the Etcher website, download the app, install it on your computer and launch it. Then, follow the step-by-step instructions below.
Step 1: Find the “From file” button and click on it with the mouse. When you select this button, a pop-up window will appear on the screen. Using this pop-up window, browse the CutefishOS file on your computer and select it.
Step 2: After selecting the CutefishOS ISO file, click on the “Select target” button. Then, choose your USB flash drive in the menu to flash the CutefishOS ISO file to your computer.
Step 3: Find the “Flash!” button inside of the Etcher application and click on it with the mouse. Once you’ve selected the button, the Etcher app will begin to copy CutefishOS to your USB flash drive. This process will take quite a bit of time.
When the flashing process is complete, close the Etcher application on your computer. Once the application is closed, reboot your computer into the BIOS. Then, configure your BIOS so that it can boot from the USB flash drive.
Installing CutefishOS
To install CutefishOS on your computer, follow the step-by-step instructions below.
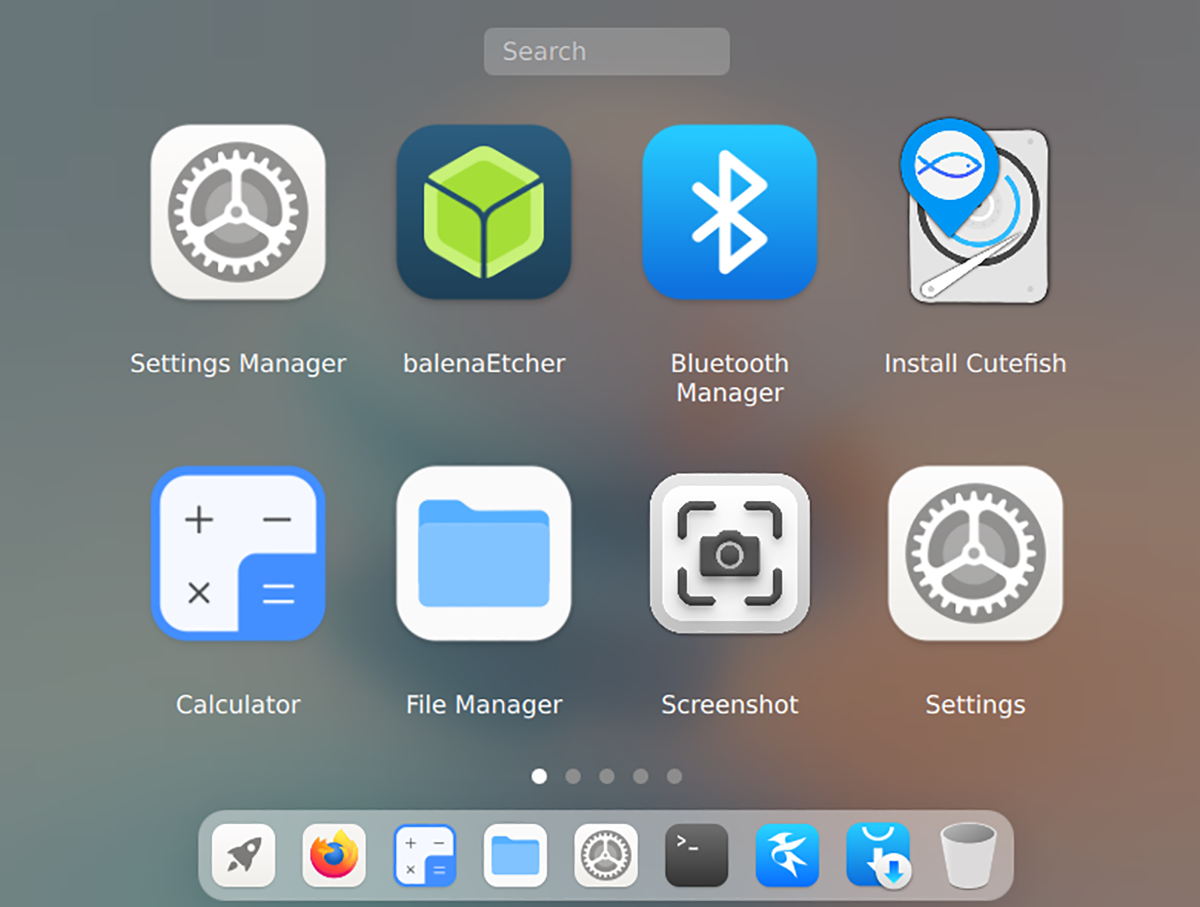
Step 1: Load into the CutefishOS desktop. Once you’ve loaded it up, find the launcher icon in the dock (rocketship icon). Click on the launcher, and select the “Install Cutefish” icon to open up the OS installer.
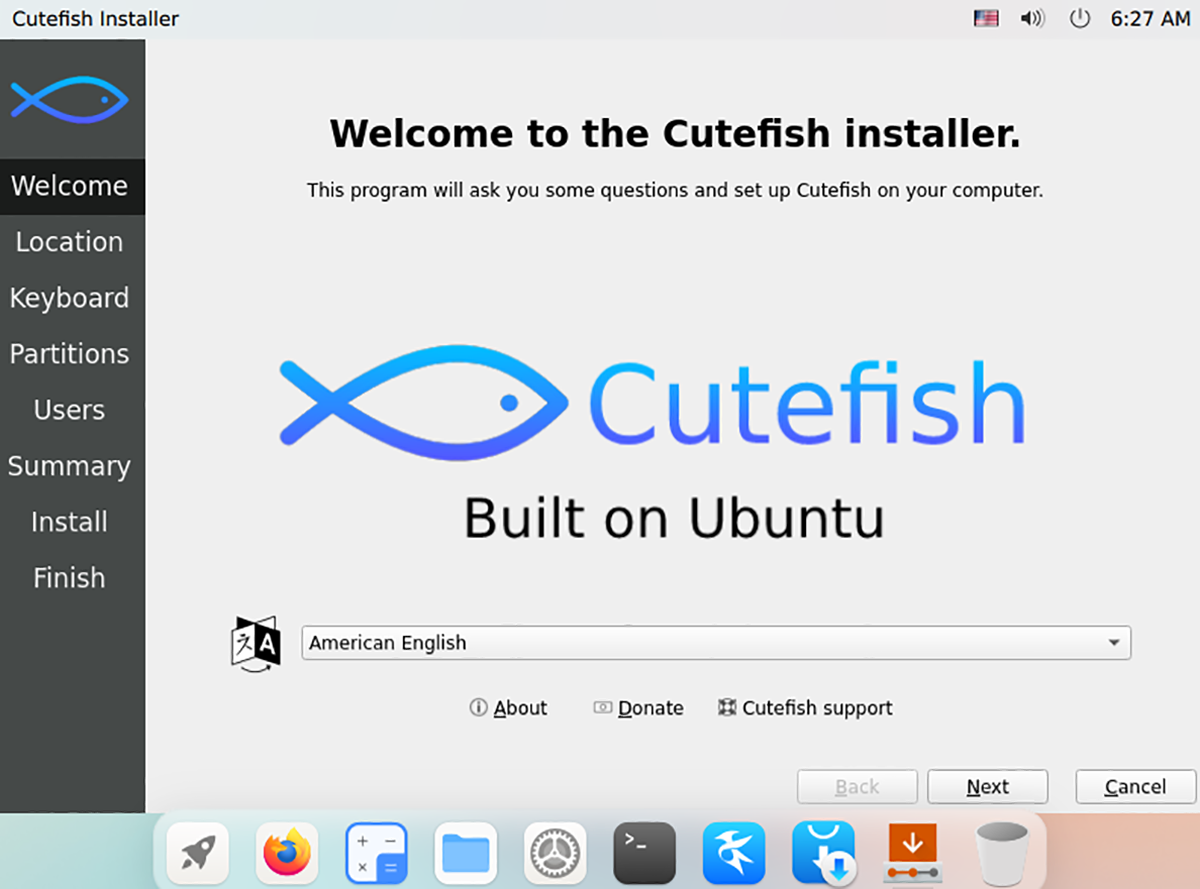
Step 2: After launching the Cutefish OS installer, you will see a welcome screen. Select the language you prefer in the menu (if the installer hasn’t automatically detected it). Click on the “Next” button to continue.
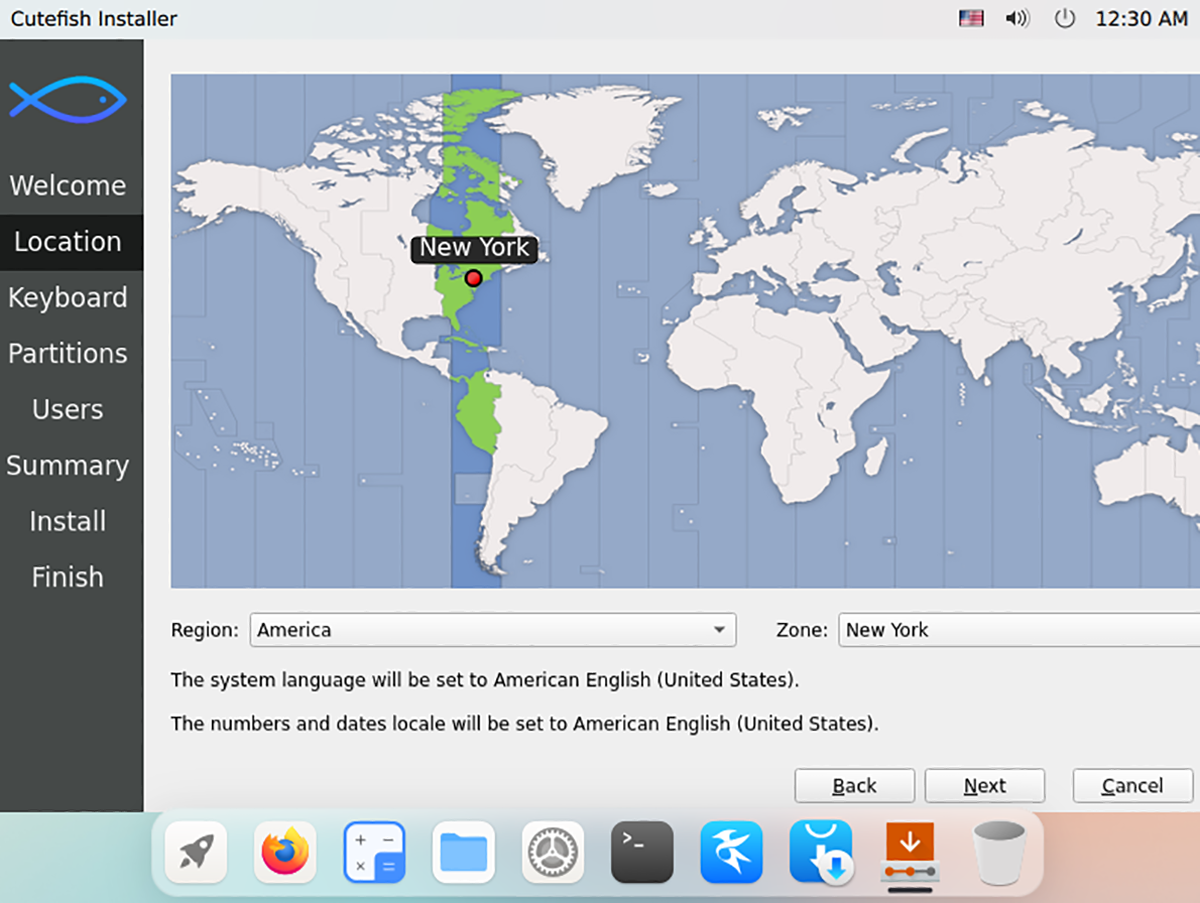
Step 3: You must now select your time zone. Choose your time zone and click on the “Next” button to confirm your choice using the map. A time zone is required for Cutefish to set the correct system time.
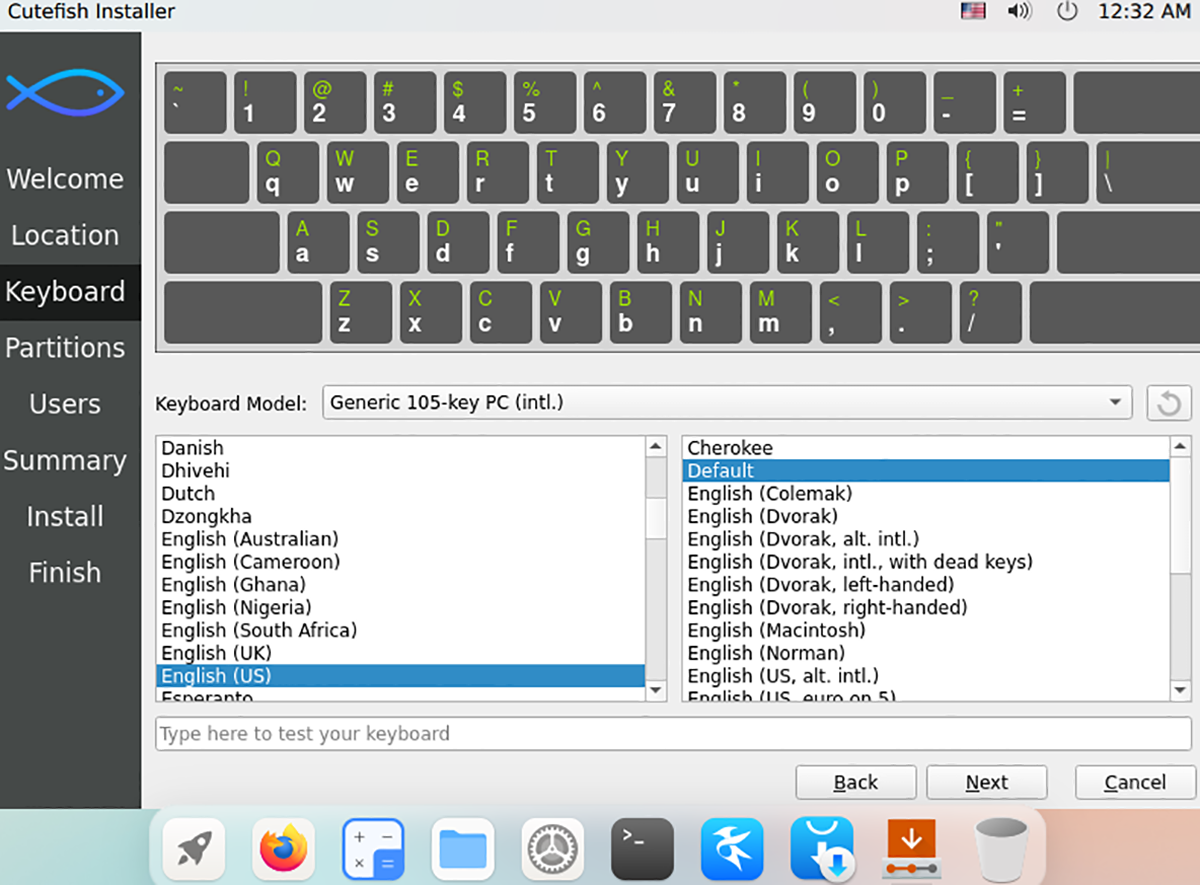
Step 4: Once you’ve chosen a time zone, you must select a keyboard layout. By default, Cutefish will detect your keyboard automatically. However, you’re free to choose any layout you wish.
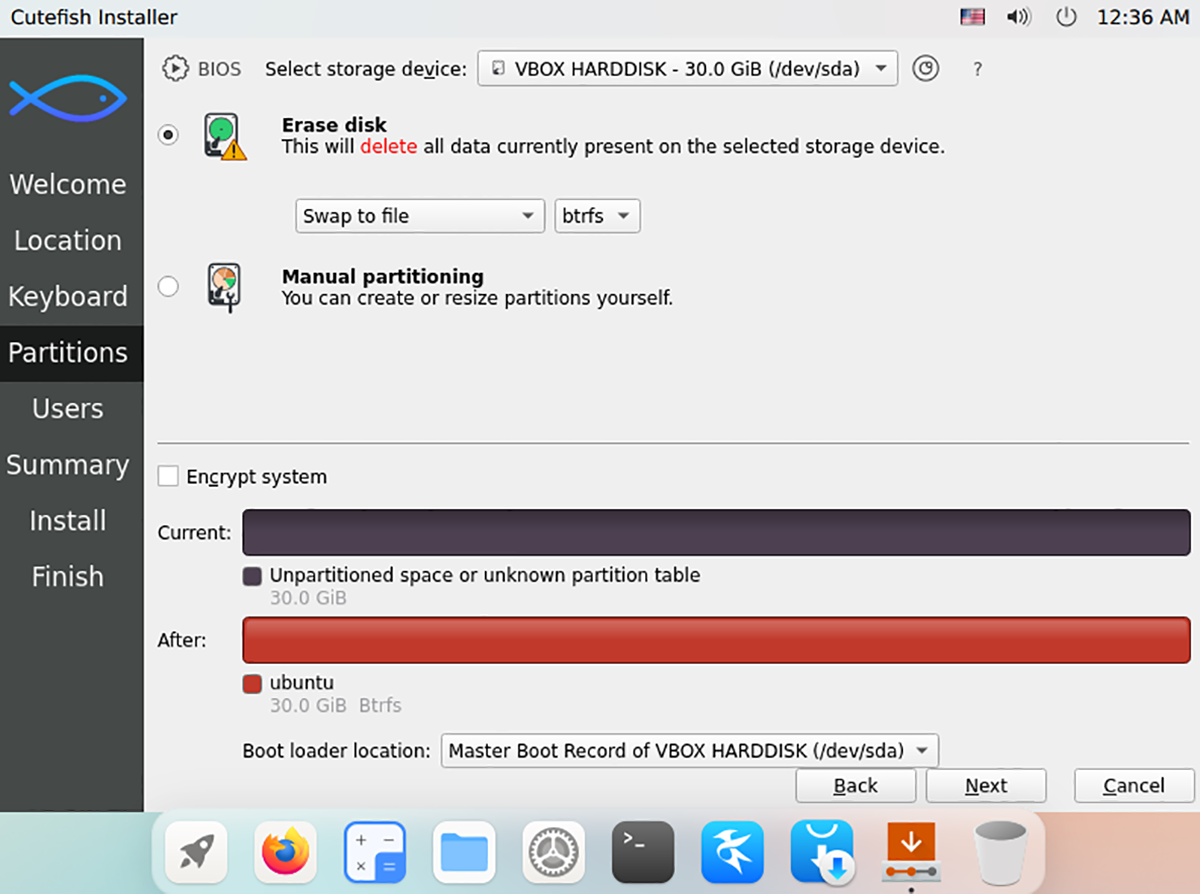
Step 5: You must now select a partition scheme. Choose “Erase disk” and allow Cutefish OS to start fresh on your hard drive for the best results. Otherwise, choose “Manual partitioning” and set something up yourself.
Note: be sure to select “Swap to file.” By default, Cutefish isn’t configured to set up Swap. However, if you like to suspend your PC or put it into hibernation, you will need this feature.
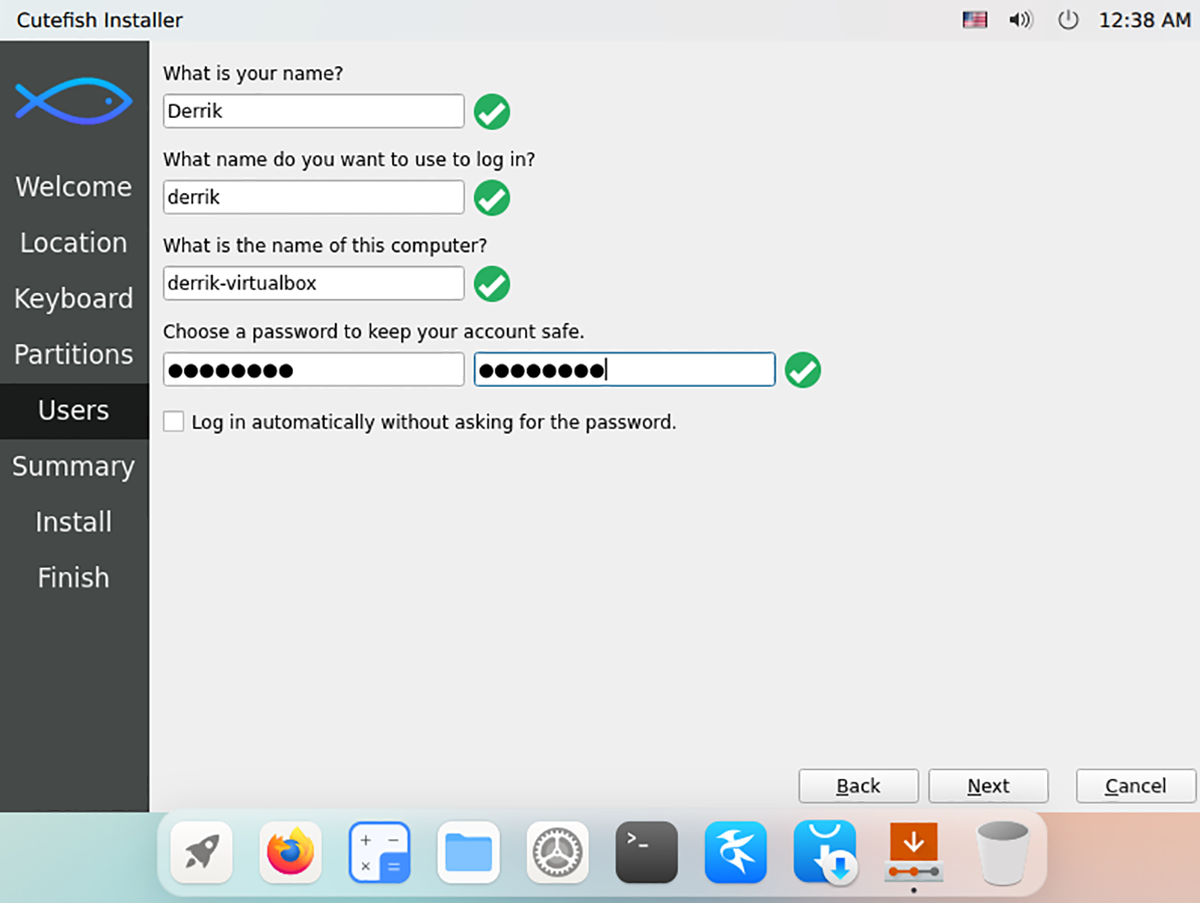
Step 6: With your partitioning scheme set up, you’ll have to configure a username, as well as your computer name and password. Using the text boxes, set everything up. Then, click on the “Next” button to move on to the next page in the installer.
Step 7: Now that your user account is configured, Cutefish will display a summary of what it will do to your PC during the installation. Read the installation summary carefully. Find the “Install” button and select it to start up the installation process when you’ve finished.

Step 8: Upon selecting the “Install” button, Cutefish will ask you to confirm your installation choice. There is no going back, so only choose this button if you’re sure you wish to proceed.
After confirming, Cutefish will begin to install itself to your computer. This process shouldn’t take more than a few minutes. You’ll see an “All done” message when the process is complete. Reboot your computer to start using Cutefish OS.