Have a favorite font you want to install on your Ubuntu PC but can’t quite figure it out? We can help! Follow along with this guide as we show you how to install fonts on Ubuntu!
Ubuntu: install fonts – Manual installation
If you’ve found a font online you’d like to use on Ubuntu, the only way to get it working is with a manual installation. Manually installing fonts on Linux isn’t as tricky on Linux as it sounds. All you need to do is download the font, extract it from the archive, and place it in the correct directory.
To start the installation of a font on your Ubuntu Linux PC, open up a terminal window. To open up a terminal window on the Ubuntu desktop, press Ctrl + Alt + T on the keyboard or search for “Terminal” in the app menu.
Once the terminal window is open and ready to use, follow the installation instructions outlined below that corresponds with your preferred installation method.
Install fonts per-user
The best (and easiest) way to get fonts working when installing manually is by setting them up on a per-user basis. By setting up your fonts per-user, you won’t have to tinker with system-level files.
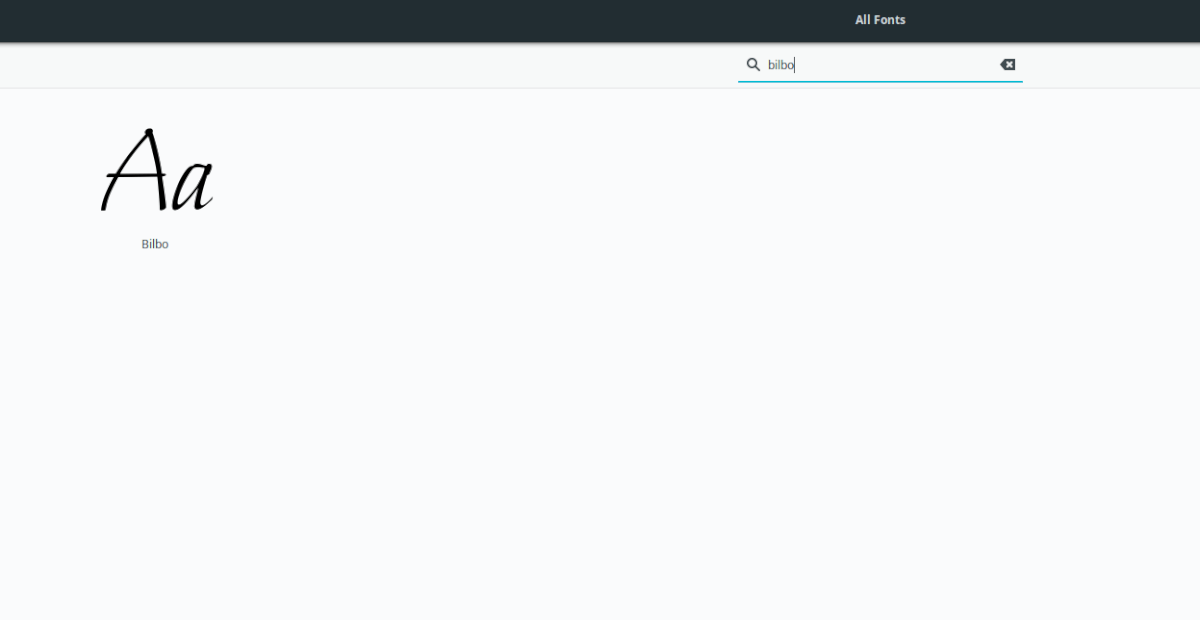
To start installing custom fonts on a per-user basis (non-root), you will need to download a font. In this guide, we will use the Bilbo font, which is available at fontesk.com for free.
Note: want to download fonts to your Ubuntu PC but don’t know where to look? Try fontesk.com.
After downloading the font to your Linux PC, use the mkdir command and create a new folder in your home directory with the name “.fonts.”
mkdir -p ~/.fonts
Once you’ve created your new font folder, move to the “Downloads” directory using the CD command.
cd ~/Downloads
From here, you must extract the contents of the archive in which the font file was distributed in. With Bilbo, the archive is a ZIP archive, so we will need to make use of unzip to extract it.
Note: if you are installing another font from Fontesk, be sure to replace “Bilbo.zip” below with the name of the Zip archive you need to extract.
unzip bilbo.zip
After unzipping Bilbo, a “fonts” folder will appear in the “Downloads” directory. Enter it by making use of the CD command.
cd fonts/
Inside of the “fonts” folder is a “ttf” sub-folder. In this “ttf” subfolder resides the Bilbo font file. Enter it with the CD command.
cd ttf/
Take the Bilbo font file and install it to the ~/.fonts folder you created earlier using the mv command.
mv Bilbo-Regular.ttf ~/.fonts/
Install fonts system-wide
Installing fonts system-wide means placing font files inside of /usr/local/share/fonts/ rather than ~/.fonts. To start the installation, you will need to download a font. Just like in the per-user installation, we will be using the Bilbo font.
Download the font to your Ubuntu PC. When the download is complete, use the CD command to move into the “Downloads” directory.
cd ~/Downloads
Once inside the “Downloads” folder, you will need to extract the archive contents in which the font was distributed in. The Bilbo font is distributed via a ZIP archive, so we will extract using unzip.
To unzip the archive, use the command below.
unzip bilbo.zip
After extracting the ZIP archive, you will see a “fonts” folder appear in the “Downloads” directory. Using the CD command, move into the folder.
cd fonts/
Inside the “fonts” folder, enter the “ttf” folder, where the Bilbo font file is located.
cd ttf/
Finally, install the Bilbo font file system-wide with the mv command below.
mv Bilbo-Regular.ttf /usr/local/share/fonts/
Need to preview fonts? You can preview them from Terminal.
Ubuntu: install fonts – Font Downloader
If you don’t want to deal with manually downloading fonts on Ubuntu and installing them via the command-line, consider checking out the Font Downloader app. It’s a simple Flathub application that can download and install a wide variety of fonts to Ubuntu.
To get started with Font Downloader, please follow our guide on how to set up the Flathub runtime. You need the runtime to install Flatpak packages on Ubuntu. Once it is installed, enter the two commands below to get Font Downloader working.
flatpak remote-add --if-not-exists flathub https://flathub.org/repo/flathub.flatpakrepo
flatpak install flathub org.gustavoperedo.FontDownloader
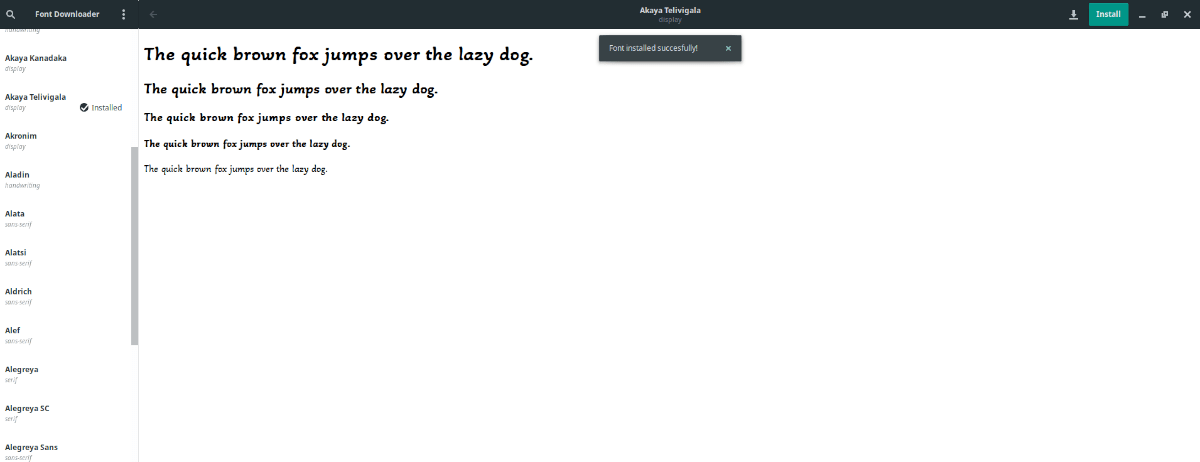
With Font Downloader installed, open it by searching for “Font Downloader” in the app menu. Once it is open, follow the step-by-step instructions below to install fonts.
Step 1: Look in the left-hand sidebar in Font Downloader for a font you’d like to install. There’s a handful of fonts to choose from.
Step 2: When you’ve found the font you wish to install on your computer, click on it in the list with the mouse.
Step 3: Find the “Install” button, and click on it with the mouse. By selecting this button, you will install the font on your computer.
Repeat these three steps to install as many fonts as you want to Ubuntu via Font Downloader.