Need to quickly make a new hard drive partition on your Linux PC and don’t want to hassle with advanced apps like Gparted or KDE Partition editor? Check out Gnome Disks! It’s an impressive, easy, and versatile tool that you can use to create new partitions. Here’s how to do it.
Before we begin
Gnome Disks is an excellent, easy-to-use tool that Linux users can use to create hard drive partitions quickly. It’s much simpler to understand compared to complex tools like Gparted. However, you should keep in mind that you’ll only be able to create new partitions on non-system disks.
What does this mean? It means that if you plan to create new partitions on a hard drive that Linux is using for your home folder, root folder, etc., you will not be able to. However, non-system partitions are able to be modified with Gnome Disks.
Installing Gnome Disks on Linux
The Gnome Disks application is one of the best tools for beginners looking to create new partitions. However, unfortunately, it doesn’t come pre-installed on every Linux distribution. For this reason, we’ll need to go over how to install the app before continuing.
To start the installation process, open up a terminal window by pressing Ctrl + Alt + T on the keyboard. If this keyboard combination doesn’t launch a terminal window for you, open up your app menu, search for “Terminal,” and launch it that way.
Once the terminal window is open and ready to use, follow along with the installation instructions below that correspond with the Linux OS you currently use.
Ubuntu
On Ubuntu, the Gnome Disks application is easily installable with the following Apt command down below.
sudo apt-get install gnome-disk-utility
Debian
If you’re using Debian Linux, you’ll be able to get the Gnome Disks application up and running using the Apt-get command.
sudo apt-get install gnome-disk-utility
Arch Linux
Are you an Arch Linux user? If so, you’ll be able to get the Gnome Disks application installed by entering the following Pacman command.
sudo pacman -s gnome-disk-utility
Fedora
In Fedora Linux, the Gnome Disks application may already be installed on your Linux PC, so there is no need to install it. That said, if for some reason you do not have it installed, you can get it working with the Dnf command below.
sudo dnf install gnome-disk-utility
OpenSUSE
On OpenSUSE Linux, you’ll be able to install Gnome Disks with the following Zypper command below.
sudo zypper install gnome-disk-utility
Deleting existing partitions
Before a new partition can be created in Gnome Disks, the old one must be deleted. To delete a partition so you can make a new one, do the following.
Step 1: Open up Gnome Disks. You can open up the app by searching for it in the app menu. Once the app is open, look to the sidebar on the left.
Step 2: In the sidebar on the left, select the hard drive which has partitions you wish to modify. When you’ve selected the drive, it’ll show a breakdown of the existing partitions in a graphical UI.
Step 3: Select the partition you wish to delete with the mouse. After selecting it, locate the “Delete selected partition” button (it looks like a minus sign), and click on it.
Step 4: Once you’ve selected the “Delete selected partition” button, a pop-up window will appear. In this pop-up, you’ll see a message that says, “Are you sure you want to delete the partition?”.
Click on the “Delete” button to confirm that you do indeed want to delete it.

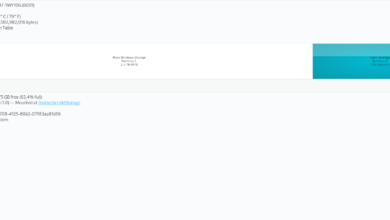
Step 5: After clicking on the “Delete” button, Gnome Disks will delete the hard drive’s selected partition. When the process is complete, you’ll see “Free Space,” where the partition once was.
With the partition deleted, move on to the next section of the guide.
Creating new partitions
Now that you’ve removed the old partition, you can create a new one. To do it, follow the step-by-step instructions below.
Step 1: Locate the + button in Gnome disks on your device, and hover over it. When you hover over it with the mouse cursor, you’ll see a message. This message says, “Create new partition in unallocated space.”
Click the + button to start the creation process.
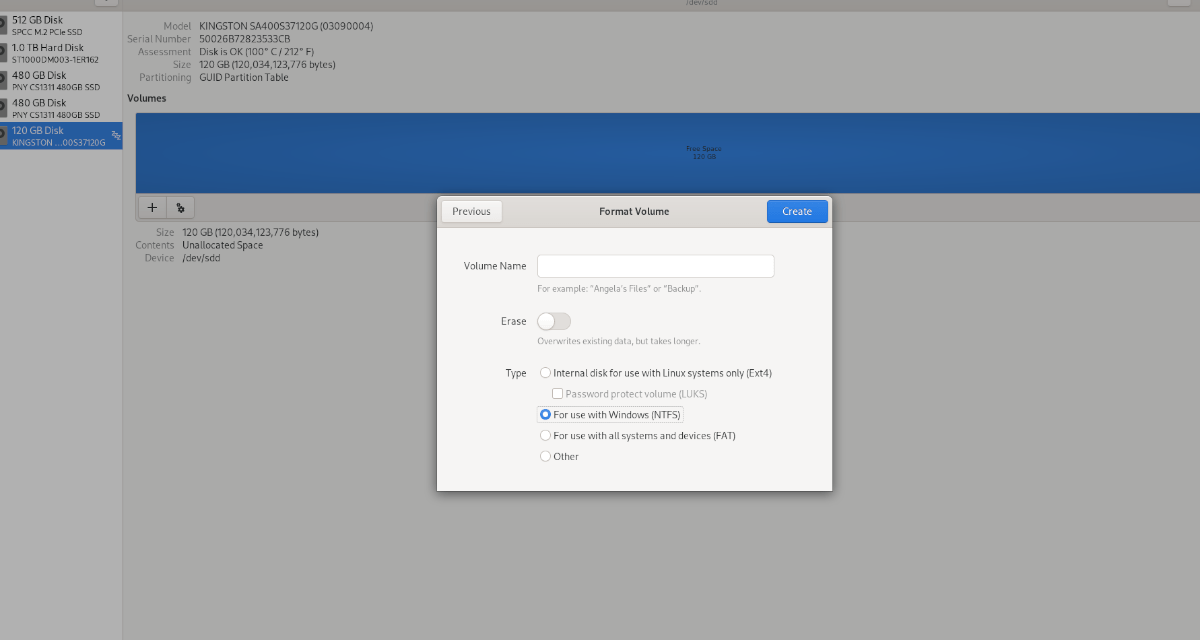
Step 2: After clicking on the + button, a “Create Partition” window will appear. Using the UI, specify how large (or small) you want your new hard drive partition to be, and click “Next.”

Step 3: Under “type,” choose your partition type. Unsure of what one to choose? Gnome Disks explains what each partition type does. Select the one that fits your use-case best.
After selecting a type, click “Next” again. Then, enter your password. When you’ve entered your password, Disks will format and create the new hard drive partition.