Do you want to set up a Windows 10 virtual machine in VMware Workstation 16 on your Linux PC, but find it too complicated and can’t figure it out? If so, this guide is for you! Follow along as we show you how to set up a Windows 10 VM in VMware!

Before we begin
In this guide, we go over how to set up Windows 10 as a virtual machine in VMware Workstation 16. For this reason, you’ll need to download and install VMware Workstation 16 to follow along with this tutorial.
If you’re using a later release of VMware on your PC, please upgrade to the newest version. If you’re on Ubuntu, we’ve written an excellent, easy-to-understand guide on how to install VMware Workstation 16 on Ubuntu. Follow it to get VMware Workstation 16 on Ubuntu.
Those on Linux but not on Ubuntu, head over to VMware.com and download the latest installer to get the app working.
Downloading Windows 10 to Linux
Before you can create a VM in VMware Workstation 16 of Windows 10, you’ll need to download a Windows 10 ISO to Linux. Thankfully, Microsoft gives out its operating system free of charge, although you’ll need to purchase a license to get the most out of it.
To get your hands on Windows 10 for VMware, you’ll need to head over to Microsoft.com, on the Windows 10 ISO page. On the ISO page, look for the “Select edition” area.
In the “Select edition” area, click on the drop-down menu. Once you’ve clicked on the dropdown menu, select “Windows 10” under the “Windows 10 October 2020 Update” section.
After selecting “Windows 10” in the drop-down menu, click on the blue “Confirm” button to confirm the choice you’ve made. As soon as you’ve selected the “Confirm” button, the “Select the product language” section will appear.
In the “Select the product language” section, find the “Choose one” drop-down menu, and click on it. After that, select the language you speak and click on the “Confirm” button to confirm your choice.
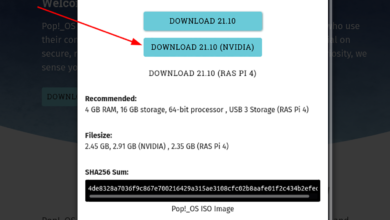
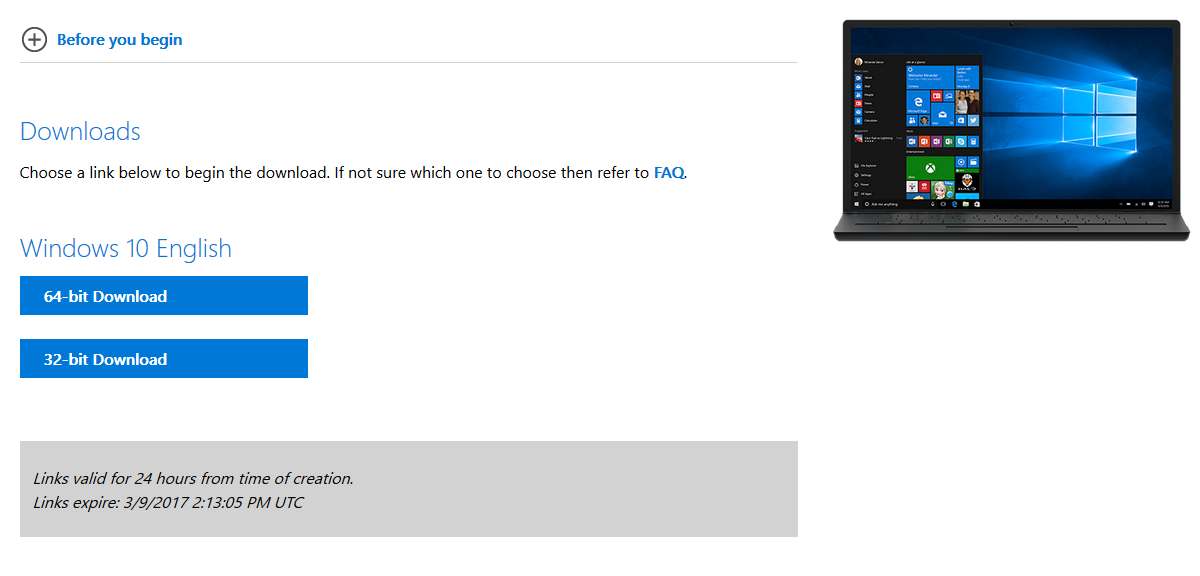
Upon selecting your language, two download options will appear. These download options are “32-bit Download,” and “64-bit Download.” For most VMware users, the 64-bit option is best. However, if you require 32-bit, select that instead.
When you click on a download button on the Windows 10 ISO page, your browser will begin to download a Windows 10 ISO file. This ISO file is roughly about 5.8 GB in size, so it may take a bit of time to complete.
When the download process is complete, move on to the next section of the guide.
Creating the new Windows 10 VM on Linux
To create the new Windows 10 VM on Linux, start by opening up VMware Workstation 16 on the Linux desktop. You can do this by searching for “VMware Workstation” in the app menu. Once the app window is open, follow along with the step-by-step instructions below to get your Windows 10 VM set up.
Step 1: In the “Home” tab, locate the “Create a New Virtual Machine” button, and select it with the mouse. By selecting this option, you’ll start the VM creation wizard.
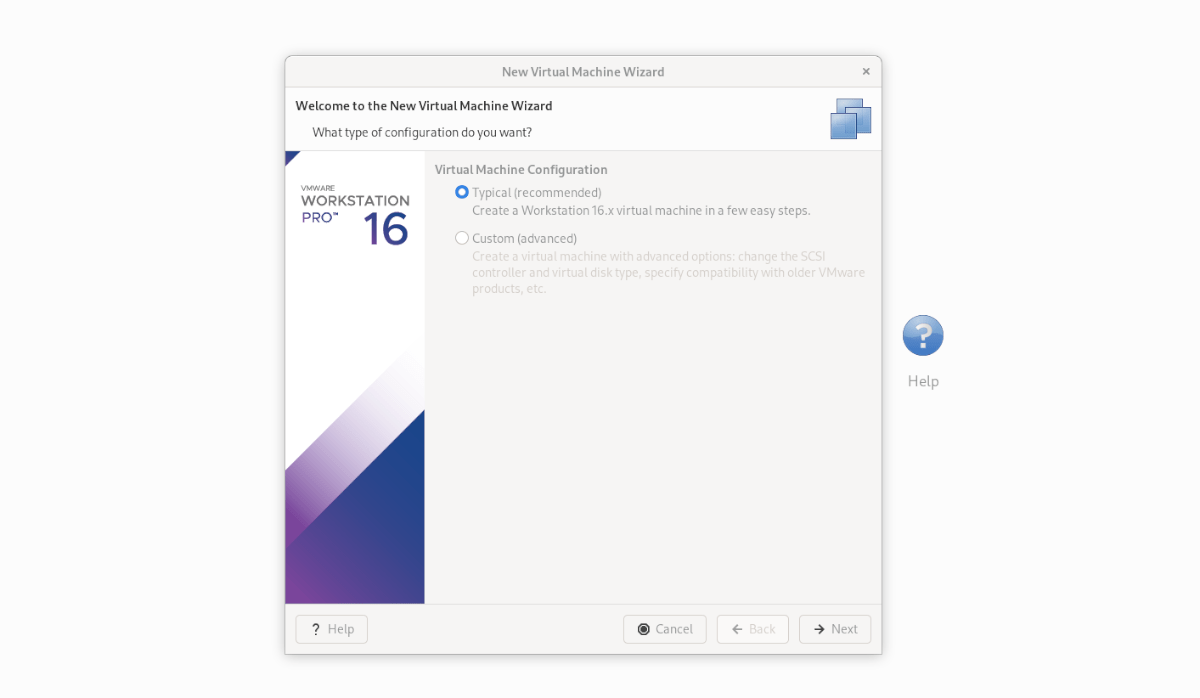
Inside the VM creation wizard, select “Typical (recommended)”, and click on the “Next” button to continue to the next page in the guide.
Step 2: Locate the “Use ISO image” option, and select it with the mouse. After that, click on “Browse,” to open up the Linux file browser window. Then, browse for the Windows 10 ISO file you downloaded previously.

Step 3: On the next page, enter the Windows 10 product key (if you have one.) Then, under “Version of Windows to install,” select the version of Windows 10 you prefer to install.
Step 4: Under “Personalize Windows,” enter your full name (First and Last), as well as your password. You’ll also need to enter your password a second time in the “Confirm” box.
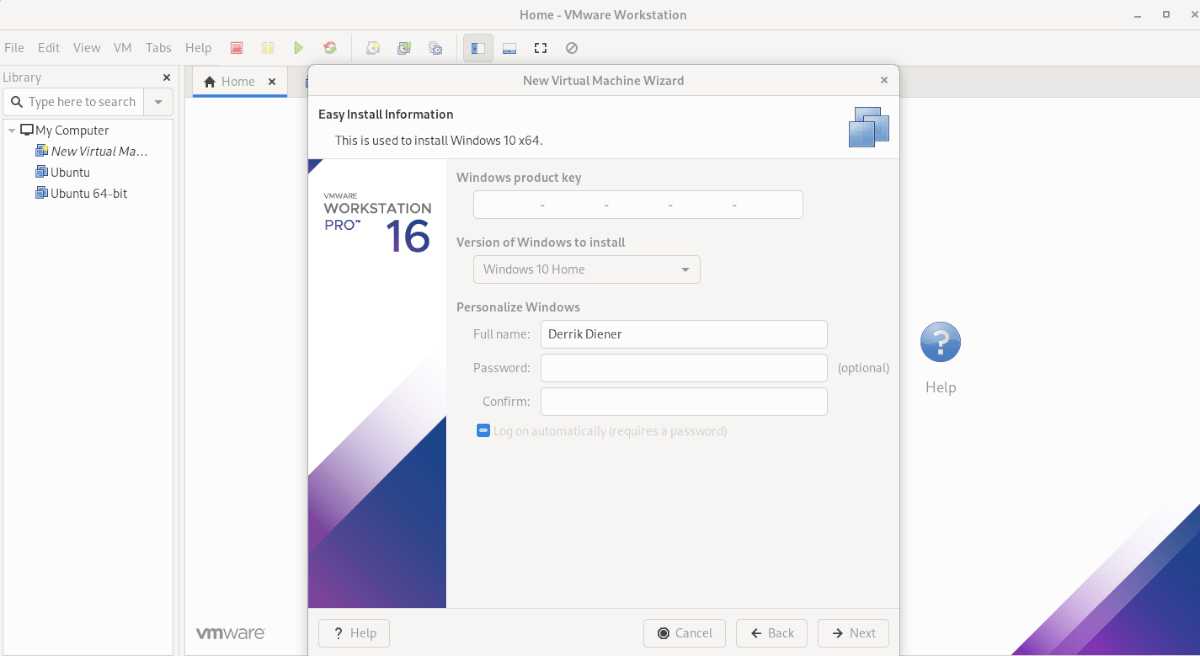
When you’ve personalized Windows, click on the “Next” button.
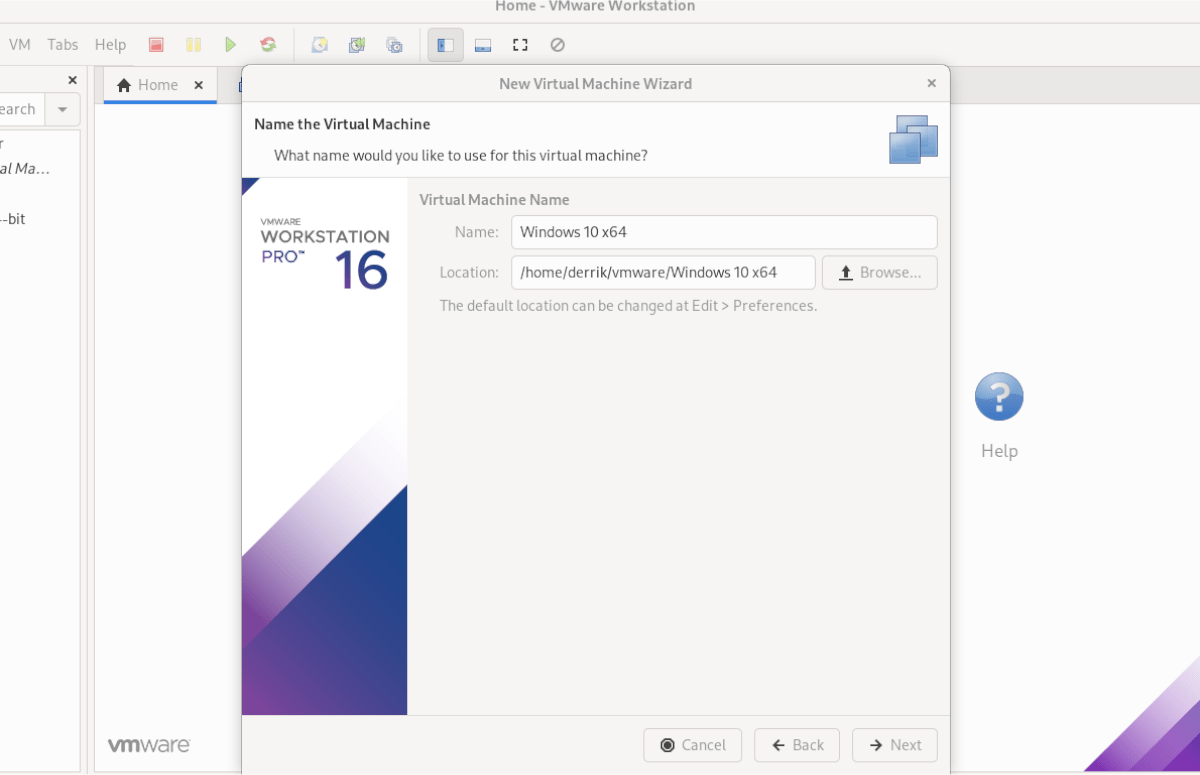
Step 5: You must name your VM. By default, VMware Workstation 16 will suggest a name. Leave it blank, or enter your own name for the Windows 10 VM. When done, select the “Next” button.
Step 6: Select the “Store virtual disk as a single file”. Then, click on the “Next” button to confirm your Windows 10 VM’s drive type. On the next page, click on the “Finish” button to finish creating the VM.
When you click on the “Finish” button, VMware will create your disk and finalize your VM. When the finalization is complete, it will automatically open up the Windows 10 VM in VMware Workstation.
Installing Windows 10 in a VM
Once the Windows 10 VM is created in VMware Workstation 16, the hard part is over. From here, you must go through the Windows 10 installation. Luckily, since everything was filled out beforehand (user, product key, etc.), you don’t have to do anything.
Simply sit back and allow the VMware Workstation app to go through the Windows 10 installation process. Be patient, as it may take a bit of time. When the process is complete, you’ll be ready to use your Windows 10 VM in VMware 16 on Linux!
Need to run Ubuntu in a virtual machine? We’ve got you covered.