7Zip is the most popular free-open source archiving tool for Windows. Using 7Zip, users can create a wide variety of compressed archives, and extract them. In this guide, we’ll go over how to get 7Zip working on Ubuntu.
Install P7zip Desktop app – Ubuntu Software Center
If you’ve used 7Zip on Windows, you’ll no doubt be familiar with the fact that the app uses a graphical interface that allows the user to view 7zip archives and create them too.
On Linux, it is possible to get this same 7Zip graphical UI, thanks to the P7Zip desktop application. This application is bundled and pre-configured in a Snap package to function on Linux. It is distributed via the Ubuntu Snapcraft Store.
The best way to install the P7zip Desktop application on your Ubuntu system is by making use of the Ubuntu Software Center. To start the installation, open up “Ubuntu Software” or “Software” in your app menu and follow the steps below.
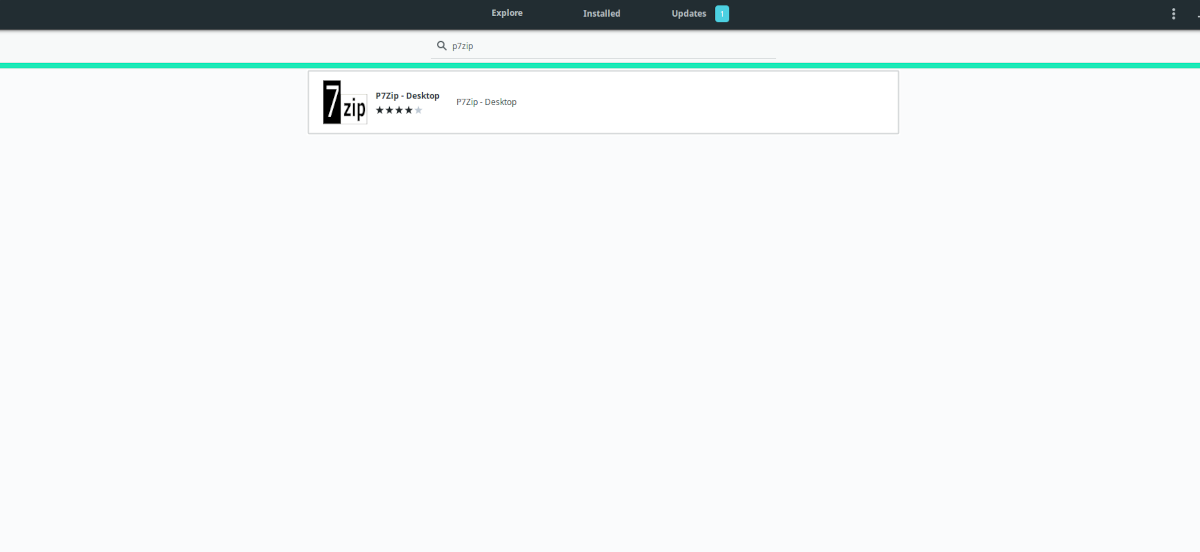
Step 1: Find the search icon in the top-left hand corner of the screen and click on it with the mouse. After clicking on the search icon, a search box will appear in the top-center of the app.
Step 2: In the search box, type out “7zip desktop”. As you type out ‘7zip desktop” into the search box, search results should appear. The top result is “Xarchiver.” Directly below it is the app we want: “P7Zip Desktop.” Click on it with the mouse.
Step 3: After clicking on “P7Zip Desktop” in the search results, you’ll be taken to its app page in the Ubuntu Software app. From here, locate the “Install” button, and click on it with the mouse.
Step 4: Once you’ve selected the “Install” button, Ubuntu Software will prompt you for your password. Enter it. After the password is entered, Ubuntu Software will install the app onto your computer.
When the installation of the P7Zip Desktop app is finished, you’ll see a new button. This button is “Launch.” Click on the “Launch” button to instantly access the new P7Zip Desktop app on your Ubuntu computer.
If you’d like to get rid of the app, simply click the “Remove” button next to “Launch,” and Ubuntu Software will install it from the system.
Install P7Zip command-line utility – Synaptic Package Manager/
The P7Zip Desktop app provides a UI for 7Zip and allows users to get a similar experience to the experience 7Zip delivers on Windows. However, the P7Zip Desktop app doesn’t integrate with existing Linux archive tools or any Linux file managers.
Suppose you want 7Zip support on your Linux PC but would also prefer direct integration to the Linux file manager and the built-in archive tool already installed on your system. In that case, you need to install the P7Zip command-line utility.
The P7zip command-line utility can be used as a command in a terminal. It is also the backend for 7Zip support in the default Ubuntu file manager, ARK (the KDE archiver tool), and many other programs.
The easiest way to get P7zip installed on Ubuntu is with Synaptic Package Manager. It is a useful GUI package searching tool that allows Linux users to get stuff installed on Ubuntu without dealing with the command-line.
To install Synaptic Package Manager on Ubuntu, open up the Ubuntu Software app, search for “Synaptic Package Manager,” and click the “Install” button to get it working.
Launch Synaptic Package Manager and follow the step-by-step instructions below to install P7Zip on Ubuntu.
Step 1: Find the “Search” button and click it with the mouse. After clicking on this button, a pop-up window will appear. In the pop-up window, there’s a text box. Type in “pz7ip” in the search box.
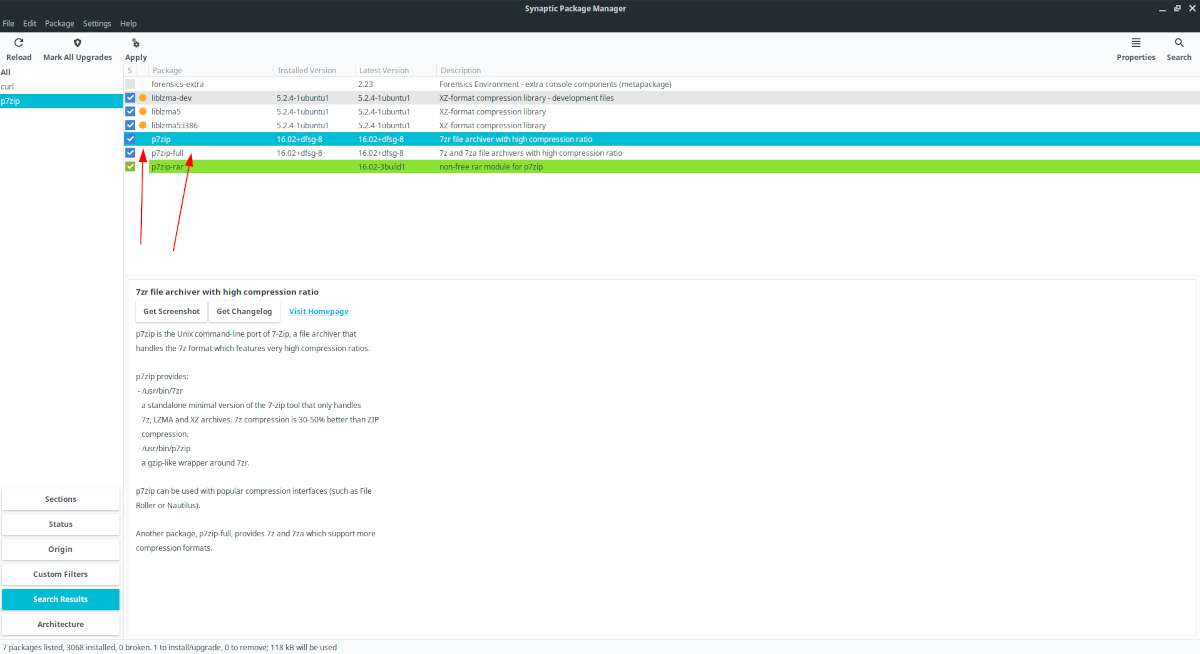
Step 2: After typing out the search term, click on the search button to view the results in the Synaptic Package Manager. There should be several different choices to choose from in the Synaptic results.

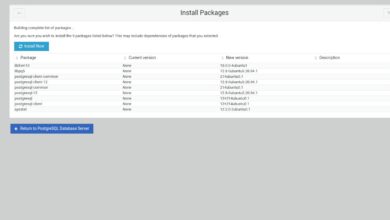
Step 3: Look through the Synaptic search results for the “p7zip-full” package. This package provides everything you need to compress/decompress 7zip formats on Linux using your favorite file manager or extraction app.
Alternatively, if you just want the barebones, basic application, locate the “p7zip” package instead.
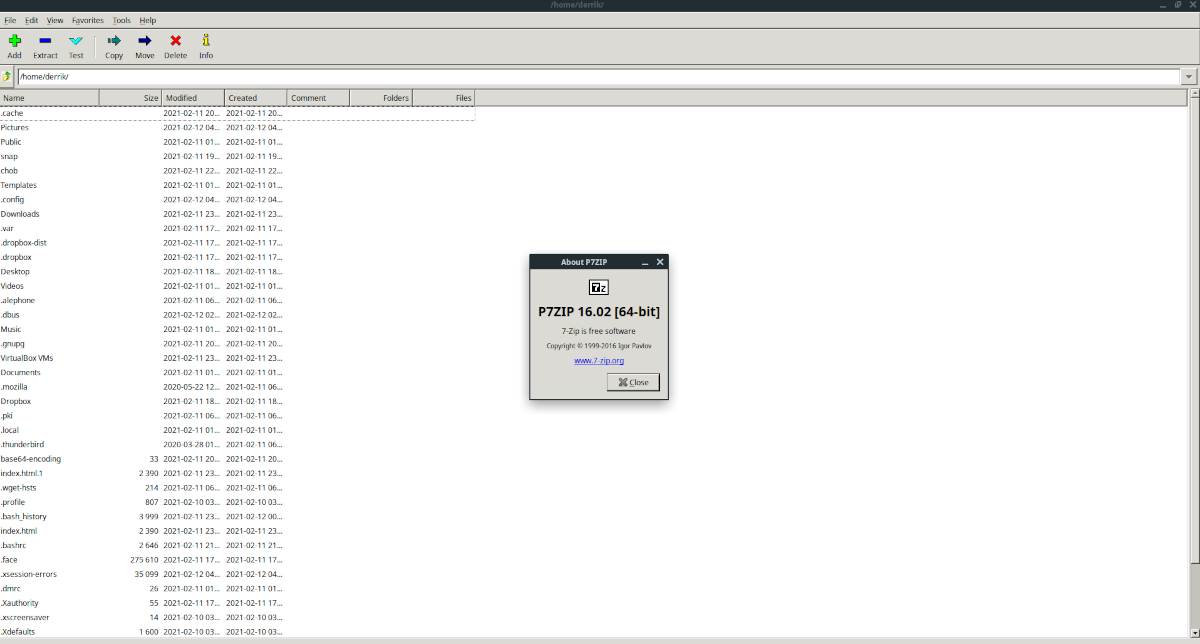
Step 4: Once you’ve located the package, right-click on it with the mouse in Synaptic to bring up the right-click menu. Then, look through the right-click menu for the “Mark for installation” button, and select it to install the program to your computer.
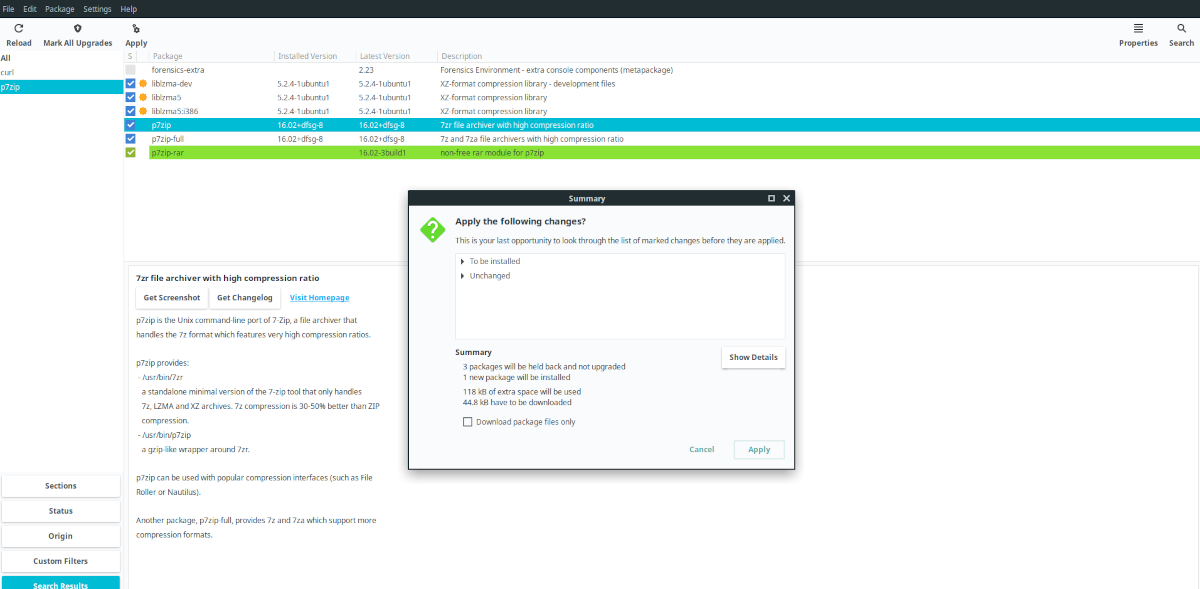
Step 5: Find the “Apply” button in the top-left corner of the screen and click on it with the mouse. By selecting the “Apply” button, Synaptic will attempt to install the P7Zip application on your computer.
When the installation is complete, close Synaptic. P7zip will be ready to use in your favorite Linux file manager or terminal command-line window.