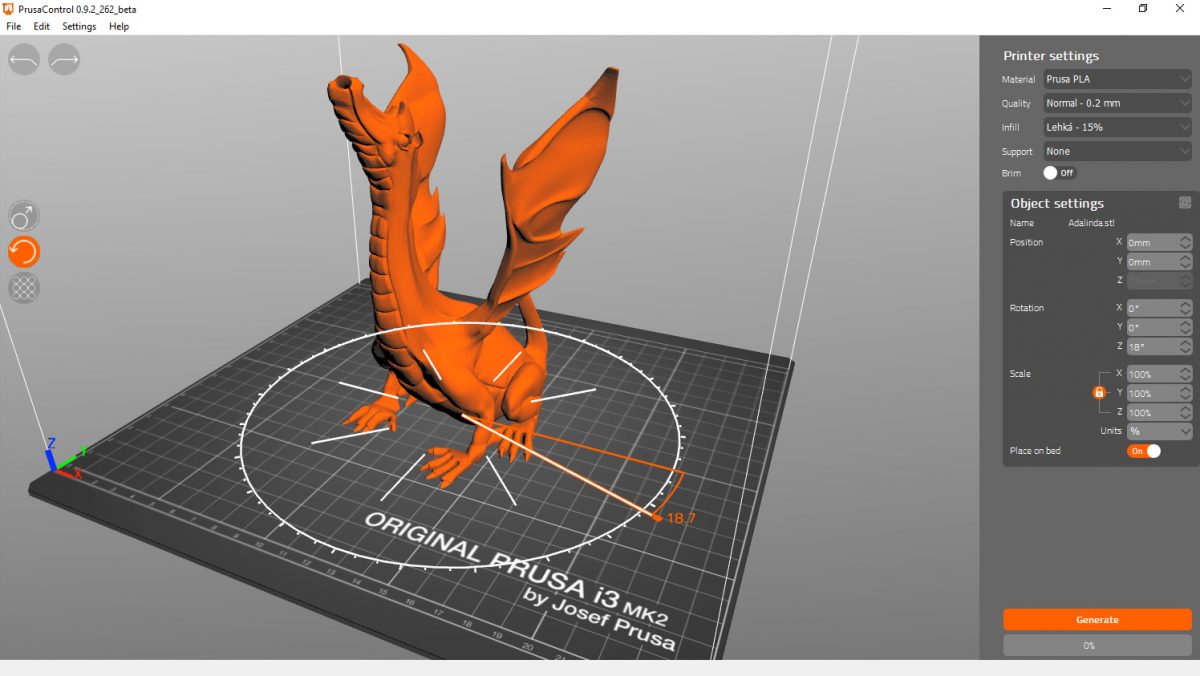
Prusa Slicer is the in-house developed slicer tool built by Prusa for their 3D printers. If you’ve got a Prusa rig and need to slice some 3D files on Linux, you’ll want to install the Prusa Slicer app. Here’s how to do it.
Note: To use the Prusa Slicer application on Linux, you will need 3D print files. To get access to 3D print files, check out Thingiverse.
Ubuntu installation instructions
The Prusa Slicer application is available for Ubuntu users starting at 20.04 LTS. However, it is in the “Ubuntu Universe” software repository, and this repo isn’t always turned on by default.
To enable the “Ubuntu Universe” repository on your computer, start by opening up a terminal window on the Linux desktop. You can launch a terminal by pressing Ctrl + Alt + T on the keyboard. Or, search for “Terminal” in the app menu.
With the terminal window open and ready to use, execute the following add-apt-repository command down below. This command will enable “Ubuntu Universe.”
sudo add-apt-repository universe
After adding the Universe software repository, you’ll have to refresh your software sources using the apt update command.
sudo apt update
With your Ubuntu software sources refreshed, Ubuntu Universe is ready to use. From here, the Prusa Slicer application can be installed on Ubuntu (20.04, 21.04, and 21.10) using the apt install command below.
sudo apt install prusa-slicer
Debian installation instructions
If you use Debian, it is possible to get the Prusa Slicer program working requires using the Debian 11 release. So, if you’re on Debian 10 or later, upgrading is necessary first.
Note: if you use an older release of Debian and do not wish to upgrade, follow the Snap instructions instead to get Prusa Slicer working on Linux.
Once you’ve upgraded to Debian 11, the installation of Prusa Slicer can begin. Open up a terminal window on the desktop by pressing Ctrl + Alt + T on the keyboard. Or, search for “Terminal” in the app menu and launch it that way.
With the terminal window open and ready to use, execute the apt-get install command below to install the “prusa-slicer” package.
sudo apt-get install prusa-slicer
Upon entering the command above, Debian will ask you for your password. Using the keyboard, type in your user account password and press Enter. When you press Enter, Debian will install Prusa Slicer to the system.
Arch Linux installation instructions

The Prusa Slicer program is available for Arch Linux users in the “Community” software repository. Ensure that this software repository is enabled before attempting to install Prusa Slicer on Arch.
With the “Community” repo enabled, launch a terminal window on the Linux desktop by pressing Ctrl + Alt + T on the keyboard. Or, search for “Terminal” in the app menu and launch it that way.
Now that the terminal window is open use the pacman -S command to install the “prusa-slicer” application on your Arch Linux system.
sudo pacman -S prusa-slicer
Fedora installation instructions
Since Fedora 33, the Prusa Slicer application has been available in the official software repositories. So, if you use Fedora, you won’t have difficulty getting the app to work.
To start the installation of Prusa Slicer on your Fedora system, a terminal must be open. You can launch a terminal window by pressing Ctrl + Alt + T on the keyboard. Or, search for “Terminal” in the app menu and launch it that way.
With the terminal window open, the installation can begin. Using the dnf install command, install the “prusa-slicer” package.
sudo dnf install prusa-slicer
OpenSUSE installation instructions

Prusa Slicer is available for OpenSUSE Linux but not in the official software repositories. So if you want to get the app working on your computer, you’ll have to use community software repositories.
To start the installation, head over to the OpenSUSE software page for Prusa Slicer. Once you’ve opened the page, you’ll see a list of OpenSUSE distributions that make Prusa Slicer available.
When you’ve found your release of OpenSUSE in the list, find the “1 Click Install” button and select it with the mouse. Selecting this button will open up YaST on your OpenSUSE machine and install Prusa Slicer via the GUI.
Snap package installation instructions
The Prusa Slicer application is available to all users in the Ubuntu Snap Store. So, if you’ve got a Linux operating system that supports the Snap store, Prusa Slicer is ready to install on your computer.
To start the installation of Prusa Slicer on Linux as a Snap package, you must have the Snap package runtime configured and installed on your system. If you need help configuring the Snap package runtime, please follow our guide on the subject.
With the Snap package runtime configured, the Prusa Slicer can easily be installed on your Linux computer using the snap install command below.
sudo snap install prusa-slicer

