AppImages are helpful on Linux. With them, users are able to download Linux programs and run them without the need to install anything. However, AppImages don’t integrate within the Linux system like other programs.
If you use a lot of AppImages on your Linux PC but don’t like to take the time to configure the AppImage manually, create a shortcut icon, and add it to the menu, you’ll love AppImageLauncher.
What is AppImageLauncher? It’s an app that, once installed, can auto-detect when an AppImage is run on Linux, automatically create a shortcut, and add it to a folder on your computer. Here’s how to get it working on your Linux system.

Installing AppImageLauncher on Linux
The AppImageLauncher application doesn’t come pre-installed on any Linux operating systems, unfortunately. However, the program supports a wide variety of Linux operating systems and is easy to get working.
To start the installation of AppImageLauncher on Linux, you’ll need to open up a terminal window on the desktop. You can open up a terminal window by pressing Ctrl + Alt + T on the keyboard. Or, search for “Terminal” in the app menu.
Once the terminal window is open, the installation can begin. Using the instructions down below, set up AppImageLauncher on your computer.
Ubuntu
To install AppImageLauncher on your computer, use the wget command to download the latest DEB, then install it with apt install.
wget https://github.com/TheAssassin/AppImageLauncher/releases/download/v2.2.0/appimagelauncher_2.2.0-travis995.0f91801.bionic_amd64.deb
sudo apt install ./appimagelauncher_2.2.0-travis995.0f91801.bionic_amd64.deb
Debian
Those using Debian will be able to set up AppImageLauncher using the wget command, and the dpkg install command. Be sure to correct any dependencies on your Debian Linux system using the apt-get install -f command down below.
wget https://github.com/TheAssassin/AppImageLauncher/releases/download/v2.2.0/appimagelauncher_2.2.0-travis995.0f91801.bionic_amd64.deb
sudo dpkg -i https://github.com/TheAssassin/AppImageLauncher/releases/download/v2.2.0/appimagelauncher_2.2.0-travis995.0f91801.bionic_amd64.deb
sudo apt-get install -f
Arch Linux
If you’re on Arch Linux, you won’t be able to download the AppImageLauncher package from the project’s GitHub. Instead, you’ll have to install the Trizen AUR helper and set it up with the trizen -S command.
sudo pacman -S git base-devel
git clone https://aur.archlinux.org/trizen.git
cd trizen/
makepkg -sri
trizen -S appimagelauncher
Fedora
If you wish to install the AppImageLauncher application on Fedora, you’ll have to download the RPM package and install it using the dnf install command.
sudo dnf install https://github.com/TheAssassin/AppImageLauncher/releases/download/v2.2.0/appimagelauncher-2.2.0-travis995.0f91801.x86_64.rpm
OpenSUSE
There’s an RPM package available for OpenSUSE users. To get it working on your Linux computer, use the wget download command. Then, when it is downloaded to your OpenSUSE system, you’ll be able to install it on your system using the zypper install command.
wget https://github.com/TheAssassin/AppImageLauncher/releases/download/v2.2.0/appimagelauncher-2.2.0-travis995.0f91801.x86_64.rpm
sudo zypper install appimagelauncher-2.2.0-travis995.0f91801.x86_64.rpm
Setting up AppImageLauncher
To set up AppImageLauncher, follow the step-by-step instructions below.
Step 1: Open up the app menu and launch “AppImageLauncher” through the menu. Selecting it in the app menu will launch the AppImageLauncher settings area.
Step 2: Find the “Location where to store your AppImage files to ease their management” section. Change it to a different folder if you so choose; otherwise, leave it as the default.
Step 3: Select the “appimagelauncherd” tab. Then, check the “Auto start auto-integration daemon” box. This will ensure that the AppImageLauncher dameon is always running in the background, ready to integrate any AppImages you decide to launch.
Where to download AppImages for Linux
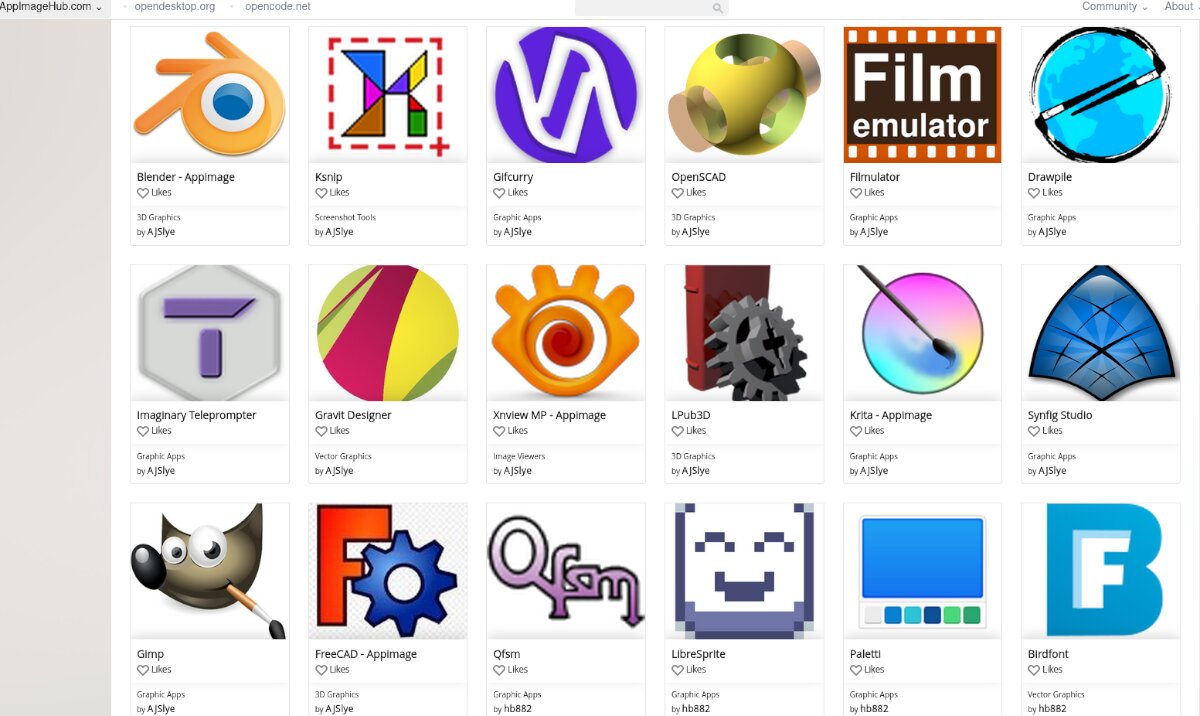
AppImages can be found everywhere on the internet, but the best place to get them is AppImageHub. Here’s how to use it to download AppImages.
Step 1: Head over to AppImageHub.com. Once there, scroll down to the categories section. There are many categories, including Audio, Education, Games, etc.
Step 2: After choosing a category, you’ll be presented with a listing of AppImages for that category. Look through the listing, and select the AppImage you wish to install onto your computer.
Step 3: Select the “Files” button. Selecting “Files” will show downloads available. Then, click on the AppImage in the “Files” area with the mouse.
Step 4: Select the download button to download the AppImage to your computer. Downloads shouldn’t take long as AppImages aren’t that big.
When the process is complete, launch your “Downloads” folder in the Linux File Manager.
Installing AppImages on Linux with AppImageLauncher
Installing AppImages with AppImageLauncher is breathtakingly simple. To install any app, do the following.
Step 1: Open up your “Downloads” folder where the AppImage is downloaded.

Step 2: Right-click on the AppImage with the mouse, select “Open with,” and choose “AppImageLauncher.”
Step 3: Upon opening up your AppImage with AppImageLauncher, a pop-up will appear. Select the “Integrate and run” button to install the AppImage onto your Linux computer.