Managing pictures inside an MS Word document has always been tricky. Simply moving an image is enough to upset the setting of an entire document. MS Word has lots of great pictures editing features one of which is the Crop feature. As the name signifies, this feature lets you cut out a portion of your pictures and it seems simple enough to use on the surface. If you have used it though, you know that the crop feature will not delete the cropped out portion of the picture. To do so, you need to perform one extra step.
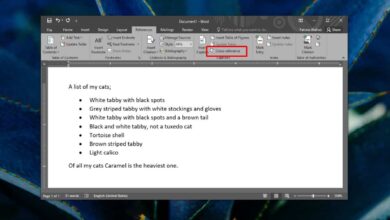
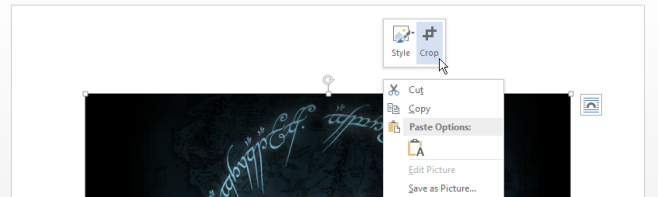
Open an MS Word document and insert a picture in it. Right-click the pictures to bring up the Crop tool. Once enabled, go ahead and cut your picture down to the size you want it to be.
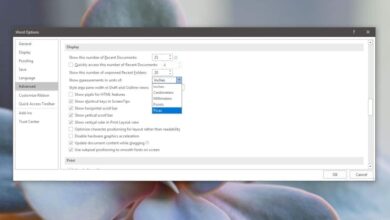
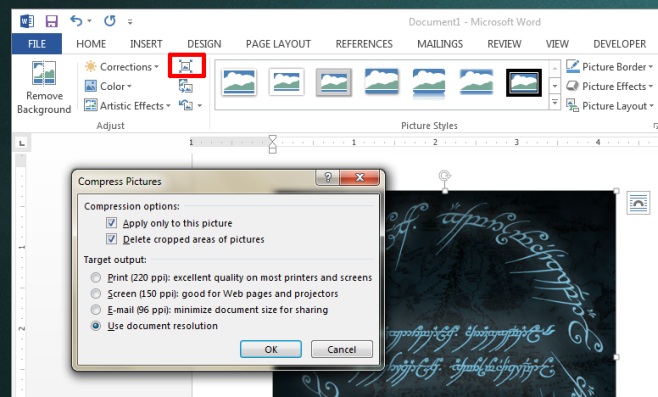
Once you’ve cropped it down to size and it now shows the reduced version in the document, select it again and go to the Picture Tools tab. In the ‘Adjust’ set of tools, locate the ‘Compress’ button and click it. A dialog box will open with two compression options. Make sure the ‘Delete cropped areas of pictures’ is checked and then click ‘Ok’.
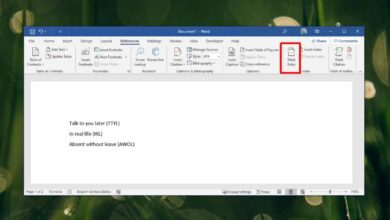
The part of the picture that was cut out will now be gone. This reduces the size of the document and will ensure that anyone you send the document to will see only the portion of the picture you want them to. If you don’t crop out the parts you removed, anyone will be able to use the crop tool and return the picture to its original size. It’s unfortunate that the cropped areas aren’t cut out by default but it is done to make it easier to recover the original image inside the document instead of having to insert it again. Needless to say, it’s a hard choice when it comes to deciding how it should be done so it’s just best to know how cropping works.