If you’ve switched to Ubuntu from Mac OS or Windows to do Android development, you’ll need to know how to install Android Studio. In this guide, we’ll show you how to do just that. Follow along as we go over how to install Android Studio on Ubuntu.
How to install Android Studio in Ubuntu – Manually install via download from the website
Google distributes a downloadable version of Android Studio that is Linux distribution agnostic. This version is ideal for Ubuntu users.
To start the installation of Android Studio via the download version, open up a terminal window. You must install the required 32-bit libraries. These libraries enable Ubuntu 64-bit Android Studio to function correctly.
sudo apt install libc6:i386 libncurses5:i386 libstdc++6:i386 lib32z1 libbz2-1.0:i386
These libraries won’t take too long to install. Once they’re done, you’ll need to download the Android Studio package to your Linux PC. Head over to the “Download” section on the Android developer website.
On the “Download” page, there are several options to choose from. Select the “DOWNLOAD ANDROID STUDIO” button on the page. After selecting the download button, your browser will download “android-studio-ide-201.7042882-linux.tar.gz” to your “Download” folder.
The “android-studio-ide-201.7042882-linux.tar.gz” file will take a bit of time to download, as it is roughly 800 megabytes. When the download is complete, return to the terminal window opened earlier. Then, use the CD command to move into the “Downloads” folder.
cd ~/Downloads
Once inside the “Downloads” folder, use the tar command to extract the Android Studio Linux archive contents downloaded from the Android developer website.
tar xvf android-studio-ide-*-linux.tar.gz
After running the above tar command, everything will be fully extracted inside a new “android-studio” folder inside the “Downloads” directory on your Ubuntu PC. You must now start up the Android Studio installer.
To start up the Android Studio installer, use the CD command and move into the “bin” folder inside of the “android-studio” folder.
cd bin
Inside the “bin” folder, execute the “studio.sh” shell script. This shell script will open up a GUI installer that you will need to use to install the Android Studio software on your Ubuntu Linux PC.
./studio.sh
Upon running the “studio.sh” shell script, a “Data Sharing” window will appear. In this window, the Android Studio installer will ask if you want to allow Google to collect Android Studio usage data on your PC. Select either “Send usage statistics to Google” or “Don’t send” if you value your privacy.
After selecting your data sharing option, the Android Studio Setup Wizard will present a welcome message. The welcome message says, roughly, “Welcome! This wizard will set up your development environment for Android Studio.” Click on the “Next” button to continue.

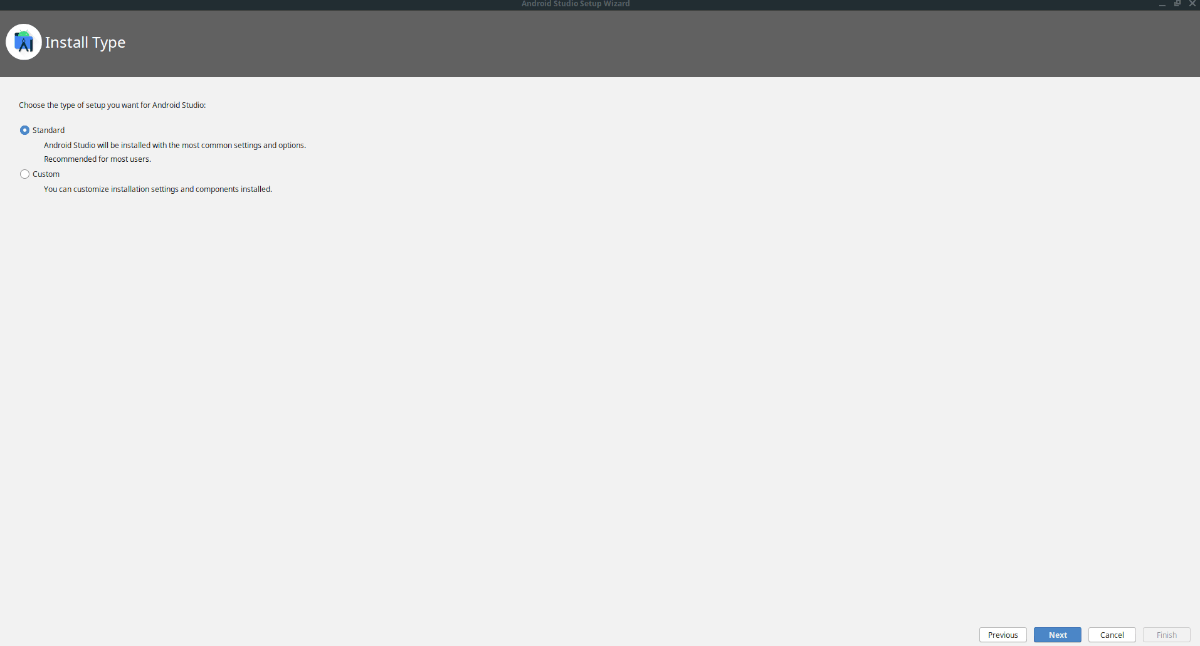
Past the welcome message, the installer will ask what type of Android Studio setup you prefer. Select the “Standard” option, and click the “Next” button to continue.
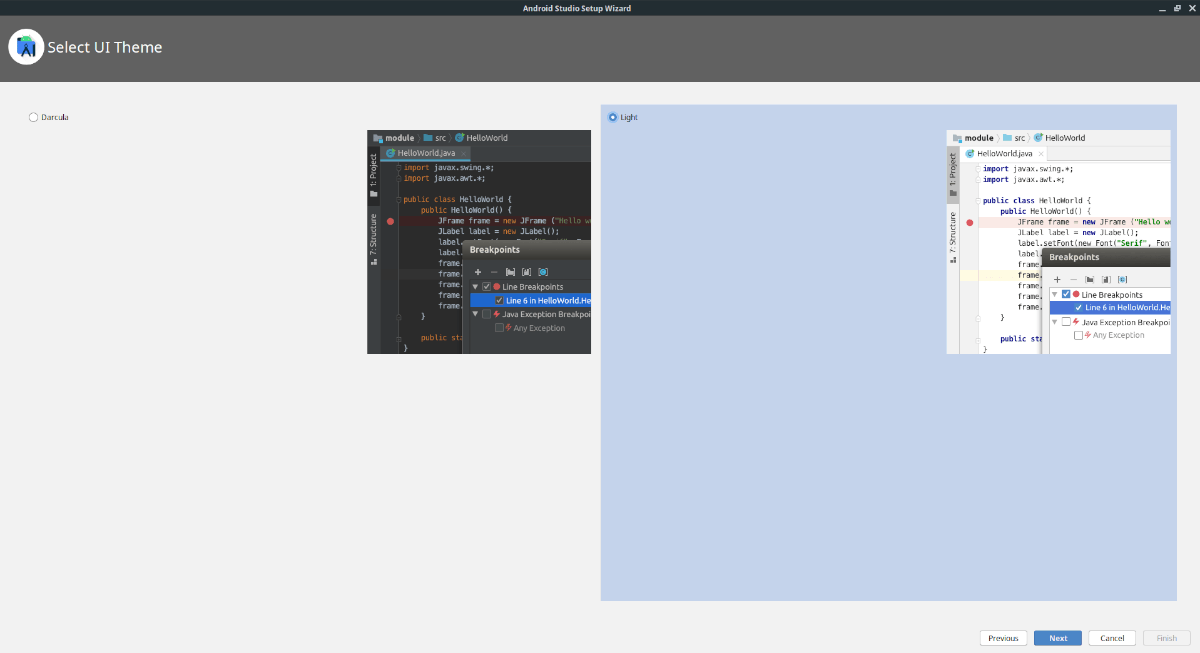
Following choosing the type of installation for Android Studio, you will be required to select a theme. Select from either “Darcula” or “Light,” then press the “Next” button to continue.
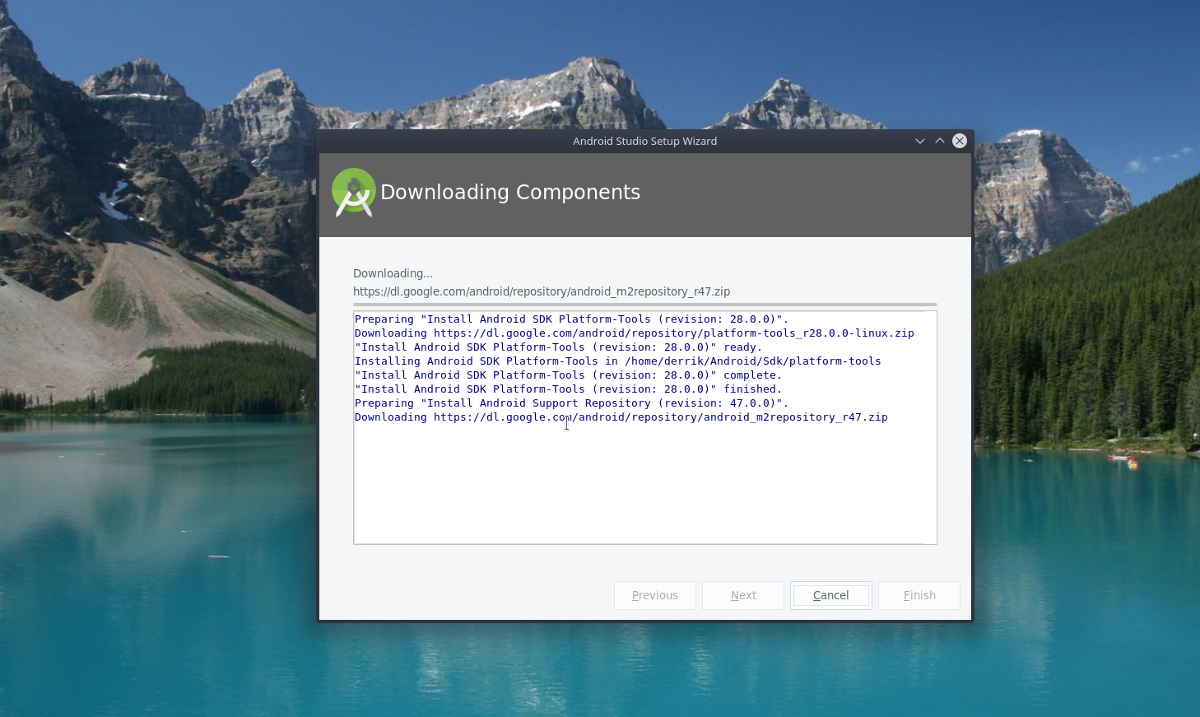
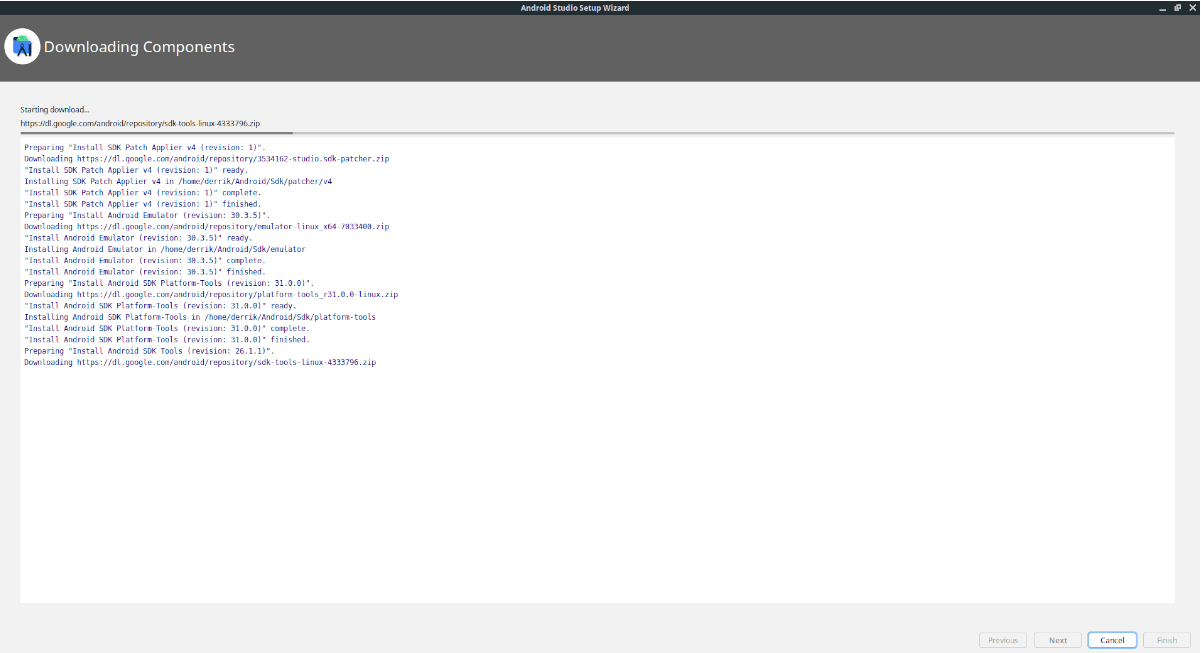
When you’ve chosen the theme, you’ll see an overview of what Android Studio is going to install. Read through the summary. Then, press the “Next” button to begin the installation process.
How to install Android Studio in Ubuntu – Flatpak installation
If the standalone downloader doesn’t suit you on Ubuntu, another way to get the Android Studio working on Ubuntu is via Flatpak. The Flatpak installation method is excellent, especially if you’re the kind of person that doesn’t like to tinker with the Android Studio installer.
To start, open up a terminal window and configure the Flatpak runtime. It is required to install Flatpak packages. Unsure about how to configure the Flatpak runtime? We can help! Follow along with our in-depth guide here.
After you’ve set up the Flatpak runtime, the next step in the installation process is to set up the Flathub app store. This app store has the Android Studio package. To get it working, enter the flatpak remote-add command below.
flatpak remote-add --if-not-exists flathub https://flathub.org/repo/flathub.flatpakrepo
Once Flathub is set up, you’ll be able to install the latest Android Studio on your Ubuntu PC using the flatpak install command.
flatpak install flathub com.google.AndroidStudio
How to install Android Studio in Ubuntu – Snap package installation
Aside from being available on Flathub, Android Studio is also available for installation via the Ubuntu Snap Store. So, if you want an easy way to get Android Studio but don’t like Flatpak, this is the way to go.
To start the installation, open up a terminal window. Once the terminal window is open, you can install the Android Studio app with snap install.
sudo snap install android-studio --classic