If you love Arch Linux and want to use it, but don’t have the time to configure everything by hand, you may want to check out the Calam Arch installer. It is an excellent tool that can install vanilla Arch Linux with ease, rather than via the command line. Here’s how to use it.
Note: The Calam Arch Linux installer ISO requires at least 1 GB of space. For best results, use a 1 GB USB flash drive or larger. Alternatively, burning an ISO file to a DVD also works, though DVD instructions are not covered in this guide.
Downloading Calam Arch ISO
The Calam Arch ISO installer is available for download on the project’s SourceForge page. To download the latest release of the ISO installer to your computer, do the following.
First, head over to the Calam Arch SourceForge page. Once on the page, locate the green “Download” button. When you select this button, the Calam Arch ISO file will begin to download.
Alternatively, if you need an older release of the Calam Arch installer, find the “Files” tab, select it. Then, click on the “Files” folder to check out older releases of the installer.
Creating Calam Arch USB installer
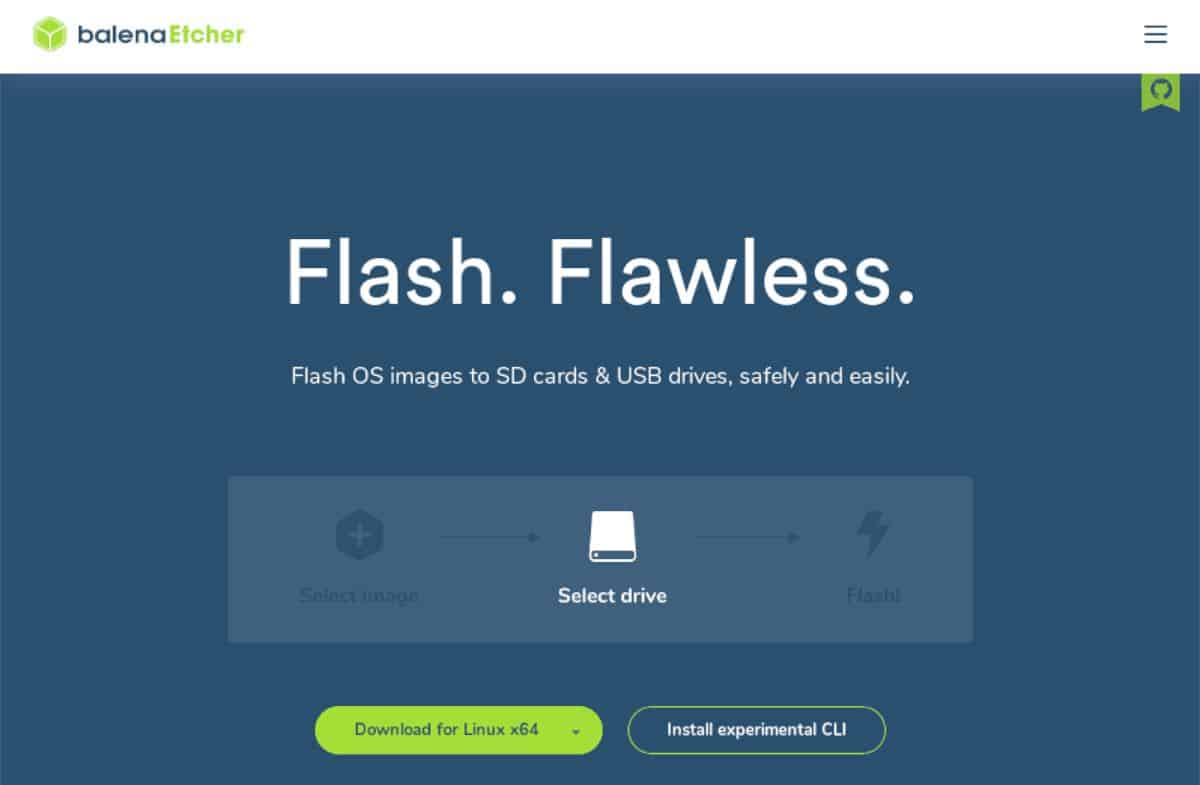
The Calam Arch installer ISO file needs to be flashed to a USB flash drive. There are many ways to create a USB flash drive with an ISO file. In this guide, we’ll focus on the Etcher application.
Why Etcher? It is cross-platform. So, no matter what operating system you flash the Calam Arch ISO file to, the instructions are the same. To get your hands on the Etcher application, head over to the official website. Download Etcher and install it on your computer.
After installing the Etcher application on your computer, open it up and follow the step-by-step instructions below to make your Calam Arch USB installer.
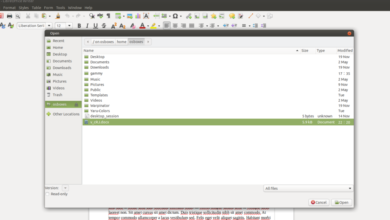
Step 1: Select the “Flash from file” button with the mouse. When you click on this button, a pop-up menu will appear on the screen. Using the menu, locate the Calam Arch ISO file on your computer and select it.
Step 2: Find the “Select target” button with the mouse. Then, choose the USB flash drive you wish to install the Calam Arch ISO file to.
Step 3: Click on the “Flash!” button in the Etcher application to start the flashing process. This process will take quite a bit of time, so be patient. When it is complete, close Etcher.
After closing the Etcher application, reboot the computer you plan to install Arch Linux on. Then, boot into the BIOS and configure it to boot from the USB flash drive.
Installing Arch Linux with Calam Arch
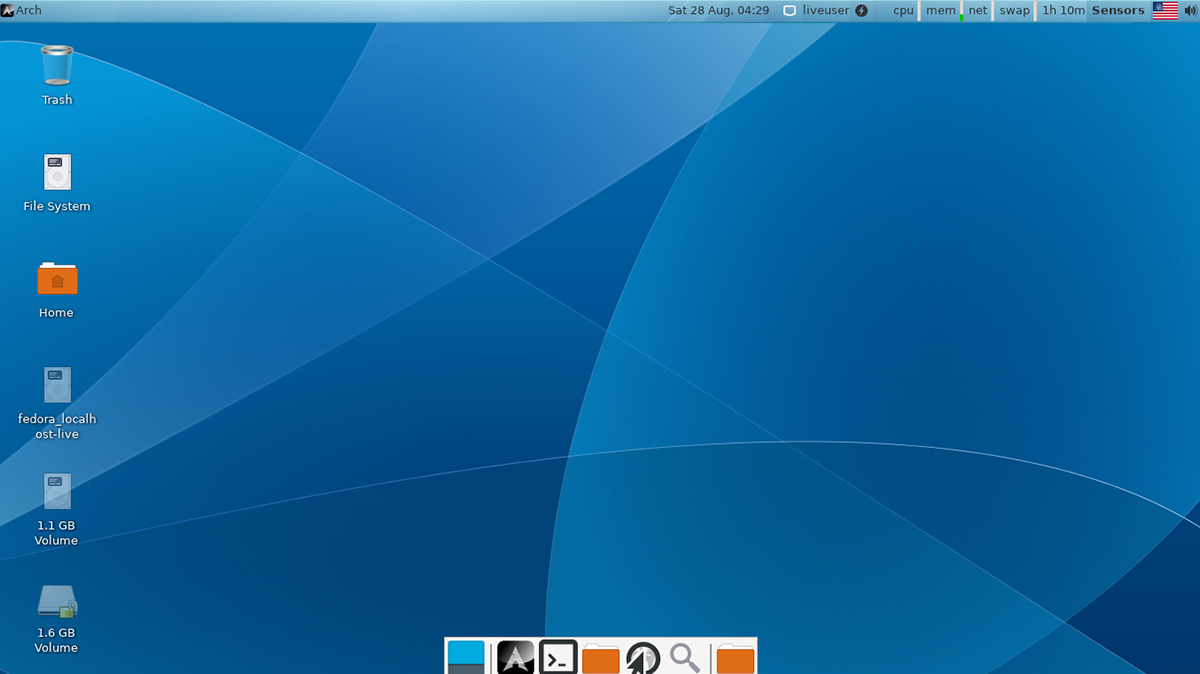
To install Arch Linux with Calam Arch, start by clicking on the black Arch Linux logo on the desktop. Then, follow the step-by-step instructions below.
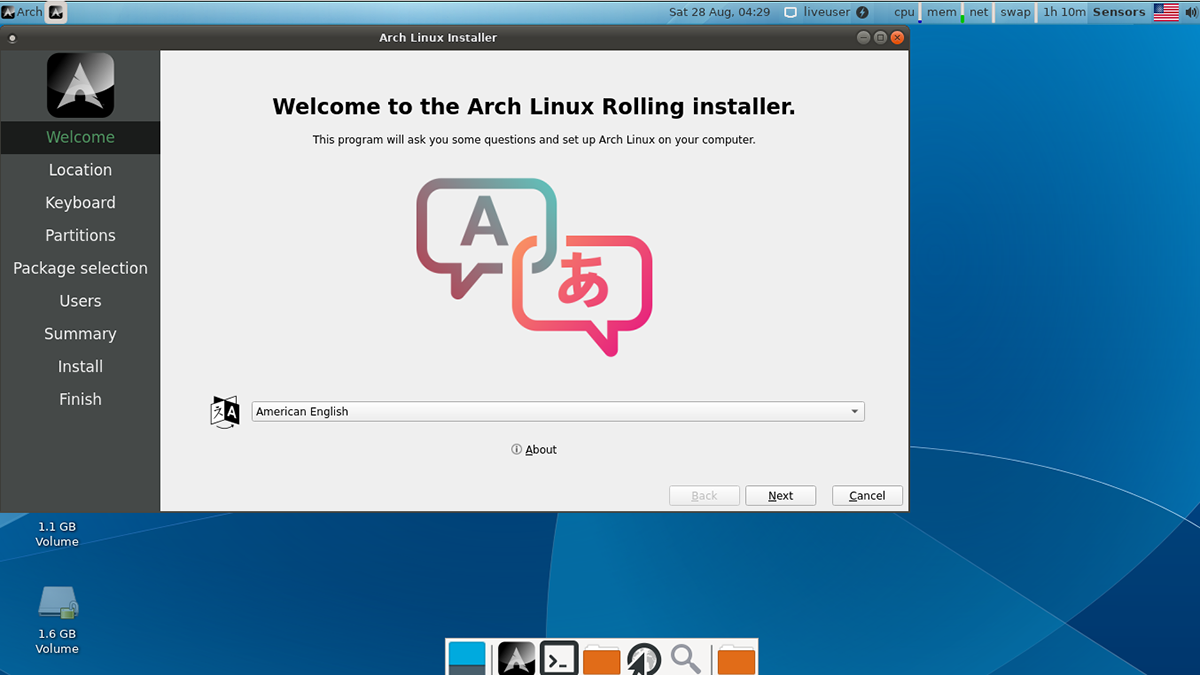
Step 1: Allow the Calam installer to launch on the desktop. Then, on the installer’s welcome page, find your preferred language. Then, click on the “Next” button to move to the next page in the installer.
Step 2: After selecting your language, you’ll need to select your timezone. Using the on-screen map, choose your preferred timezone. Or, use the drop-down menus to choose your timezone.

Click “Next” to continue to the next page.
Step 3: You’ll now need to select your keyboard layout. Using the on-screen menu, find the keyboard layout you prefer. Or leave it as default, as the Calam Arch installer should automatically detect it.

Click the “Next” button to move to the next page.
Step 4: Once the keyboard is configured, it is time to choose your partitioning method. Select “Install alongside” if you prefer to dual-boot with Windows. Or, if you wish to erase the hard drive, select the “Erase disk” option.
When done, click the “Next” button.
Step 5: Following the partition setup, you’ll need to choose packages you wish to install with the new Arch Linux installation. Go through the list, choose your preferred desktop environment, graphics driver preferences, printer support (if needed), and other things.

When all packages are selected, click the “Next” button to confirm your choice.
Step 6: After setting up your packages for the Calam Arch Linux installer, you’ll have to set up your user account. First, write in your name in the “What is your name box.” Then, configure your username, and the name of your computer.
 After setting up your name, username, and computer name, enter your password. Be sure to enter in a secure, memorable password. Click on the “Next” button to move to the next step in the installer.
Step 7: Following setting up your username, the Calam Arch installer will show a summary of your installation. Look it over and make sure everything looks good. When done, click on the “Install” button at the bottom of the page to install the operating system onto your computer.
When the installation is complete, unplug your USB flash drive and reboot. Upon rebooting, Arch Linux will be ready to use. Enjoy!