Do you want to set up an FTP server on your Ubuntu Server system but don’t want to deal with configuration files? If so, Webmin is for you! Webmin is an excellent tool that allows users to manage UNIX-like servers with an easy-to-use web interface. Here’s how to use Webmin to set up an FTP server on Ubuntu.

Set up Webmin on Ubuntu Server
Webmin needs to be installed on Ubuntu Server before creating an FTP server with the web UI interface. Thankfully, Webmin supports Ubuntu pretty well. To get the app working, head over to the official Webmin website.
Once on the Webmin website, locate the “Debian Package” download button, and click on it with the mouse. When you select this button, the Webmin DEB package will download to your computer.
After the download is complete, log into your Ubuntu system using SSH via a terminal on your Linux desktop. Alternatively, sit at your Ubuntu system and log into it using the TTY console.
When you have terminal access, transfer the Webmin DEB package to the Ubuntu Server. Then, install the DEB package on Ubuntu to get Webmin working.
With Webmin working on Ubuntu Server, open up a web browser on your computer. Then, visit the following URL to access the web UI.

http://YOUR_UBUNTU_SERVER_IP_OR_HOSTNAME:10000
Root password for Webmin
Webmin doesn’t give users a default username or password. Instead, it relies entirely on the system’s existing root account. However, Ubuntu disables this root account by default, so you must re-enable it before logging in.

To re-enable the root password inside Ubuntu, use the sudo -s command to log into the terminal window as root. Then, once the terminal window is root, execute the passwd command to set a new root password.
sudo -s
passwd
Be sure to set the root password in Ubuntu to something memorable and secure.
Installing the ProFTPD Webmin module
The included FTP server module in Webmin isn’t great. So instead, we’ll be using the ProFTPD module. Unfortunately, this module is third-party, so it will need to be installed before being used.
To install the ProFTPD module on your Webmin installation, follow the step-by-step instructions below.
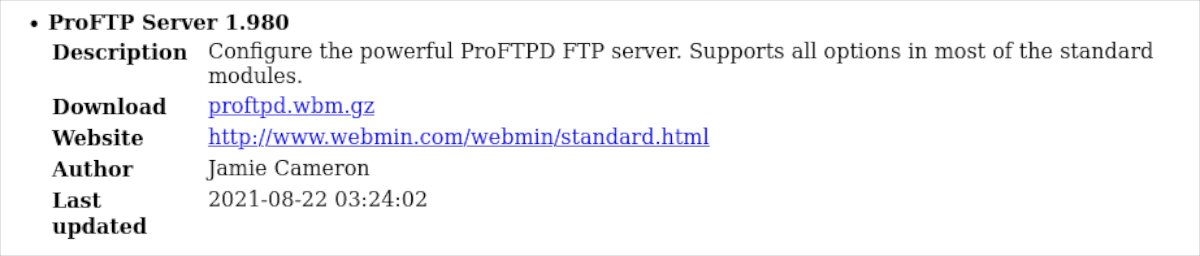
Step 1: First, select this link to download the latest release of the ProFTPD module to your computer. If you’d like to download this module using the Linux terminal, enter the following command below.
wget http://www.webmin.com/webmin/download/modules/proftpd.wbm.gz
Step 2: After downloading the latest release of the ProFTPD module, open up the Webmin web UI and log into your user account. Then, find the “Webmin” option in the sidebar and click on it with the mouse.
Step 3: Once you’ve selected the Webmin option in the sidebar, select “Webmin Configuration” to access the Webmin configuration area.

Step 4: Inside the Webmin configuration area, find the “Webmin Modules” button, and click on it with the mouse. Selecting this button will load up the Webmin Modules area.

Step 5: Look for the “Install Module” section, and click on “From uploaded file.” Then, click on the paper clip icon to browse for the ProFTPD Webmin module on your computer.

Step 6: Click on the green “Install Module” button to install the ProFTPD module to your Webmin web UI. When the module installation is finished, find the “Refresh Modules” button in the sidebar, and click on it to finish setting up ProFTPD in Webmin.
Setting up the FTP server
To set up your FTP server in Webmin, follow the step-by-step instructions below.
Step 1: Click on “System” in the Webmin sidebar. Then, choose the “Users and Groups” section. Next, create a user account to use with your FTP server. Feel free to make more than one account if needed.
When creating your user account in Webmin, be sure to add the user to the following groups.
- adm
- cdrom
- dip
- lxd
- plugdev
- sudo
Step 2: After creating your user account(s), click on the “Servers” section in the Webmin sidebar. Then, click on the “ProFTPD Server” to access the ProFTPD Server section.
Step 3: Look at “Global Configuration” and change any settings you wish to change. Don’t worry if you do not wish to change any settings in the ProFTPD Server configuration area. The default settings work is OK and will work fine.
Step 4: Once you’ve configured all of the settings in the ProFTPD Server area, find the “Apply Changes” button and click on it with the mouse. Selecting this button will stop the ProFTP server, start it back up, and apply your new settings.
Connecting to the FTP server
There are many ways to connect to an FTP server on Linux. If you’re not sure how to do it, check out the Filezilla application. It’s an FTP client that makes it easy to connect to FTP and manage servers.