Anaconda is a Python-based data science platform. It comes in various editions, is open source, and installable on most Linux operating systems. In this guide, we’ll show you how to get Anaconda up and running on Ubuntu.
Before we begin
In this guide, we’re focusing on how to build and install Anaconda for Ubuntu. That said, if you use Elementary OS, Peppermint OS, Zorin OS, Linux Mint, or any other operating systems based on Ubuntu, the instructions will work as well.
So even if you’re not on traditional Ubuntu, feel free to follow along to get the Anaconda app working on your Linux system!
Install Anaconda on Ubuntu – preparing the installation
Anaconda does work on Ubuntu, but there aren’t any pre-compiled DEB packages, and the app hasn’t made its way into the Ubuntu Snap store or Flathub Flatpak store. If you plan to use this app, you must build it yourself.
Building the Anaconda software isn’t too tricky, as most of it is taken care of by an installation script. The first step in the building process is to install all of the dependencies that the script needs to build the software.
To start the installation of Anaconda dependencies on your Ubuntu PC, open up a terminal window. To open up a terminal window, press Ctrl + Alt + T on the keyboard or search for “Terminal” in the app menu.
Once the terminal window is open, use the apt install command below to get all of the dependencies set up on your system. Remember that these packages may take a couple of minutes to set up, as there is a lot to download.
sudo apt install libgl1-mesa-glx libegl1-mesa libxrandr2 libxrandr2 libxss1 libxcursor1 libxcomposite1 libasound2 libxi6 libxtst6
After getting all the dependencies taken care of, it is time to download the installation script. The script is hosted on Anaconda’s repo site. Using the wget downloader command below, grab the install script.
Note: if you wish to download the latest installation script to your Linux PC via a web browser instead of wget, you can! Click on this link here to start the download.
wget https://repo.anaconda.com/archive/Anaconda3-2020.11-Linux-x86_64.sh -O ~/Downloads/Anaconda3-2020.11-Linux-x86_64.sh
When the download process is complete, you will need to enter the “Downloads” directory. This directory holds the installation script. To access “Downloads” via terminal, enter the following CD command.
cd ~/Downloads
Inside the “Downloads” directory, use the chmod command to update the installation script’s permissions. This script must have permissions changed so that it can execute as a program.
sudo chmod +x Anaconda3-2020.11-Linux-x86_64.sh
With the file’s permissions up to date, preparation for the installation of Anaconda on your Ubuntu PC is ready to go! Move on to the next section of the guide to get the app installed!
Install Anaconda on Ubuntu – Running the installation script
The installation of Anaconda on Ubuntu can begin as the installation script is downloaded and the permissions are set. To start the installation, execute the ./Anaconda3-2020.11-Linux-x86_64.sh command below.
To start the installation of Anaconda on Ubuntu as your user account (non-root), run the installation without the sudo command. We highly recommend installing the app in this way.
./Anaconda3-2020.11-Linux-x86_64.sh
If you prefer to install Anaconda as root on your Ubuntu PC, execute the ./Anaconda3-2020.11-Linux-x86_64.sh script with the sudo command, and Anaconda will install itself into /root/ rather than your home folder.
sudo ./Anaconda3-2020.11-Linux-x86_64.sh
Once the script is started up, you’ll see a message. This message says, “In order to continue the installation process, please review the license
agreement. Please, press ENTER to continue”. Press the Enter key to continue to the EULA.
After pressing the Enter key, you’ll be required to view the EULA. To get through it, press the Page Down key on your keyboard. Once you’ve read the agreement, type out “yes” in the prompt.
When “yes” is typed into the prompt, the Anaconda installer will ask where you want to install the app. By default, it will select the home directory. Leave it as the default and press the Enter key to continue on.
Once you press the Enter key, the Anaconda installation script will begin installing the app to your system. It will install both the terminal application (conda) as well as the GUI application (Anaconda Navigator).
When the installation is complete, the Anaconda installer will ask, “Do you wish the installer to initialize Anaconda3 by running conda init? “. If you would like to turn on Anaconda 3, type “yes.” Otherwise, close the terminal.

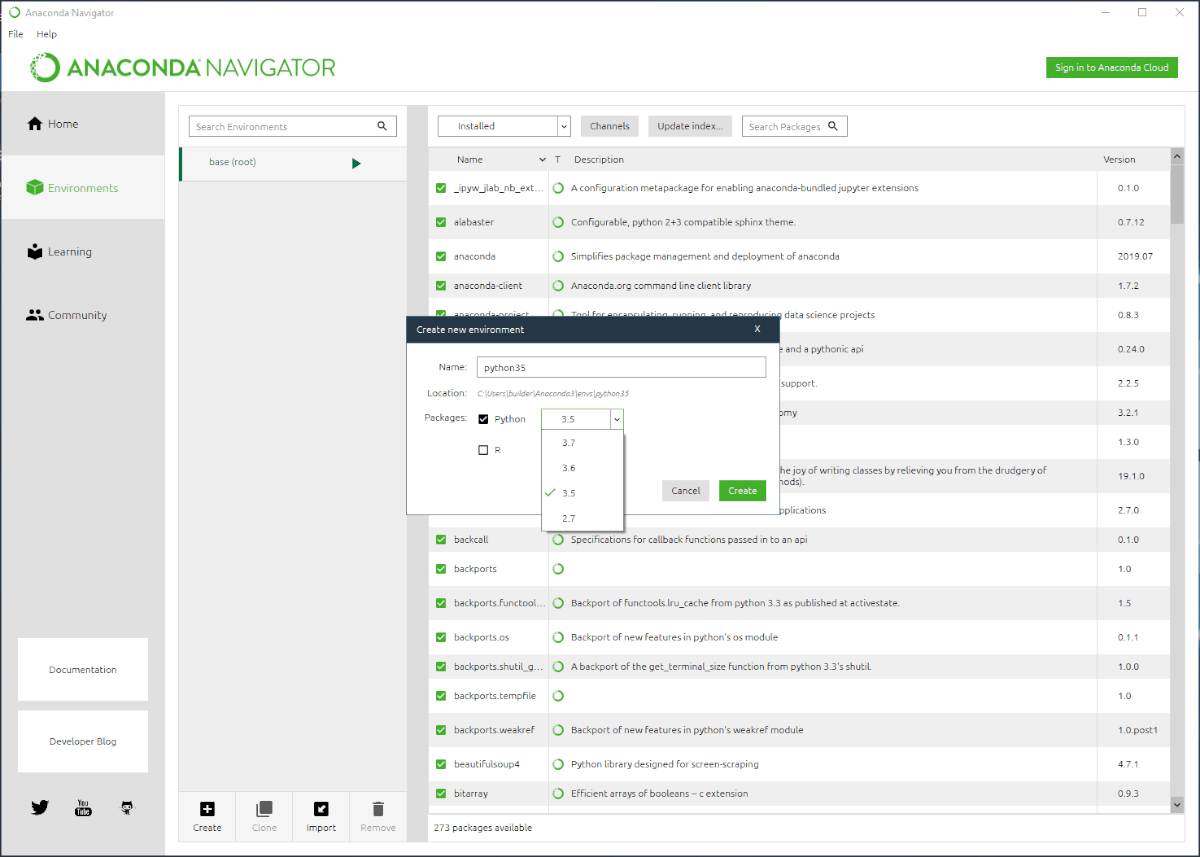
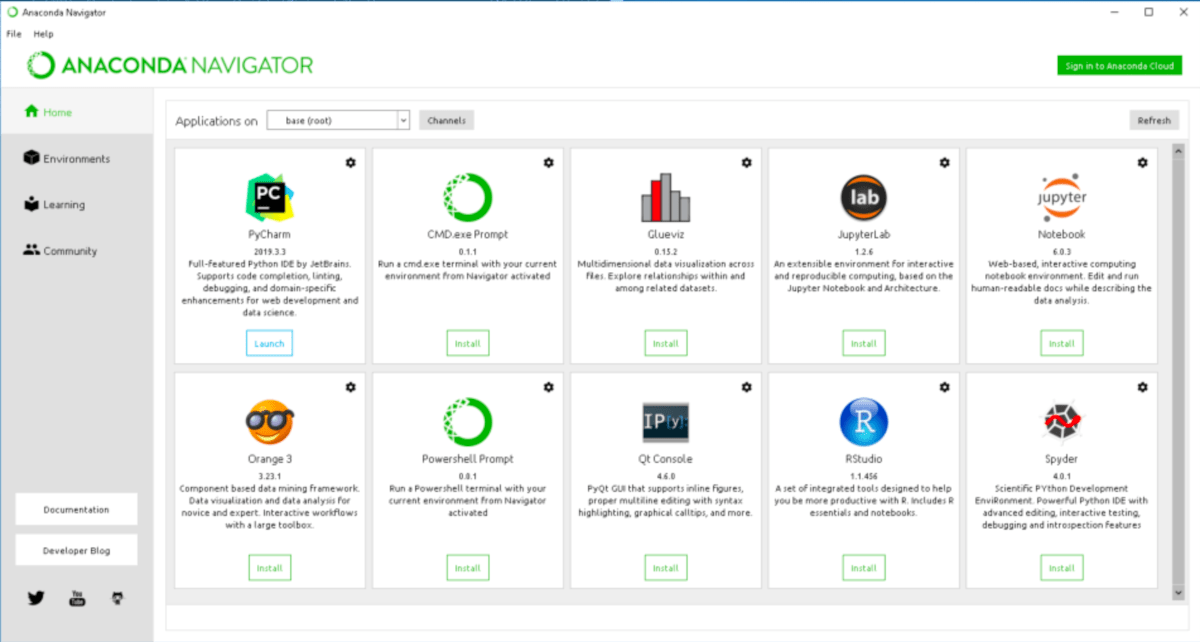
To start up the GUI Anaconda Navigator, open up a terminal by pressing Ctrl + Alt + T on the keyboard. Then, type out “anaconda-navigator” to start up the app.
