Despite Gnome 40 being out for close to 6 months, it still hasn’t made it to Ubuntu, with Canonical deciding to go with Gnome 3 for 21.04. However, thanks to the community it is possible to get Gnome 40 up and running on Ubuntu. Here’s how to do it.
WARNING: Gnome 40 on Ubuntu is highly unstable. Only install this desktop if you know what you’re doing.
Update Ubuntu
The only way to get the latest Gnome 40 (4.0) working on Ubuntu is by upgrading to Ubuntu 21.04. If you do not already have Ubuntu 21.04 and are using Ubuntu 20.04 LTS, you won’t be able to use Gnome 40.
On Addictivetips in the past, I’ve gone over how to upgrade to Ubuntu 21.04 in-depth, and that article will help. However, I’ll also cover a quick terminal-based guide you can use to quickly upgrade to 21.04.
To start the upgrade, you need to open up a terminal window. You can open up a terminal window on the desktop in Ubuntu, press Ctrl + Alt + T on the keyboard. Or, open up the terminal by searching for it in the app menu.
Once the terminal window is open, use the sed command to update your installation’s software sources to 21.04.
sudo sed -i 's/eoan/hirsute/g' /etc/apt/sources.list
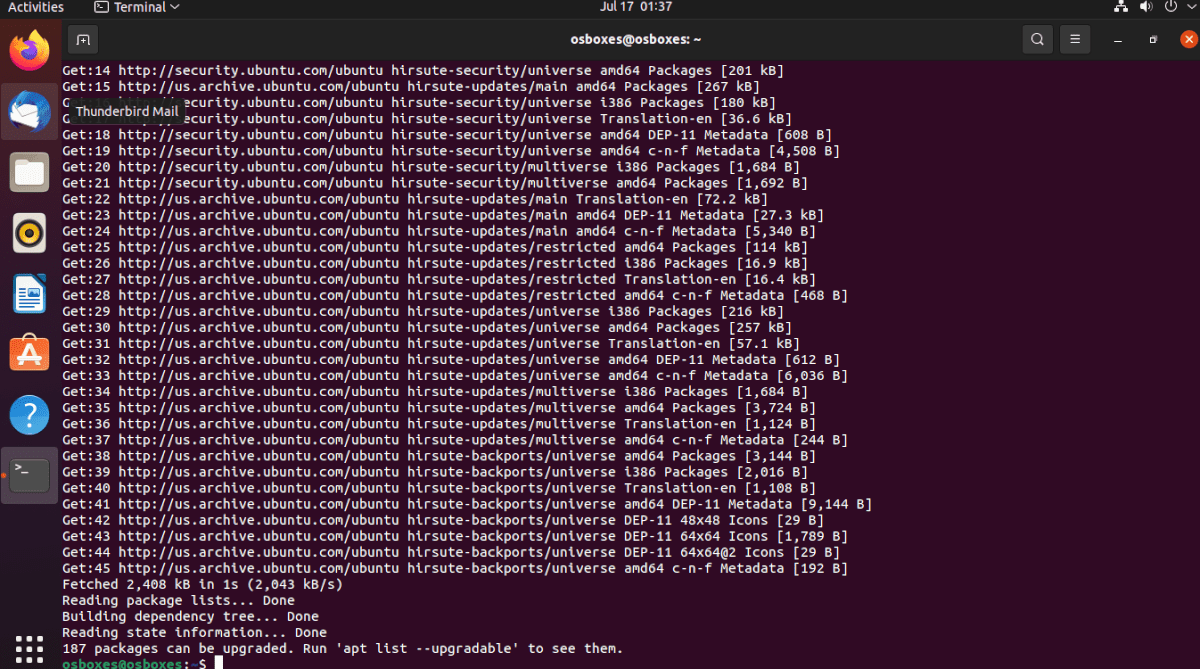
After updating all of the software sources to “hirsute” you’ll have taken the first step to upgrade to 21.04. Now, you must run the update command. This command will refresh the software database on Ubuntu.
sudo apt update
Next, you’ll need to install the latest 21.04 patches to your system. These patches will begin the conversion to Hirsute Hippo, which can run Gnome 40.
sudo apt upgrade
With the patches installed, you’ll need to run the dist-upgrade command. This command will install any packages that have been held back, helping you transition to 21.04.
sudo apt dist-upgrade
When the update is finished, reboot your system. Then, re-open up a terminal window and use the autoremove command to remove the no longer necessary packages on the system.
sudo apt autoremove
Ensure you have Gnome Shell installed
While the main release of Ubuntu has the Gnome desktop, that’s not the only version of Ubuntu. If you’ve installed Xubuntu, Lubuntu, Kubuntu, Ubuntu Budgie, or Ubuntu Mate, you’ll have a different desktop environment.
If you’re interested in using Gnome 40, you’ll need to first install the Gnome desktop. Without the base Gnome packages, upgrading to 40 over the PPA will not work.
To install the Gnome desktop in Ubuntu, do the following. First, open up a terminal window by pressing Ctrl + Alt + T on the keyboard or searching for “Terminal” in the app menu. Once it is open, install the Ubuntu Gnome desktop package.
sudo apt install ubuntu-desktop
The installation will grab all necessary packages that you need to use Gnome on Ubuntu. During the installation, you’ll be asked to choose a login manager in the terminal. Be sure to choose “gdm,” the Gnome login manager.
Enable the Gnome 40 PPA
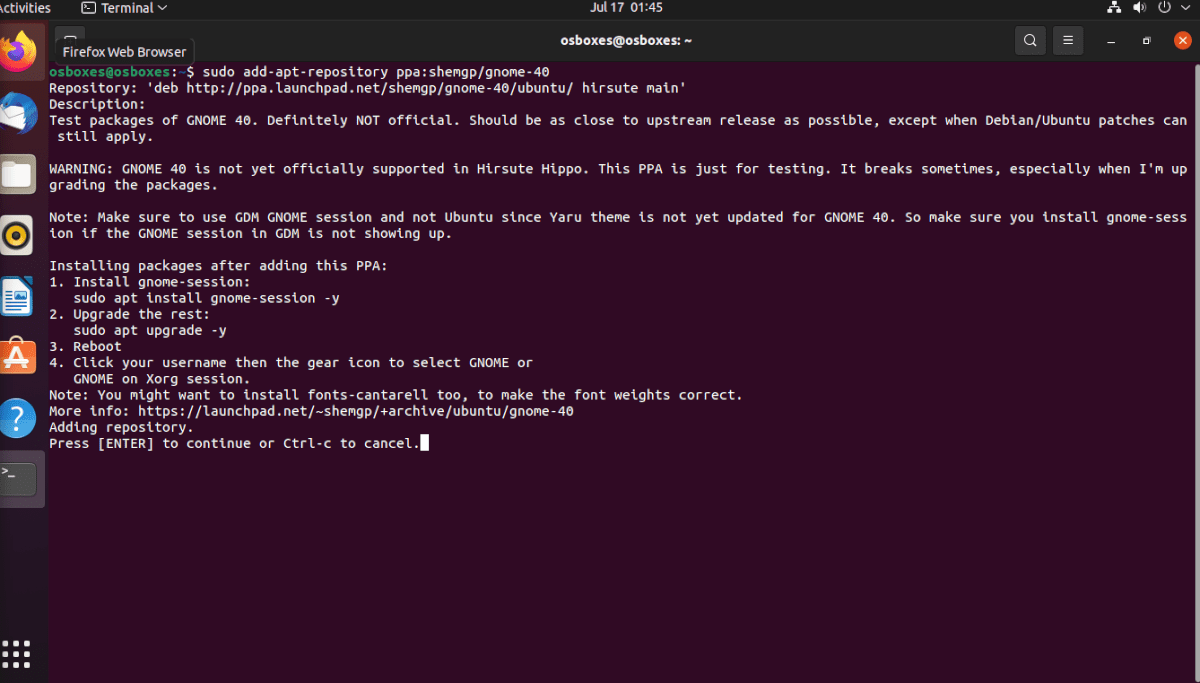
To get Gnome 40 on Ubuntu, you need to add a third-party PPA (AKA a personal package archive) to your system. To do it, use the apt-add-repository command down below.
sudo add-apt-repository ppa:shemgp/gnome-40
After adding in the new Gnome 40 PPA, you’ll need to run the update command on your Ubuntu PC. This command will finish configuring the Gnome 40 PPA.
sudo apt update
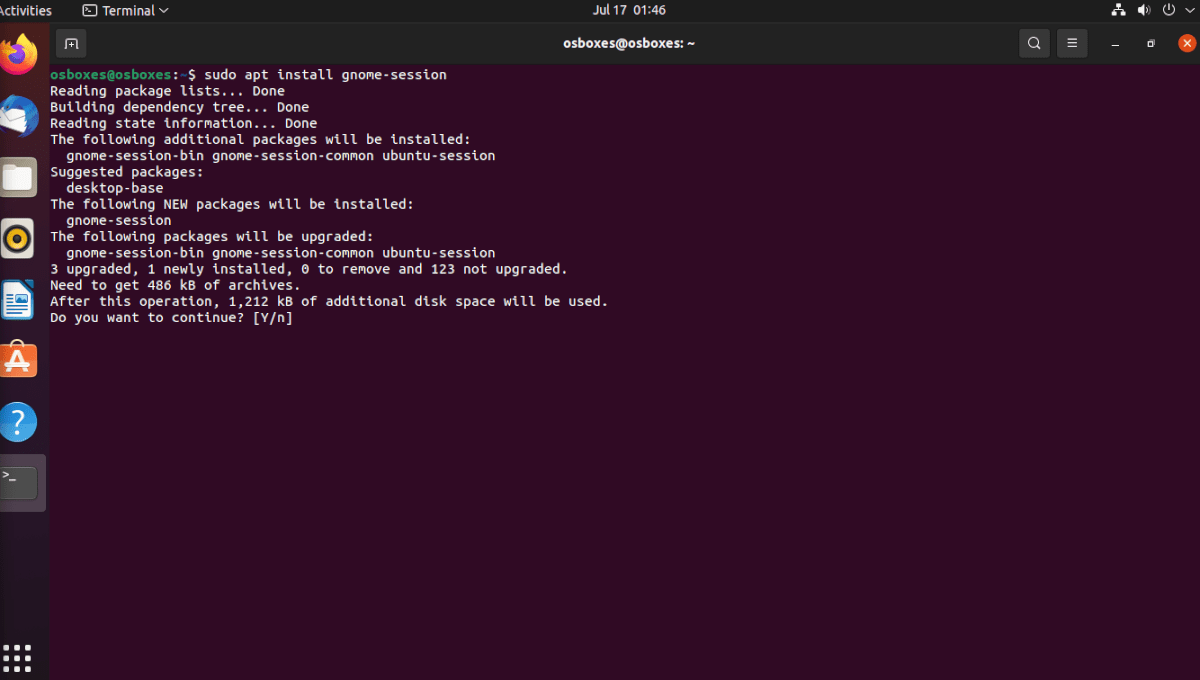
With everything set up, it is time to install the “gnome-session” package. The reason you must install this package is that while Ubuntu does have Gnome, it has a customized version. You need “gnome-session” to use Gnome 40.
To install the “gnome-session” package, use the following apt install command down below.
sudo apt install gnome-session
Now that the “gnome-session” package is set up on your Ubuntu 21.04 installation, you’ll need to start the Gnome upgrade process. To do that, move on to the next section.
Upgrade your packages
The Gnome 40 upgrades your existing Gnome packages from 3.0 versions to 4.0 versions. If you do not upgrade these packages, Gnome 40 will not function correctly.
To do the upgrades to Gnome 40 on your Ubuntu installation, open up a terminal window and use the apt upgrade command below to download the Gnome 40 upgrades from the new PPA added earlier.
sudo apt upgrade
Now that all of the updates are installed onto your Ubuntu PC, you will need to reboot. Rebooting is required to finish upgrading the Gnome packages to version 4.0.
Log into Gnome 40
After rebooting, you can finally access Gnome 40 in Ubuntu. To do this, locate the gear menu icon on the login screen, and click on it with the mouse. Inside the gear menu, locate “Gnome” and select it.
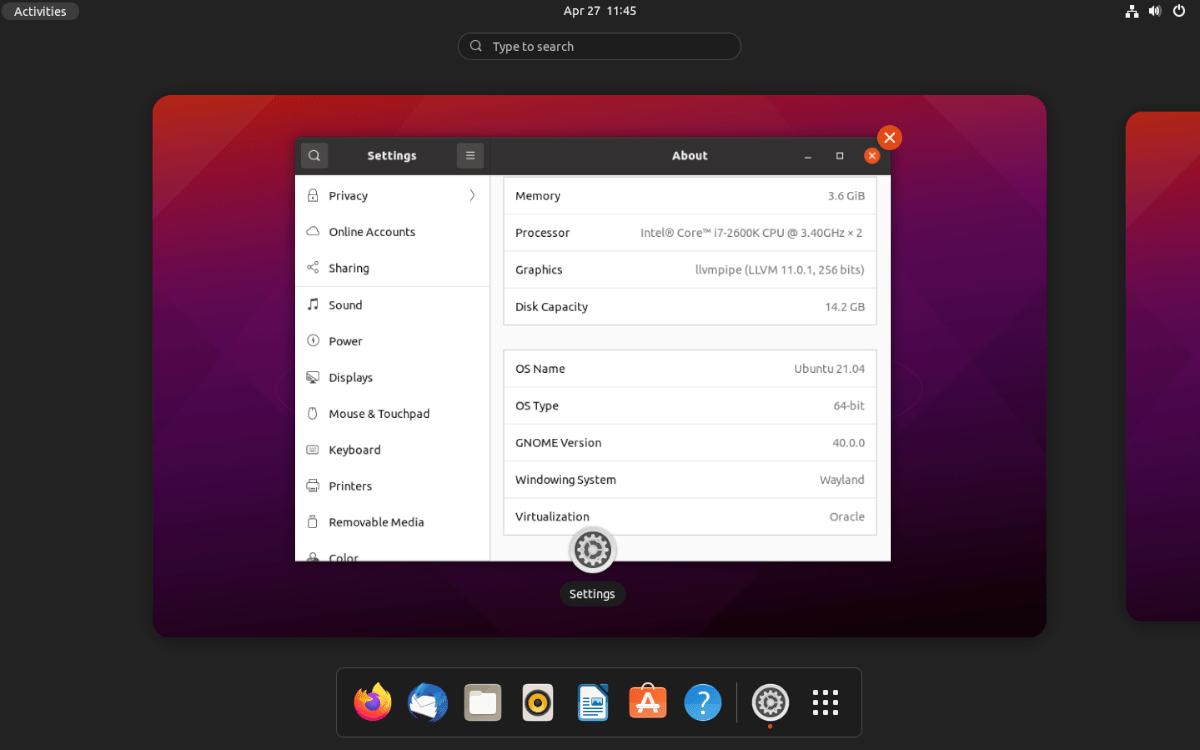
Upon selecting the “Gnome” option, select your username, and type in your password. When you log in, you’ll be using Gnome 40.