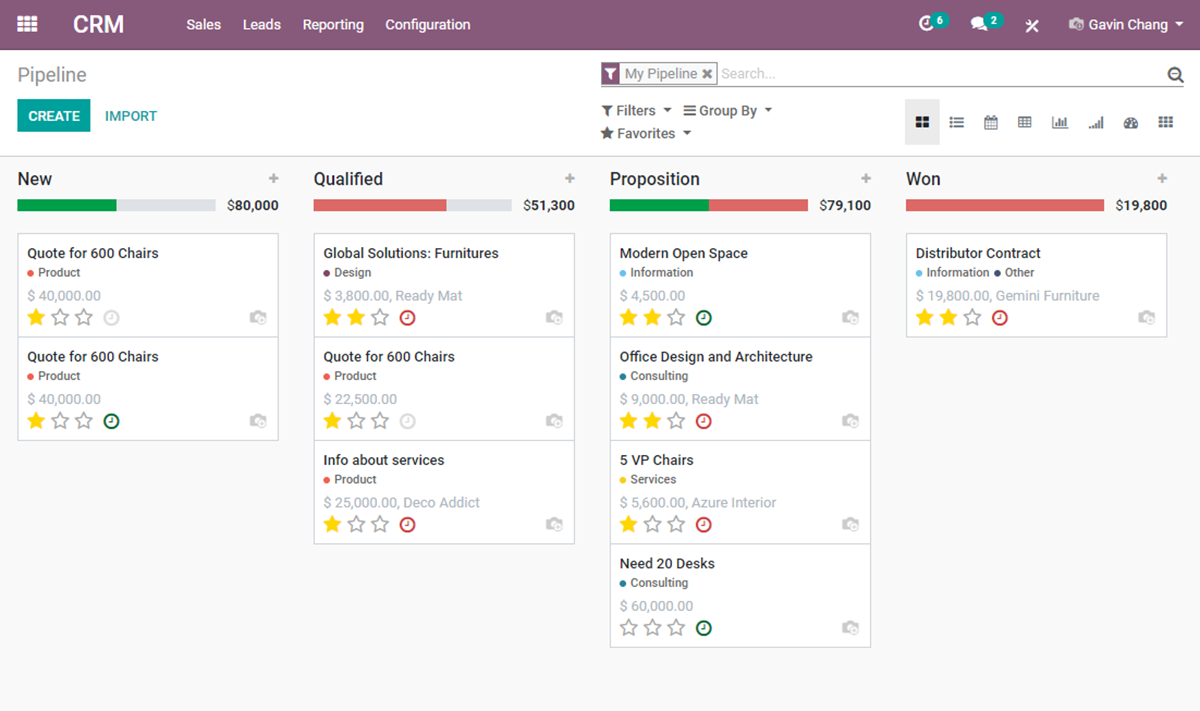
Odoo is a business suite platform that runs on Ubuntu. With Odoo, users can boost their sales, run POS, timesheets, help desks, inventory, and purchases. In this guide, we’ll show you how to install Odoo on Ubuntu 20.04 LTS.
Note: Although this guide focuses on Ubuntu 20.04 LTS, it is also possible to get the app working with newer releases of Ubuntu.
Installing Odoo dependencies on Ubuntu
Before Odoo can be installed on Ubuntu, the dependencies need to be installed on the system. To get these dependencies working, start by opening up a terminal window and logging into your Ubuntu server via SSH.
Now that you’re logged in, use the apt install command below to install the packages listed below. These packages are important for building Odoo, and without them, the build will fail.
sudo apt install git python3-pip build-essential wget python3-dev python3-venv \
python3-wheel libfreetype6-dev libxml2-dev libzip-dev libldap2-dev libsasl2-dev \
python3-setuptools node-less libjpeg-dev zlib1g-dev libpq-dev \
libxslt1-dev libldap2-dev libtiff5-dev libjpeg8-dev libopenjp2-7-dev \
liblcms2-dev libwebp-dev libharfbuzz-dev libfribidi-dev libxcb1-dev
There are a lot of packages to install on Ubuntu Server for Odoo to build correctly. Sit back, be patient and allow the package manager to get everything set up.
Creating an Odoo user account
You should never run server software with the root user account on your Ubuntu Server. It is dangerous, especially if any vulnerabilities are found. Instead, it is best to create a dedicated user with specific permissions.
Using the useradd command, create the “odoo14” user account.
sudo useradd -m -d /opt/odoo -U -r -s /bin/bash odoo14
PostgreSQL
The Odoo application uses PostgreSQL for database management. So, PostgreSQL must be set up on the system for Odoo to work correctly. To start, use the apt install command below and install the “postgresql” package onto Ubuntu Server.
sudo apt install postgresql
After setting up PostgreSQL, a user account must be created to interact with the database. To create a new user, use the postgres -c command below.
sudo su - postgres -c "createuser -s odoo14"
Wkhtmltopdf
The Odoo business suite has the ability to render HTML pages into PDF files, as well as other formats. This feature is optional, and you do not need to use it. However, if you do plan to utilize this feature, you’ll have to set up Wkhtmltopdf on Ubuntu Server.
To start the installation of wkhtmltopdf on Ubuntu Server, use the wget download command below and download the latest release of Wkhtmltopdf.
wget https://github.com/wkhtmltopdf/packaging/releases/download/0.12.6-1/wkhtmltox_0.12.6-1.focal_amd64.deb
After downloading the file to your Ubuntu Server system, you must install the package. The quickest way to install the Wkhtmltopdf package is with the apt install command below.
sudo apt install ./wkhtmltox_0.12.6-1.focal_amd64.deb
Installing Odoo
With the dependencies, PostgreSQL, and everything else set up, now is the time to install Odoo on Ubuntu. To start, log into your new user account created earlier.
sudo -s
su odoo14
Once logged in, use the git clone command to download the latest release of Odoo to your Ubuntu server. Keep in mind that Odoo is quite large so the cloning process may take a bit of time to complete.
git clone https://www.github.com/odoo/odoo --depth 1 --branch 14.0 /opt/odoo14/odoo
Python modules
With the code downloaded, you’ll need to use Python3 to create a new environment for Odoo. First, access the Odoo folder directory using the CD command. Then, use python3 to create a new environment, and enter it with the source command.
cd /opt/odoo14/odoo
python3 -m venv odoo-venv
source odoo-venv/bin/activate
Finally, install all required Python3 modules using the pip3 install command. These modules are critical to using Odoo.
pip3 install wheel
pip3 install -r odoo/requirements.txt
When everything is installed via Pip3, exit the Python environment by using the deactivate command below.
deactivate
Plugins
While it is not required, Odoo allows for custom plugins. If you’d like to use them, use the following command to create the plugin folder.
sudo mkdir -p /opt/odoo14/odoo-custom-addons
Configuring Odoo
Odoo is installed, but it needs to be configured. First, log out of the Odoo user with the exit command. Then use the touch command to create a new configuration file.
sudo touch /etc/odoo14.conf
Open up the new configuration file using the Nano text editor.
sudo nano /etc/odoo14.conf
Once inside the configuration file, paste the code below.
[options]; This is the password that allows database operations:
admin_passwd = CHANGE-TO-A-SECURE-PASSWORD
db_host = False
db_port = False
db_user = odoo14
db_password = False
addons_path = /opt/odoo14/odoo/addons,/opt/odoo14/odoo-custom-addons
Save the edits in Nano by using the Ctrl + O keyboard combo. Exit with Ctrl + X.
Systemd
You’ll need to create a Systemd service file to use Odoo. Using the touch command, create a new service file.
sudo touch /etc/systemd/system/odoo14.service
Open the text file with the Nano text editor and paste the code inside of it.
[Unit]Description=Odoo14
Requires=postgresql.service
After=network.target postgresql.service
[Service]Type=simple
SyslogIdentifier=odoo14
PermissionsStartOnly=true
User=odoo14
Group=odoo14
ExecStart=/opt/odoo14/odoo-venv/bin/python3 /opt/odoo14/odoo/odoo-bin -c /etc/odoo14.conf
StandardOutput=journal+console
[Install]WantedBy=multi-user.target
Save the edits in Nano by using the Ctrl + O keyboard combo. Exit with Ctrl + X. Then, activate the new system file, and turn it on.
sudo systemctl daemon-reload
sudo systemctl enable odoo14.service
Start up the service with the start command.
sudo systemctl start odoo14.service
Setting up Odoo

With Odoo installed on Ubuntu Server, head over to a computer, open up a new browser and access the Odoo installation. Then, log in with your admin password and follow the prompts to configure your new installation.
HTTP://ubuntu-server-ip-address:8069