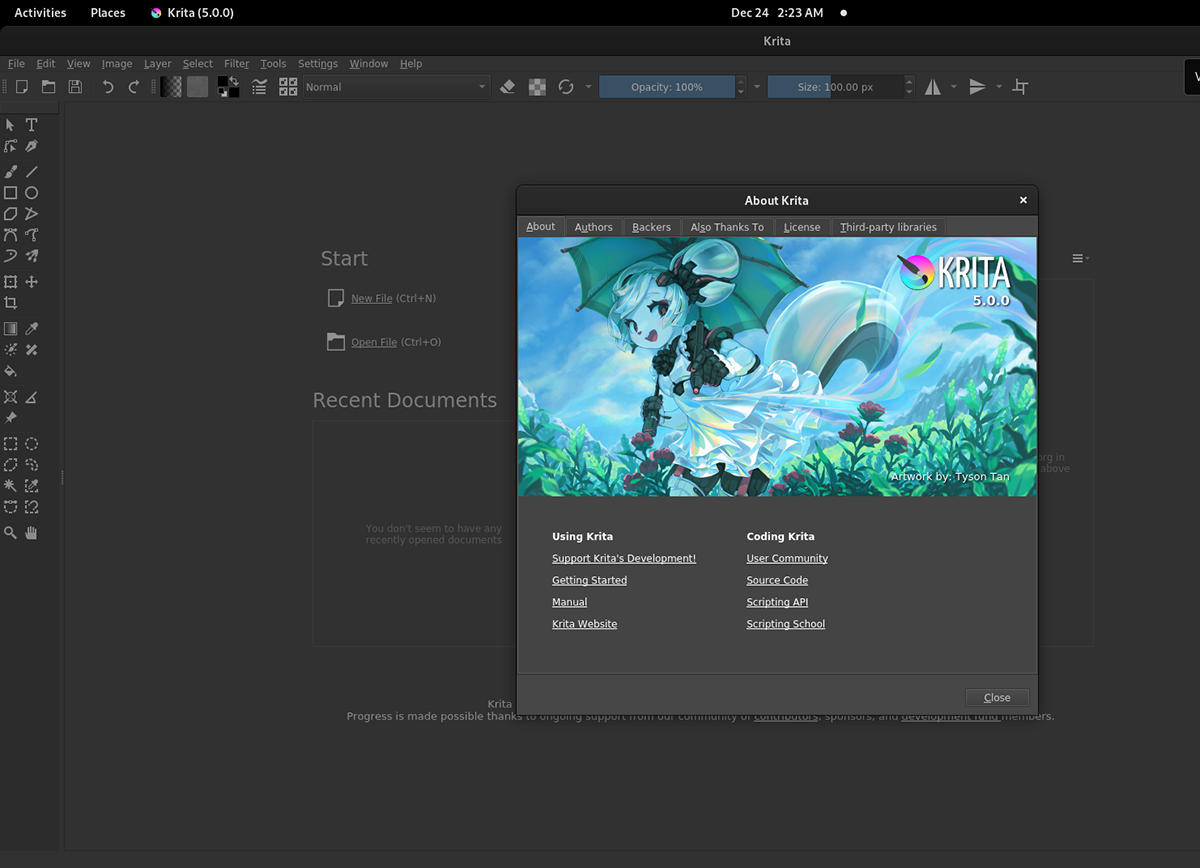
Krita 5.0 is out for Linux users, and it is packed with new and exciting features. If you’ve been looking to upgrade to 5.0, this guide will help! Follow along as we show you how you can upgrade to Krita 5.0 on Linux!
Ubuntu upgrade instructions
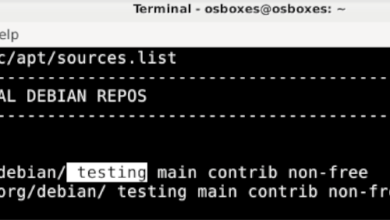
On Ubuntu, the latest version of Krita is 4.48. Unfortunately, there’s no way to upgrade it to 5.0 with the official Ubuntu software repositories. However, there is a Krita PPA that can get you the latest version of the app.
To get started, launch a terminal on the Ubuntu desktop. To do that, press Ctrl + Alt + T on the keyboard. Or, search for “Terminal” in the app menu. Then, use the add-apt-repository command to add the new Krita PPA to your computer.
Note: although this section focuses on Ubuntu, if you use an Ubuntu-based operating system like Elementary OS, Peppermint, Zorin OS, Linux Mint, and others, this PPA is compatible with your Linux operating system, so feel free to use it to get the latest Krita.
sudo add-apt-repository ppa:kritalime/ppa
After adding the new Krita PPA to your computer, you’ll need to update it. Using the apt update command, refresh Ubuntu’s software sources.
sudo apt update
Once the update command is run, Ubuntu will detect updates for the Krita application. From here, run the upgrade command to install the latest version of Krita to your Ubuntu system. Or, if you do not have it set up already, install it.
sudo apt upgrade -y
or
sudo apt install krita -y
Debian upgrade instructions
Debian does not have any ability to upgrade to the latest version of Krita through the official software repositories. However, that doesn’t mean you cannot upgrade. Thankfully, Debian supports Flatpak and Snap packages quite well.
Before attempting to use Flatpak or Snap package to get a newer version of Krita, you’ll have to uninstall the Debian version of the app. To do that, open up a terminal window by pressing Ctrl + Alt + T, or launch it via the app menu. Then, run the apt-get remove command.
sudo apt-get remove krita
After removing the Krita application from Debian, follow the AppImage installation instructions to get the latest version of Krita on your Debian Linux system.
Arch Linux upgrade instructions
Arch Linux always has the latest packages available for its users. As Krita 5.0 is officially out, it will be available in the software repositories. To get the latest version of Krita on your Arch system, start by opening up a terminal window on the desktop.
When you have a terminal window open and ready to use, run the pacman -Syyu command. This will upgrade your system and install the latest version of Krita on your Arch Linux system.
sudo pacman -Syyu
Don’t have the latest version of Krita on your Arch Linux system already? Use the pacman -S command and install the “krita” package on your computer.
sudo pacman -S krita
Fedora upgrade instructions
On Fedora Linux, the latest version of the Krita application is 4.4.5. Sadly, the Fedora project has yet to update these packages to the new 5.0 version. If you’re using Fedora and want to get 5.0, do the following.
First, open up a terminal window on the Fedora desktop. With the terminal window open and ready to use, uninstall Krita using the dnf remove command.
sudo dnf remove krita
After uninstalling the Krita package from Fedora, follow the AppImage instructions to get the latest version of Krita working on your Fedora system.
OpenSUSE upgrade instructions
Sadly, OpenSUSE Tumbleweed and OpenSUSE Leap have yet to add Krita 5.0 to their official software repositories. Unfortunately, this means that if you are looking to upgrade to the newest release of the app, you will have to uninstall the OpenSUSE RPM package first.
Launch a terminal window on the desktop to remove the OpenSUSE Krita package. You can launch a terminal window in OpenSUSE by pressing Ctrl + Alt + T on the keyboard or launch it via the app menu.
After opening up a terminal window, use the zypper remove command to uninstall the “krita” package from your computer. After removing the package file from your computer, Krita will be completely uninstalled. From here, follow the AppImage instructions to get the latest Krita on OpenSUSE.
AppImage upgrade instructions
Krita regularly builds and releases AppImages so that users can get the new version of the app as fast as possible. Therefore, if your operating system hasn’t yet Krita 5.0 available, the AppImage has you covered.
To start, you must install the AppImageLauncher tool. AppImageLauncher runs in the background on your computer and handles AppImages, creates desktop shortcuts, and even updates so you don’t have to.
After setting up the AppImageLauncher tool on your computer, head over to the official Krita website and download the newest AppImage file. Then, open up the Linux file manager, run the AppImage, and select the “Integrate and run” option to install Krita to your Linux system.