You can add images, videos, tables, graphs, and screenshots in an MS Word file. It isn’t one of the world’s most popular word processors for nothing. If you’re willing to invest the time, you can use it to create stunning documents. For anyone unfamiliar with professional document designing apps, MS Word is heaven sent. The images you insert in an MS Word document are added in reduced quality. This is to keep the size of the file somewhat reasonable. A single image can add substantially to a document’s size. Imagine if it were added in its original size, your document might become too big to be emailed. Of course, the reduced quality doesn’t always look good in which case, you should sharpen an image in MS Word to make it look better.
MS Word isn’t an image editor by any stretch of the imagination. It has a few tools with limited options for editing an image. These include crop tools, color filters, shapes, borders, and more. If an image you’ve added to your document looks off, you can sharpen it. There’s a built-in tool that lets you do just that.
Sharpen An Image In MS Word
MS Word has a sharpen image feature as far back as Office 2007. Perhaps older versions of the productivity suite have this feature too. It is accessed the same way but the actual controls will be different based on which version of MS Office you’re using. This post details how you can sharpen an image in MS Word in Office 2016.
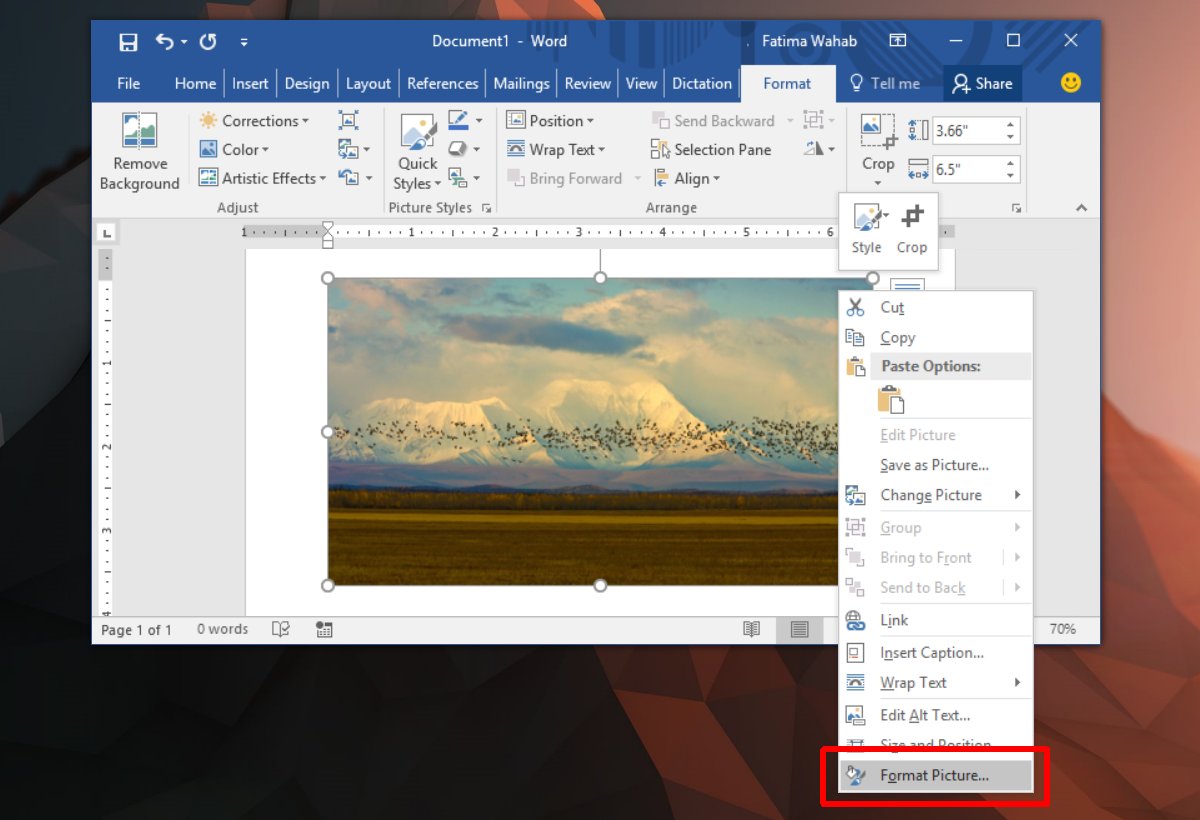
First, insert a picture via the Insert tab on the ribbon. Next, right-click the image and select ‘Format picture’ from the context menu.
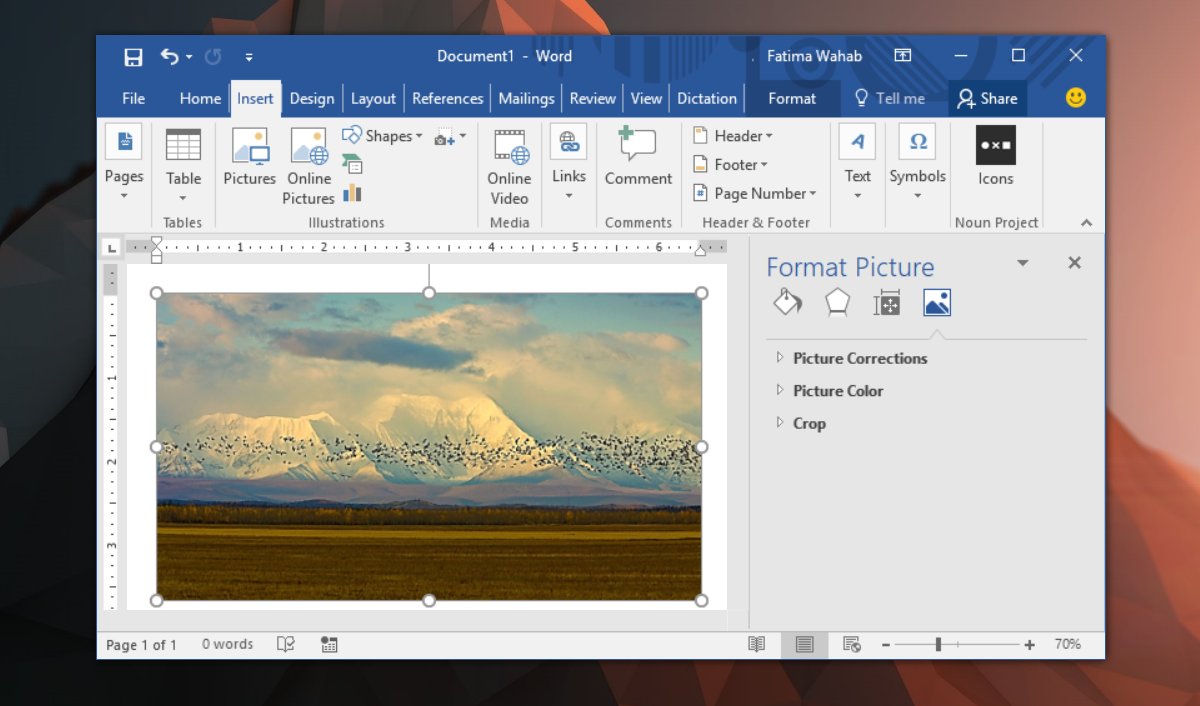
A panel will open on the side with several tabs. Select the Format Picture tab; it’s the one on the far right.
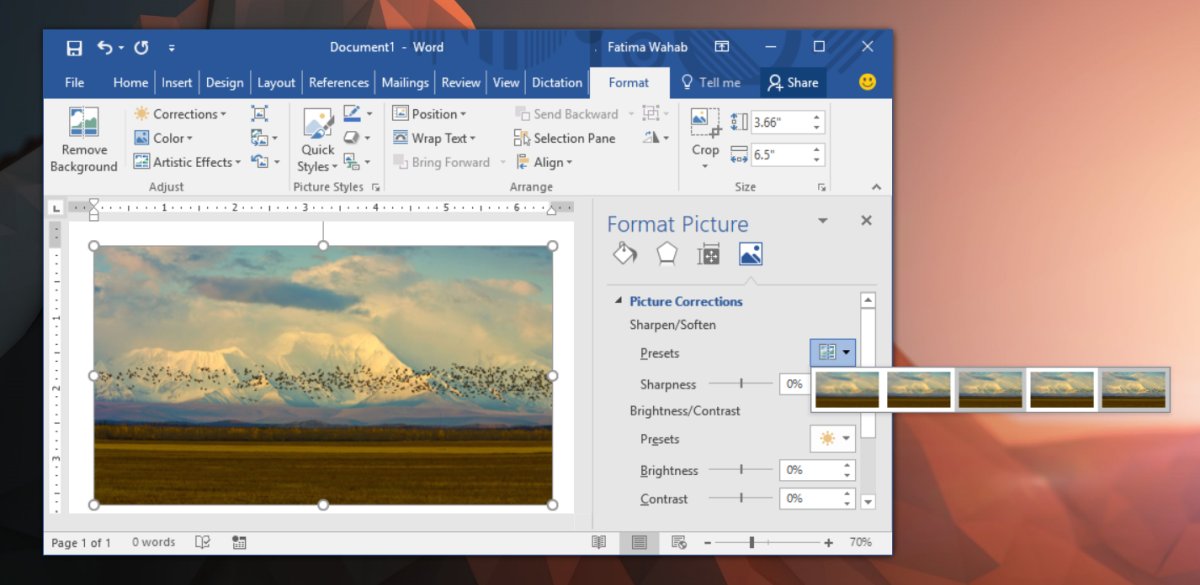
Expand the ‘Picture Corrections’ option. Here you will see a dropdown and a Sharpness slider. The dropdown has preset values for sharpness. They can sharpen or soften the image. You can set a custom sharpness level via the Sharpness slider.
Other Picture Corrections
The Picture Correction section also lets you change the brightness and contrast in an image. Like with Sharpness, you can either increase or decrease the brightness and the contrast. There are presets that change both elements in a picture at once. If you want to change one element but not the other, make use of the sliders instead of the preset dropdown. If anything goes wrong and your picture looks worse than it did before, click the ‘Reset’ button to fix it.
You can choose to edit an image in a proper image editing app before you add it to MS Word but it will be compressed once it is added. Your edits might not look as good as they did before the image was inserted in MS Word. If you want to use a better quality image but keep the file size small, try inserting an image via an online source. The image will be in better quality and you will be able to update it by replacing the online file.