Email scheduling is something that a lot of people need regardless if they use a dedicated desktop email client or the web interface of an email service. Gmail finally added a scheduling option to its web interface in 2019 and up until then, users had to use an add-on or extension to do the job. If you use Outlook for Office 365 on your desktop, it has a tool for scheduling emails. Unfortunately, it isn’t labeled as a scheduling feature so you may not know how to use it or that it even exists. Here’s how you can schedule emails in Outlook for Office 365.
Schedule emails in Outlook
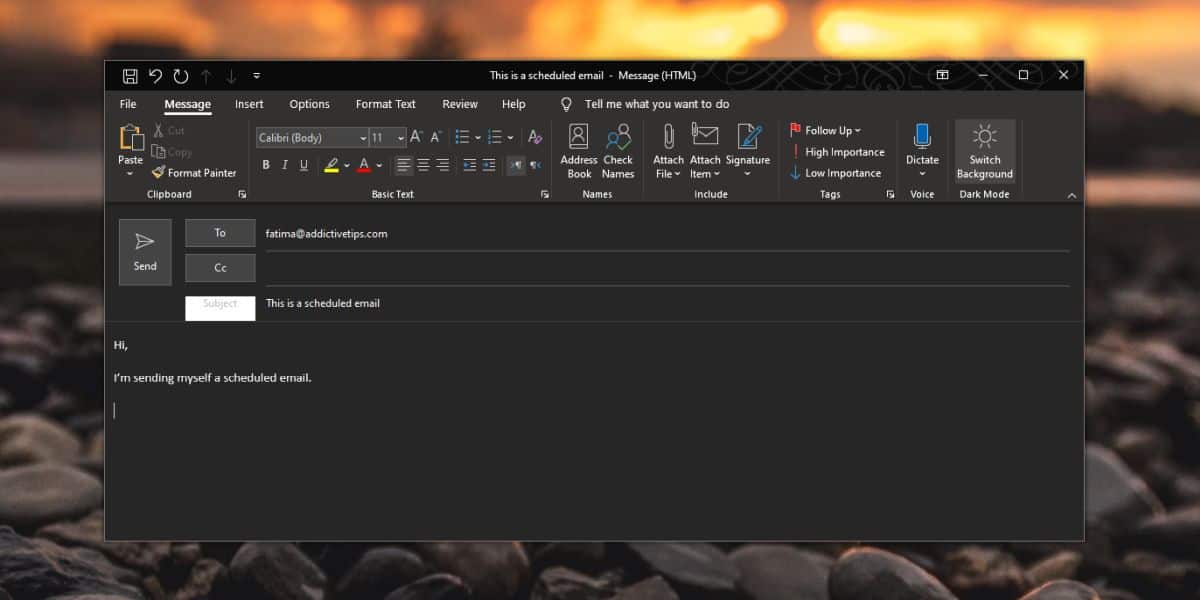
Open Outlook and compose a new message. The message should be complete so enter a subject, enter your message in the body, attach any files that you need to send, and enter at least one recipient.
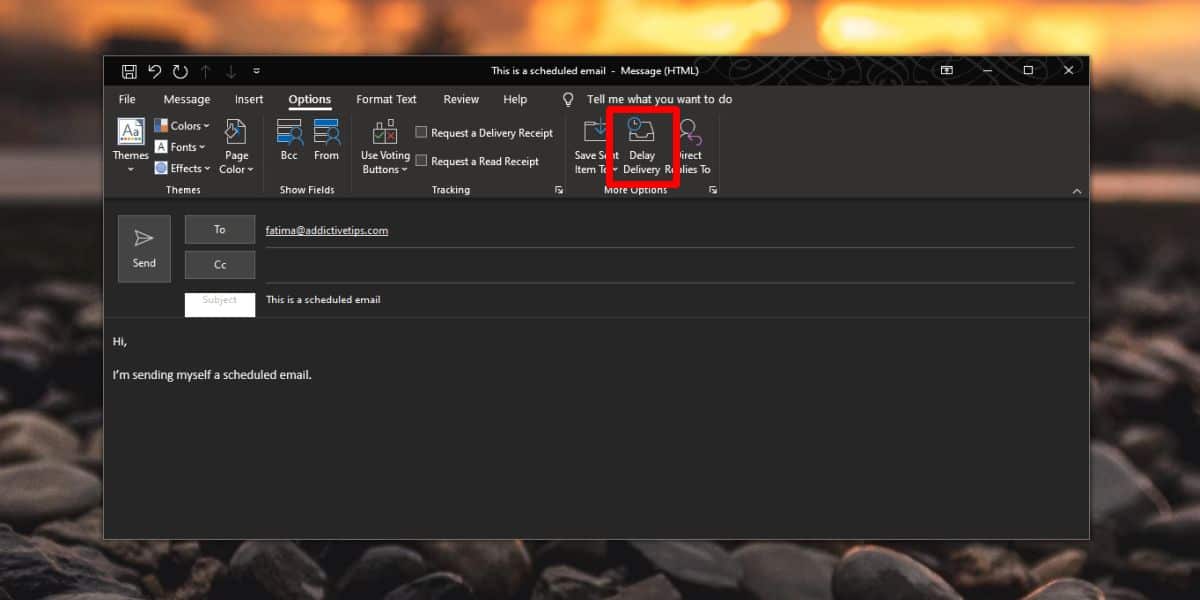
Go to the Options tab and click the ‘Delay Delivery’ button. This is the tool you will use to schedule the email. When you click this button a new window will open.
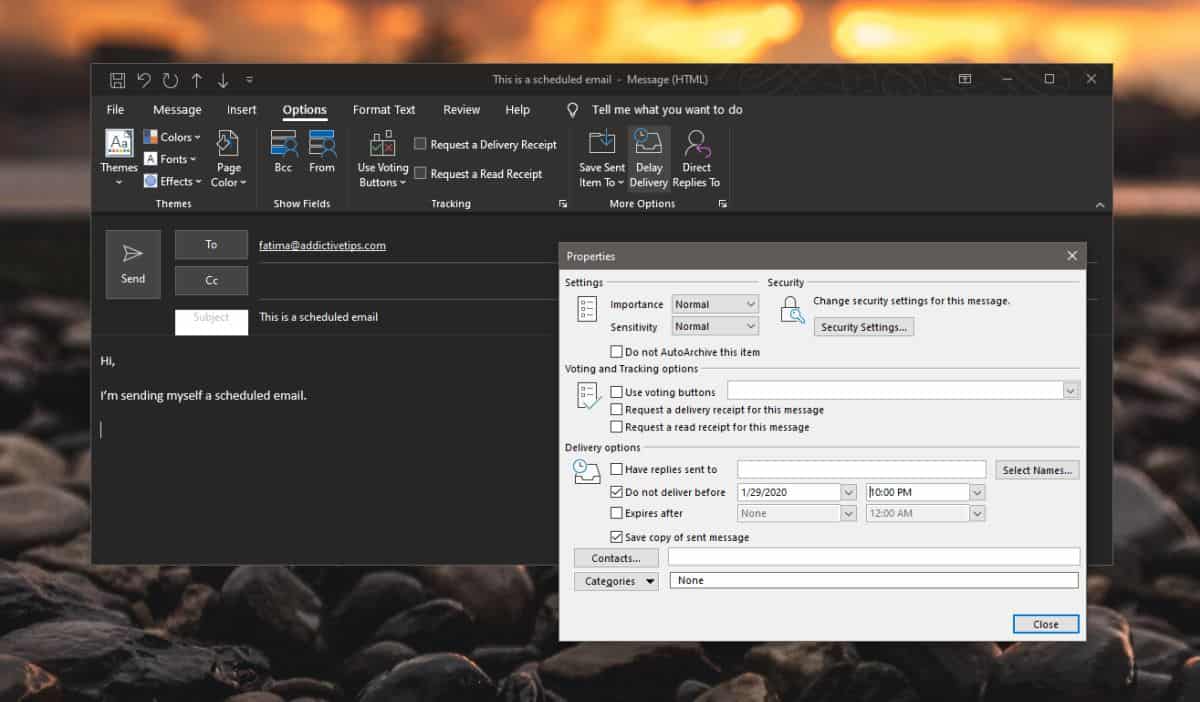
This window doesn’t give you much indication as to which setting will schedule the email. As we said, the tool isn’t a straight-forward scheduling tool. Under Delivery Options, look for ‘Do not deliver before’ and enter the date and time you’d like to send the message. Click OK unless you see another setting that you’d like to change. Return to your message and click Send.
It is important that you keep Outlook running in order to send the message at the scheduled time. This scheduling takes place on your desktop. The message is not sent to an online server with a delayed send request. Whatever happens, happens on your desktop so you need to keep the system awake, and the app running.
Once the time expires e.g., you don’t want a message to send before Jan 29, 2020, 10 PM, Outlook will attempt to send it. It should send and deliver right-away since it’s email and not snail-mail. You can change this time whenever you want before the message is sent. The recipient will of course not know that you scheduled the message. There will be no indication of the fact that the message was sent automatically. There is one downside to this; your recipient might assume you’re at your desk and it’s a good time to contact you either over email or chat. If you’d like to avoid that, you can add a line to the email that lets them know the message was sent at a time when it would be appropriate to reach the recipient, and that you can be contacted in the next few hours or at a given time.