Do you have an Ubuntu VM in VMware Workstation and want to share a folder with it but can’t figure it out? If so, this guide is for you! Follow along as we go over how to access VMware shared folders on Ubuntu!
Before we begin
This article covers VMware Workstation 16, using Ubuntu as a guest operating system. For this reason, you’ll need to have VMware Workstation 16 installed on your host operating system.
The host operating system in this guide is Arch Linux. It has been tested extensively, and VMware 16 is available for installation through the Arch Linux AUR.
That said you do not have to use Arch Linux as your host OS. VMware Workstation 16 can also be installed on other Linux operating systems and Mac OS and versions of Microsoft Windows.
If you’re not sure how to install VMware Workstation 16 on your host operating system, or if you’re using an older release, you’ll need first to install VMware Workstation 16 to continue with this guide. For more information, click on this link here.
Setting up an Ubuntu VM
Before a shared folder can be accessed, you must create an Ubuntu guest VM in VMware Workstation 16. Head over to Ubuntu.com, and go through the process of configuring and setting up an Ubuntu VM in VMware.
Alternatively, if you don’t want to set up a VM from scratch, you can download a pre-configured VMDK image directly from OSboxes.org. They distribute many releases of Ubuntu for VMware as well as virtualbox.
Once you’ve gotten your Ubuntu VM configured, turn it on and start it up. When the VM is turned on, log into your user account using the user credentials created during the installation process.
Adding a shared folder to the Ubuntu VM
To add a shared folder to your Ubuntu VM, you will need to go into the VM settings in VMware. To do this, go to the VMware Workstation 16 UI, and right-click on the Ubuntu VM.
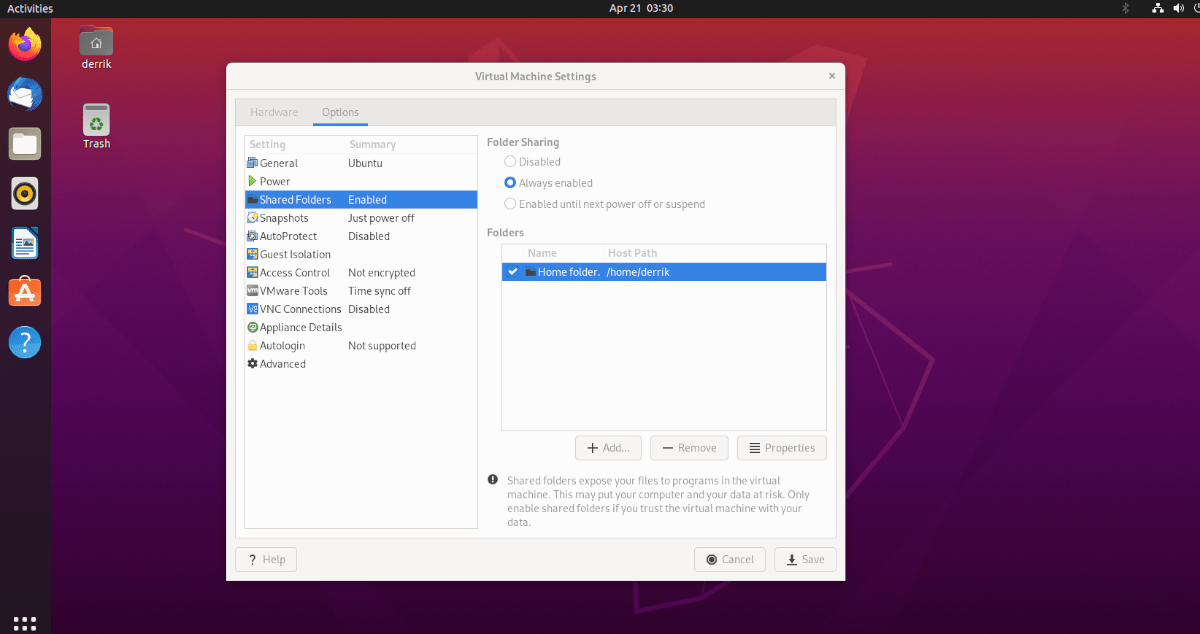
After right-clicking on the Ubuntu VM, select “Settings.” When you click on the “Settings” button, a “Virtual Machine Settings” window will appear on the screen. On this screen, you’ll see two tabs. These tabs are “Hardware” and “Options.”
Find the “Options” tab, and click on it with the mouse. Then, when you make it to the “Options” area, you’ll see a sidebar on the left-hand side. In this sidebar, there are tons and tons of options available.
Look through the “Options” sidebar for “Shared Folders.” Select “Shared Folders” and click on the “Always enabled” box. This box will turn on Shared Folders in the Ubuntu VMware VM at all times.
Note: if you only need shared folders for a limited time, consider instead selecting the “Enabled until next power off or suspend” option.
After enabling shared folder support in the VM, you must add your shared folder. Go to the “Folders” box, and click on the “+ Add” button with the mouse. Then, use the file browser to make a folder on the Host OS available to the Ubuntu VM.
When you’ve selected your folder, click on the “Save” button to apply your Shared Folder settings to the VM.
Access shared folder in Ubuntu
Once the shared folder is mounted in VMware, it will automatically be available in the Ubuntu VMware Workstation VM via the /mnt/hgfs/ folder. You can access your shared files either via the command-line terminal or the Ubuntu file manager.
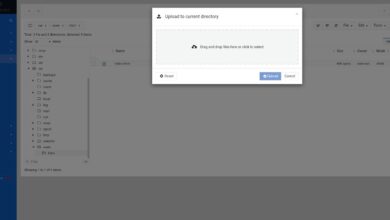
To access your shared folder and files via the file manager, do the following. First, open up the Ubuntu file manager. Then, click on the “Other Locations” button. Inside the “Other locations” area, find the “Computer” icon and click on it to access the root folder.
Inside the root folder, locate the “mnt” folder and click on it. Then, select the “hgfs” folder. In this folder, you’ll see your shared folder from the Host OS. Click on it to access your files.

To bookmark the shared folder, do the following. First, click on the “hgfs” item in the address bar. After clicking on “hgfs,” a menu will appear. In this menu, select the “Add to Bookmarks” button to add it to the sidebar.
Once the “hgfs” folder is on the sidebar as a bookmark, you’ll always be able to access your shared files in an instant quickly.
Access the folder via the command line
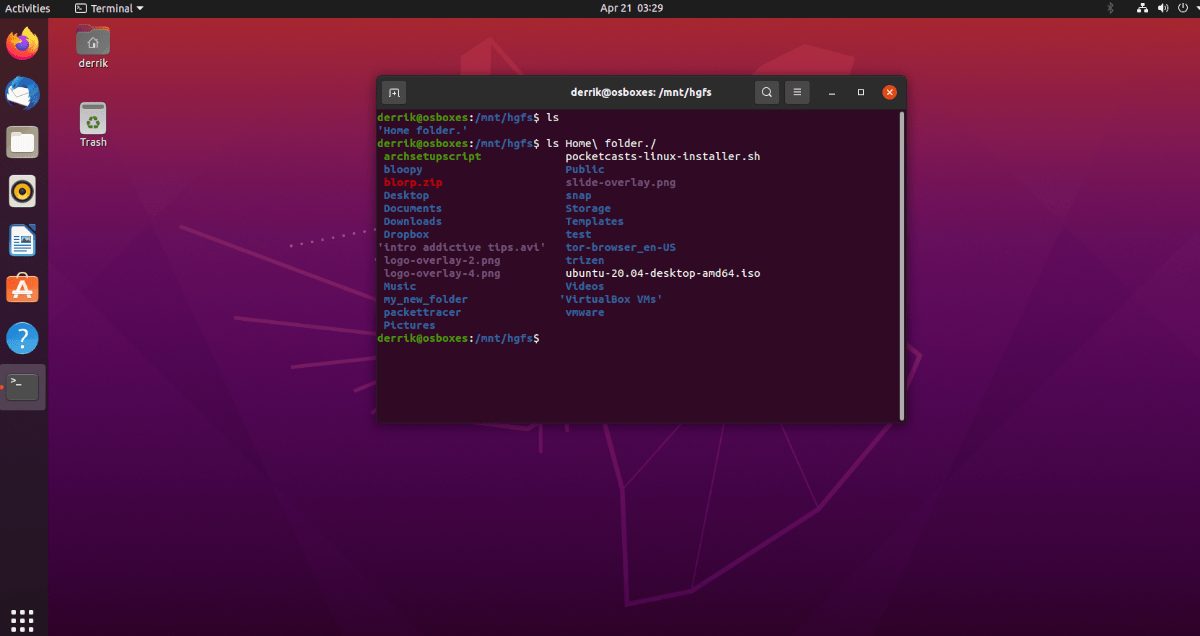
To access your shared files via the Linux terminal window, use the following CD command.
cd /mnt/hfgs/
From here, you can access your shared folder right from the command line. If you’d like to view the contents of this folder, run the ls command. It will display everything in the folder.