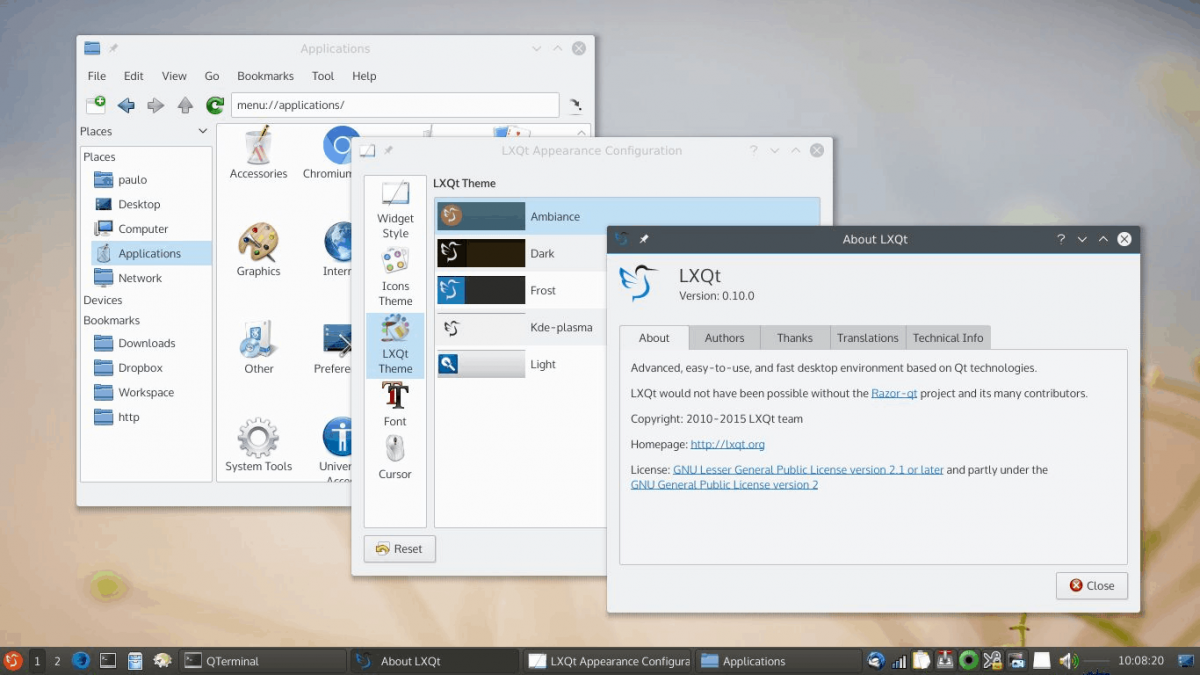
LXQt is a lightweight, lean desktop environment that uses very few system resources. If you’d like to get going with this desktop, follow along with this guide. In it, we break down how to get LXQt working on all major Linux distributions.
Ubuntu installation instructions
On Ubuntu, you can get the LXQt desktop environment by way of Lubuntu, a flavor of Ubuntu that makes use of it. To get it working, you’ll need to first open up a terminal window on the desktop. To open up a terminal on the desktop, press Ctrl + Alt + T on the keyboard or search for “Terminal.”
Once the terminal window is open, use the apt install command to grab the “lubuntu-desktop” package. This package contains LXQt and various programs, apps, and a login session so you can use the desktop.
sudo apt install lubuntu-desktop
Upon entering the password above, you’ll be prompted to enter a password. You need to enter a password, as the sudo command was run, and sudo is a root command that requires system-level access. Enter your password and continue.
After entering your password, Ubuntu will collect all of the packages and install them. From here, press the Y button on the keyboard, and Ubuntu will finish installing LXQt.
Debian installation instructions
The LXQt desktop environment is available to all Debian Linux users as one of many desktop choices during the network setup process and in the Debian software sources installable later.
To start the installation of LXQt on Debian, you will need a terminal window open. To open up a terminal window, press Ctrl + Alt + T on the keyboard or search for “Terminal” in the app menu.
Once the terminal window is open, use the apt install command to install either the “lxqt-core” package, the “lxqt” package, or the “task-lxqt-desktop” package. What’s the difference between these three packages? Not much.
Note: for best results, try the “lxqt” package.
sudo apt install lxqt
Or
sudo apt install lxqt-core
Or
sudo apt install task-lxqt-desktop
Upon entering either of the commands above, you’ll be prompted to enter your password into the terminal prompt. Using the keyboard, write in your user account’s password.
After writing in your password, Debian will collect all dependencies, along with all LXQt packages, and prepare them for installation. At this point, press the Y key on the keyboard, and you’ll be able to get going with LXQt on Debian.
Arch Linux installation instructions

Arch Linux doesn’t come with a desktop environment. Instead, users are expected to build the OS entirely from scratch via the command line and select their own desktop. Thankfully, Arch supports all mainstream desktop environments, including LXQt.
To start the installation of LXQt on Arch Linux, you’ll need to launch a terminal window. To do that, press Ctrl + Alt + T on the keyboard or search for “Terminal” in the app menu.
With the terminal window open, use the Pacman -S command to install the “lxqt” package. This package is a meta-package, and it will grab all LXQt packages from the Arch repo for installation.
sudo pacman -S lxqt
Upon entering the command above, you’ll be asked to enter your password. Using the keyboard, write in your user account’s password. After that, press the Enter key to continue.
After pressing Enter, you’ll see “There are 21 members in group lxqt”. By default, all of these packages are selected. To confirm this selection, press Enter to continue.
Upon pressing Enter to confirm, Arch will begin to download and install LXQt on your Arch Linux PC.
Fedora Linux installation instructions
Are you looking to use LXQt on Fedora? You’re in luck; LXQt is one of the many desktop environments included in the Fedora software repositories. To start the installation, open up a terminal window by pressing Ctrl + Alt + T or by searching for “Terminal” in the app menu.
Once the terminal window is open, use the dnf install command below to install the LXQt package group. This group will provide all packages related to the desktop without the user needing to specify it.
sudo dnf install @lxqt
Upon entering the command above, you’ll be asked to enter your password. Using the keyboard, enter your user account password, then press Enter. From there, Fedora will collect all packages for LXQt and prepare them for installation.
After Fedora has prepared the packages, press the Y button on the keyboard to start the installation of LXQt on Fedora.
OpenSUSE Linux instructions

If you’re using OpenSUSE Linux and want to get your hands on LXQt, you’ll need to install it as a pattern. A pattern is similar to package groups on other distributions. To start the installation, open up a terminal window by pressing Ctrl + Alt + T or search for “Terminal” in the app menu.
With the terminal window open, use the zypper install command below to set up LXQt via the pattern. Keep in mind, a pattern needs to install many packages, so this could take a couple of minutes.
sudo zypper in -t pattern lxqt
Upon entering the command above, you’ll be prompted to enter your password. Using the keyboard, enter your user account password. After that, allow OpenSUSE to collect all LXQt packages for installation.
Once OpenSUSE is ready to install LXQt, press the Y button on the keyboard to install everything needed. When done, OpenSUSE will have LXQt set up.