Linux Mint 20.2 is finally out for fans. Best of all, Linux Mint has made it possible to officially upgrade to the new release with ease. That’s right, for many releases, Mint hasn’t given users an official upgrade path, and users have had to take matters into their own hands.
In this guide, we’ll show you the official way you can upgrade to the new release of Linux Mint. We’ll be covering the Linux Mint Cinnamon version, however, this upgrade process should be the same no matter what release of Mint you choose.
Note: If you do not wish to do an upgrade to Linux Mint on your existing computer, you can download the latest ISO release of Linux Mint 20.2 on the official Linux Mint website.
Install updates
You’ll first need to install any pending updates on your Linux Mint installation before you upgrade. Updates need to install, so Linux Mint 20.1 can begin the upgrade process.
To start the updating process for your existing install, click on the shield icon in the panel’s system tray. Once the update manager application is open, find the “Install Updates” button, and click on it to do the upgrade process.
The upgrade process shouldn’t take a lot of time, as Linux Mint is pretty fast with its upgrading. When the upgrade process is complete, move on to the next section of the guide.
Make a system snapshot
Now that everything is up to date on Linux Mint 20.1, you’ll need to create a system snapshot. Creating a system snapshot is important, as if anything goes wrong during the upgrade process you can restore it with no issues.
To create a system snapshot, open up the Linux Mint menu, search for “Timeshift” and open the app. When it opens, select your preferred snapshot type (rsync or btrfs).
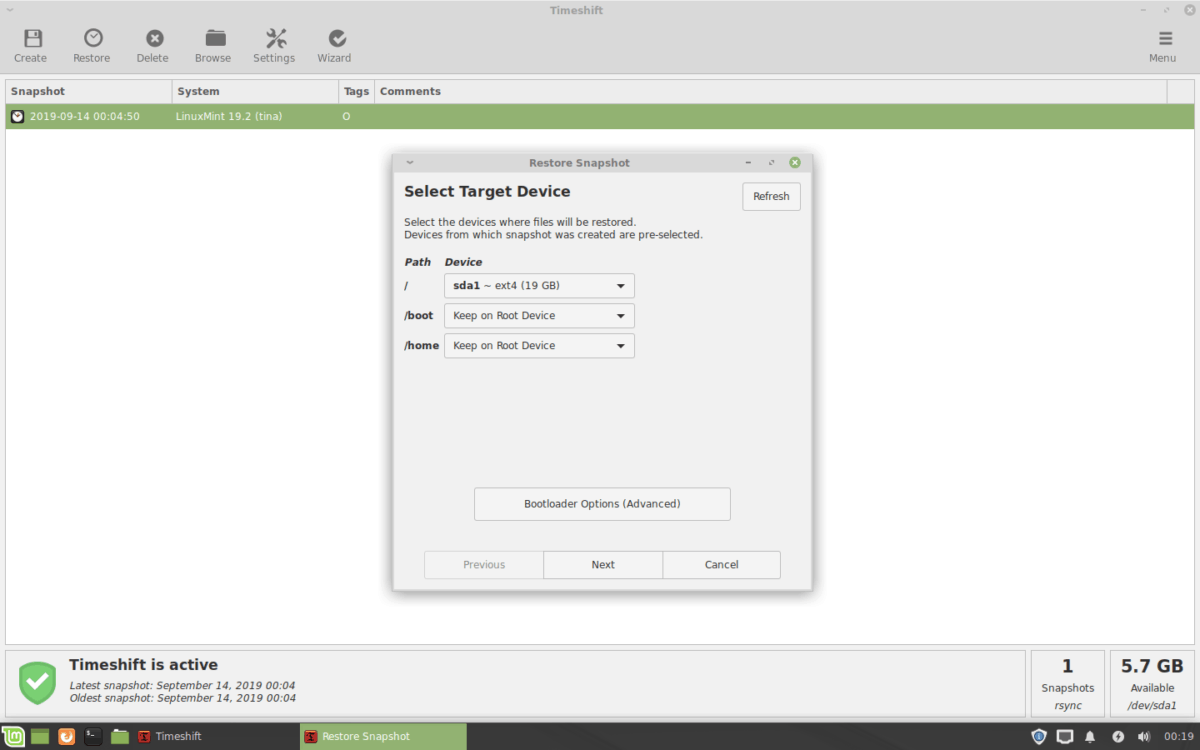
After selecting your preferred snapshot type, choose where the Snapshot will go. Then, click on the “Next” button again. On the last page, choose your snapshot level. If you do not want to choose a level, simply uncheck all of the boxes.
When you’ve chosen the snapshot levels, find the “Finish” button and move on. After you’ve selected the “Finish” button, click on the “Create” button so that you can create a new snapshot for Linux Mint.
Starting the upgrade
Now that you’ve created a snapshot of your current Linux Mint installation, it’s time to install the upgrade to Linux Mint 20.2. To do this, open up the Linux Mint Update Manager by clicking on the shield button in the panel tray (or by searching for “Update Manager”).
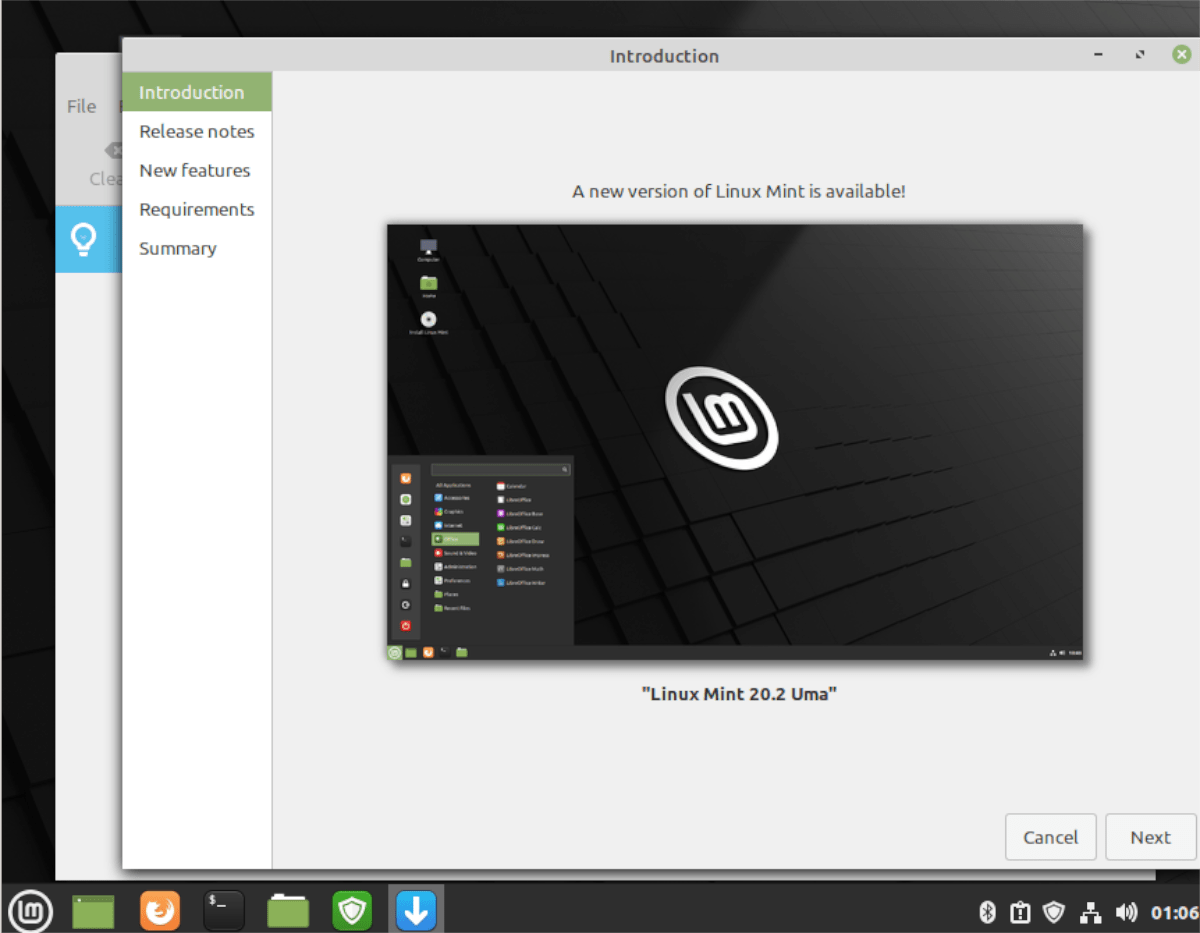
When the Update Manager is open, locate the “Edit” button in the app, and click on it with the mouse. Then, find the “Upgrade to Linux Mint 20.2” button, and select it. By selecting the upgrade button, the “Introduction” window will appear.
On the “Introduction” page, locate the “Next” button and click on it to move on to the next page in the installer. Following the “Introduction,” you’ll see the release notes page. Click next to move on.

Past the release notes, you’ll be able to read about the new features. Once you’ve read about the new Linux Mint features, click on the “Next” button to move on. Following “New features,” you’ll see the requirements page.
The requirements page goes over what the new release of Linux Mint has to offer, as well as what it aims to provide (bug fixes, features, etc.) Find the “I understand the risk. I want to upgrade to Linux Mint 20.2” box, and check it with the mouse. Then, click on the “Apply” button to continue.
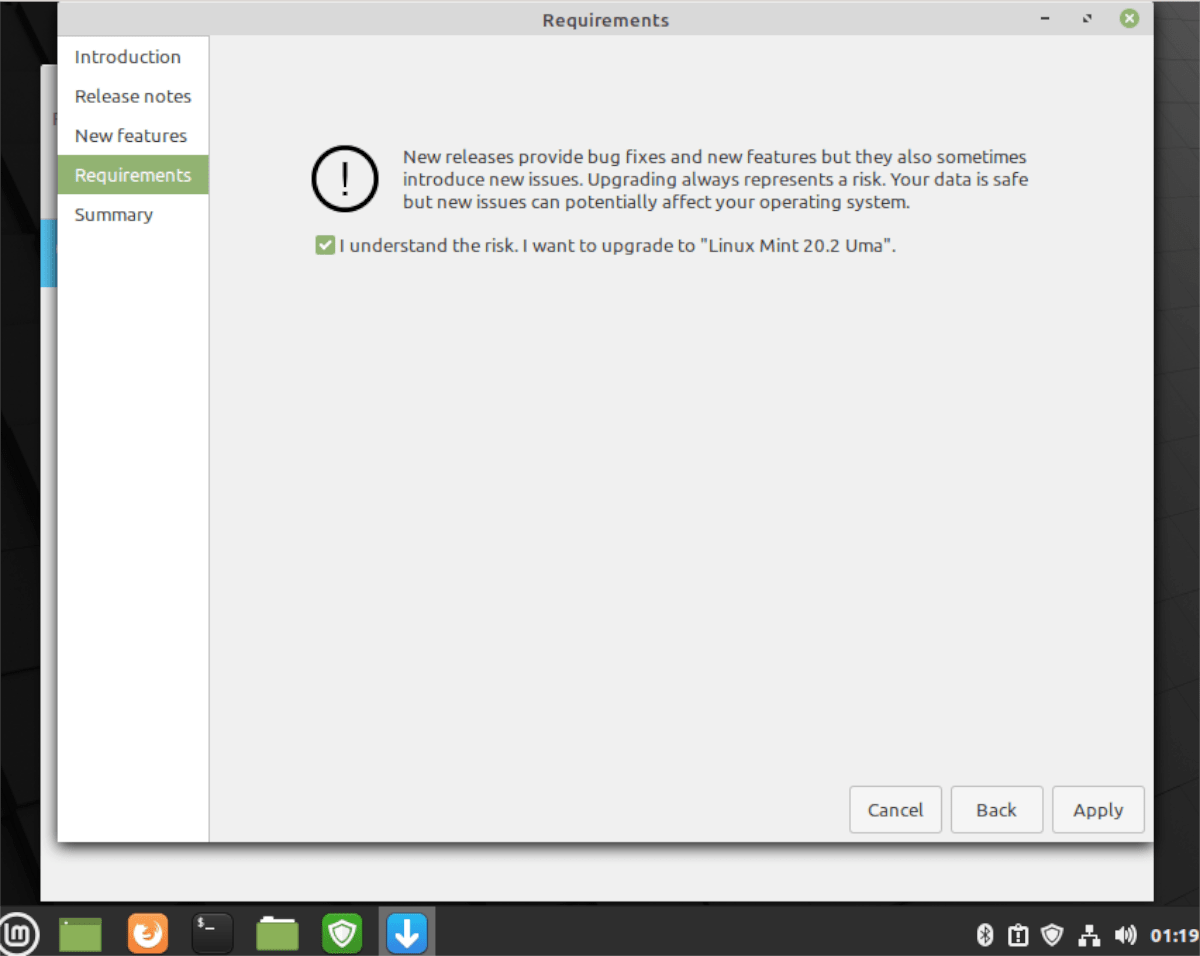
When you select the “Apply” button, the Linux Mint Upgrader tool will begin the upgrade process. First, by downloading packages. While Mint is downloading these packages, sit back and be patient, as these upgrades may take a while.
With the packages downloaded, Linux Mint will begin installing everything. Once again, just like the download process, the installation process for the Linux Mint upgrade will take some time.
Upon installing software, Linux Mint will begin removing software that is no longer necessary. This process shouldn’t take too long, as there aren’t many packages to remove. When the process is complete, you’ll be at the end of the upgrade process, and a message will appear on the screen.
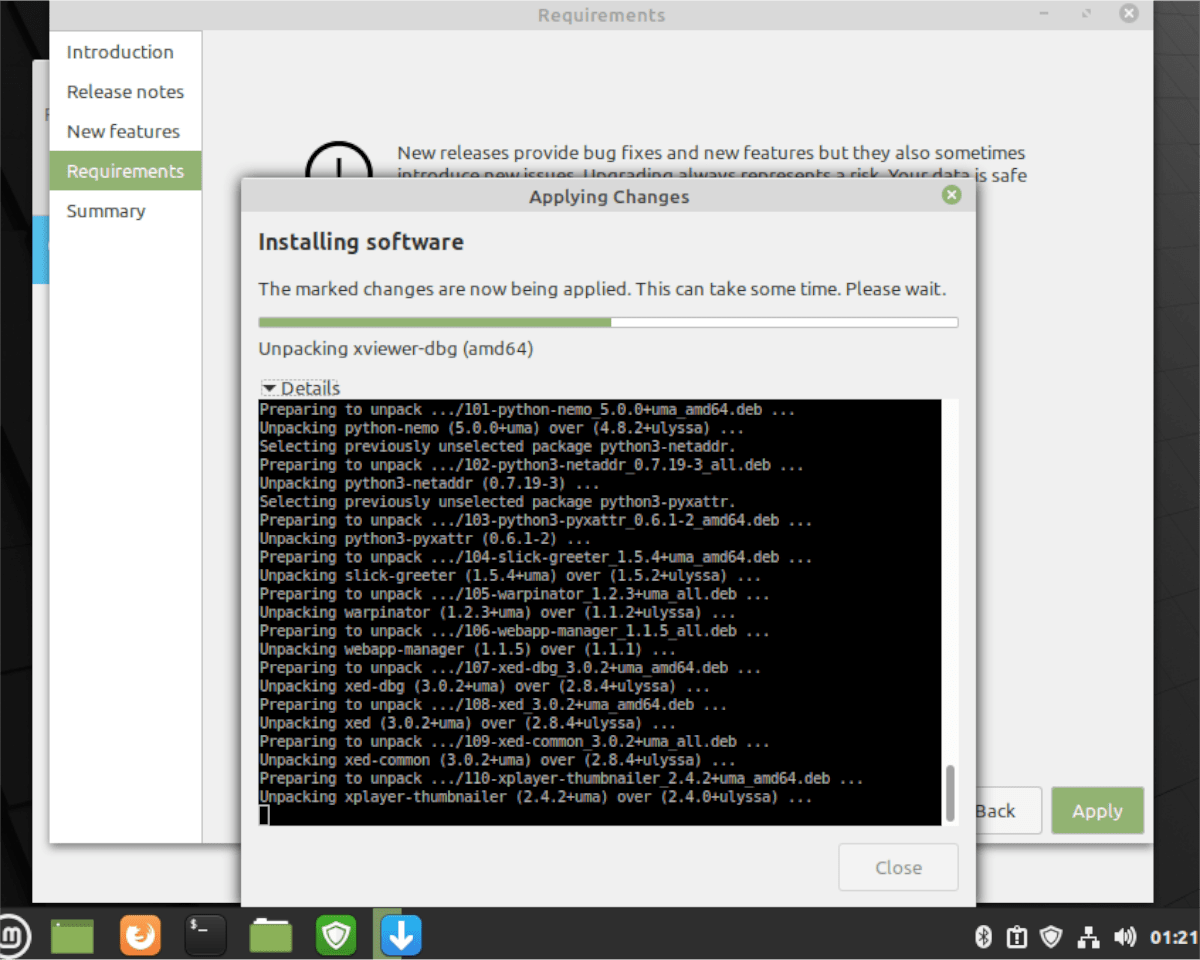
The message that appears on the screen says “Your operating system was successfully upgraded. Please reboot your computer for all changes to take effect.” From here, click on the “Close” button to close the upgrader. Then, using the Linux Mint app menu, select the reboot button to reboot your computer.
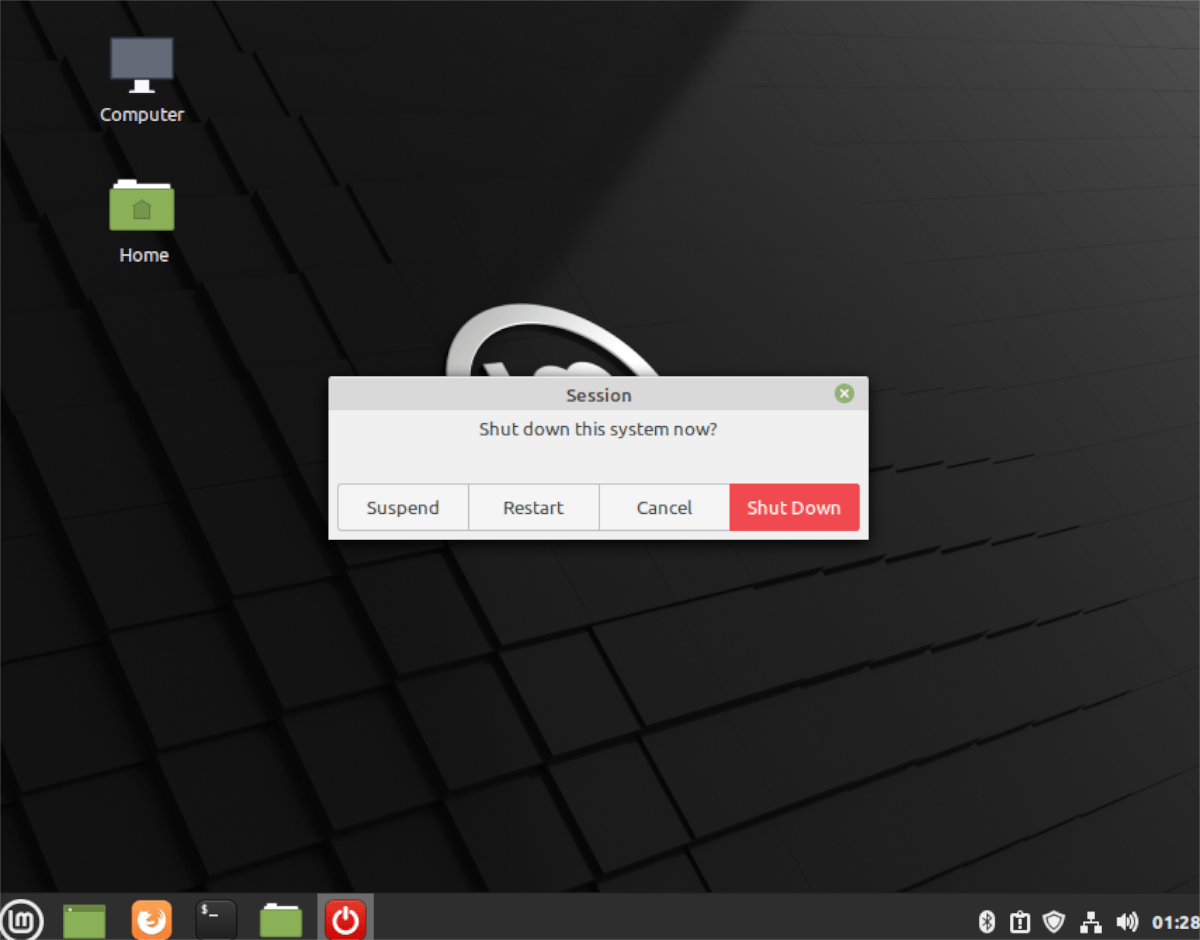
When you finish rebooting Linux Mint and log back in, you’ll be using Linux Mint 20.2. Enjoy!


