Wayland is a new desktop protocol for Linux desktops. It has been in development for quite a while, and it is a modern alternative to the most used desktop protocol on Linux: X11 Server.
Wayland has tons of excellent modern features, however, a lot of apps still rely on the old X11 ways of doing things. As a result, users using Wayland might be frustrated in trying to do things that come easy on X11 desktops.
One such thing that is easy to do on X11 but tough to accomplish on Wayland is screen recording. Thankfully, Blue Recorder exists and makes recording Wayland desktops a little easier.
In this guide, we’ll show you how to install Blue Recorder on your Linux desktop running Wayland, and how to use it to record your Linux desktop with it.
Installing Blue Recorder on Linux
There are three ways to get Blue Recorder up and running on the Linux desktop. You can build it from source, install it via Snap package, or install it via Flatpak. To start the installation open up a terminal window.
To open up a terminal window on the Linux desktop press Ctrl + Alt + T on the keyboard. When the terminal window is open, follow along with the installation instructions outlined below that correspond with the Linux OS you currently use.
Snap package
To install the Blue Recorder application on your Linux PC, you’ll need to be using the Snapd runtime. To set up the runtime, please follow along with our in-depth guide on the subject.
Note: Ubuntu users do not need to set up Snap as it is pre-configured out of the box.
Once the Snapd runtime is configured and running on your system, you can use the snap install command down below to install the latest release of Blue Recorder.
sudo snap install blue-recorder
Flatpak
Blue Recorder is available as a Flatpak package. If you’d like to install it on your system, start by enabling the Flatpak runtime on your computer. If you do not already have the Flatpak runtime configured on your system.
To set up the Flatpak runtime on your computer, you’ll need to install the “flatpak” package. If you can’t figure out how to set up the runtime, please follow our in-depth guide on the subject.
After setting up the Flatpak runtime, you’ll be able to install the Blue Recorder application on your computer with the two commands down below.
flatpak remote-add --if-not-exists flathub https://flathub.org/repo/flathub.flatpakrepo
flatpak install flathub sa.sy.bluerecorder
Source-code
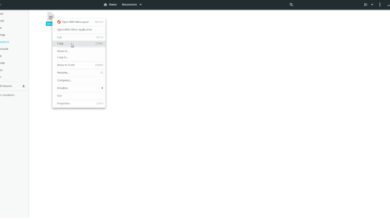
While we do not suggest it, it is possible to build the program from source. To install Blue Recorder from the source code, please click on this link.
Recording your desktop with Blue Recorder
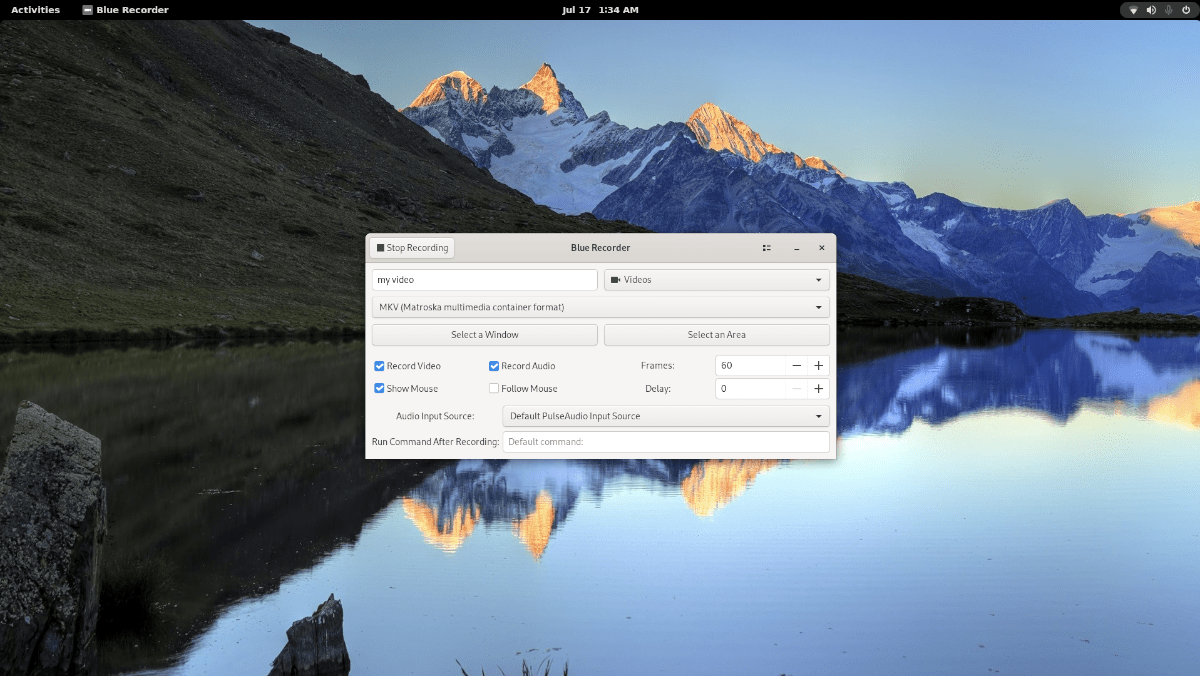
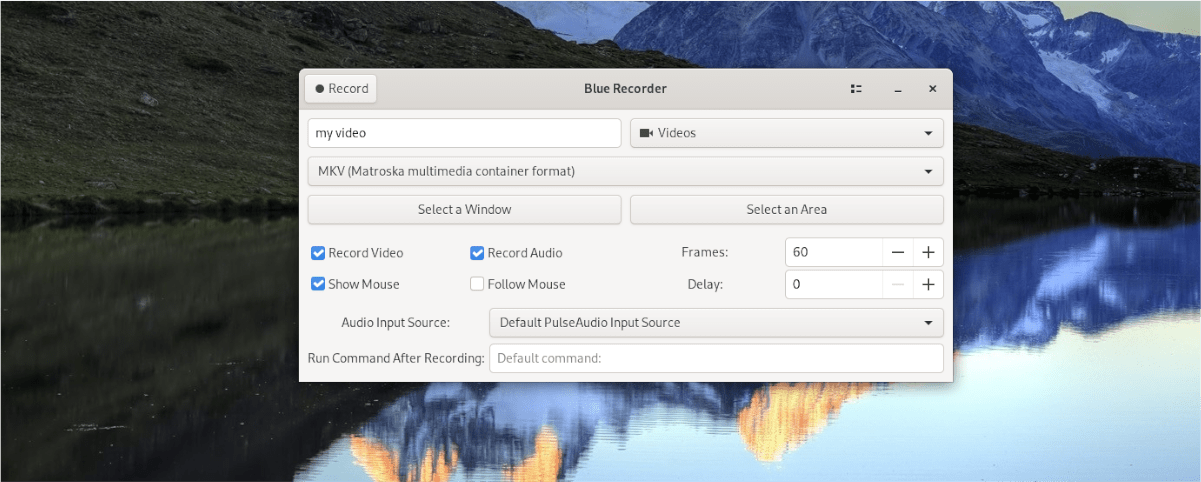
To start recording your Wayland Linux desktop, launch the Blue Recorder app via the Linux app menu. Once the app is open, locate the “Default filename” text box, and click on it with the mouse.
After clicking on the text box, type in the name of the video file. Keep in mind that this is the “default,” meaning that each recording you use will start with this default text, and add on stuff after it (date, time, etc.)

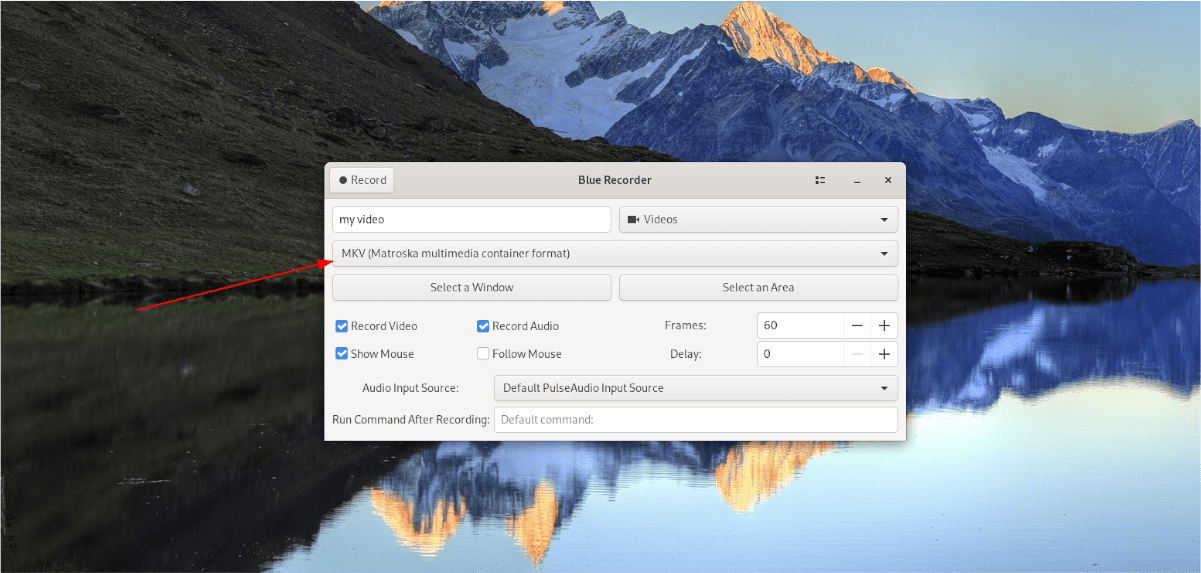
Once you’ve set your default file name, it’s time to decide what file type to use. By default, Blue Recorder uses the MKV format. This format is decent, but if you prefer something else, click on the dropdown menu and choose another.
Now that you’ve chosen your video format, move on to the “Select a Window” and “Select an Area”. Then, use either of the buttons to choose what you want to record. If you do not select either of these options, Blue Recorder will record the entire screen.
Upon selecting a position of the screen to record, you’ll need to select the recording features you wish to use. Recording features include “Record Video,” “Record Audio,” “Show Mouse, ” “Follow Mouse,” “Frames,” and “Delay.”

When you’ve selected the features you wish to use for the recording, it is time to select an audio source. To do that, locate the “Audio Input Source” menu, and click on it with the mouse.
When you’ve selected the “Audio Input Source” menu, choose your audio input option. If you’re unsure what option to use, it’s ok to leave it at “Default PulseAudio Input Source.”
Finally, when you’ve configured all options in “Blue Recorder,” it will be time to record. To record your Wayland desktop, find the “Record” button, and click on it with the mouse.
When you click on the “Record” button, Blue Recorder will begin recording. To end the recording, click the “Stop Recording” button.