Shutter is a complex screenshot application for the Linux desktop. With it, users can take screenshots of selections on the screen and the entire desktop. Shutter also has a built-in image editor for touching up screenshots. Here’s how to use it on your Linux system.
Installing Shutter on Linux
The Shutter screenshot application has been around for quite a long time. However, if you want to use it on your Linux system, you’ll first need to install it manually, as it doesn’t come pre-installed on any distros.
Installing Shutter on Linux is easy. To start, launch a terminal window on the Linux desktop by pressing Ctrl + Alt + T on the keyboard. Or, open up a terminal window on the desktop by searching for “Terminal” in the app menu.
With the terminal window open and ready to use, the command-line setup can begin. Follow the installation instructions below that correspond with the Linux OS you currently use.
Ubuntu
On Ubuntu, Shutter is installable via Ubuntu 18.04 LTS in the “Universe” software repo. However, if you’re using a newer release, you’ll have to grab the packages from a PPA. Here’s how to do it.
First, add the repo to your computer using the add-apt-repository command down below.
sudo add-apt-repository ppa:shutter/ppa
Next, run the update command to refresh Ubuntu’s software sources.
sudo apt update
Finally, install the application with apt install.
sudo apt install shutter
Debian
The Shutter application is available for Debian 9 users in the “oldoldstable” software repository. First, ensure you are using Debian 9 or have the “oldoldstable” repo enabled to get it working. Then, use the apt install command down below to get the app working.
sudo apt install shutter
Arch Linux
On Arch Linux, the Shutter application is available for all users in the “Community” software repository. Ensure that you have “Community” set up already. Once set up, you can use the pacman command below to get the app installed on your system.
sudo pacman -S shutter
Fedora
Ever since Fedora 33, Shutter has been available for Fedora users in the software repos. To get Shutter working on your Fedora system, use the dnf install command down below.
sudo dnf install shutter
For Fedora 34:
sudo dnf --enablerepo=updates-testing install shutter
OpenSUSE
If you’re an OpenSUSE user (Leap 15.2 and Leap 15.3), the Shutter screenshot application is available for installation. Using the zypper install command down below, get it working.
sudo zypper install shutter
How to use Shutter – taking screenshots (selection)
Shutter lets users take screenshots of just a portion of the screen if they wish. Here’s how to do it.
Step 1: Launch the Shutter application on the Linux desktop. You can open up Shutter on the desktop by searching for “Shutter” in the application menu.
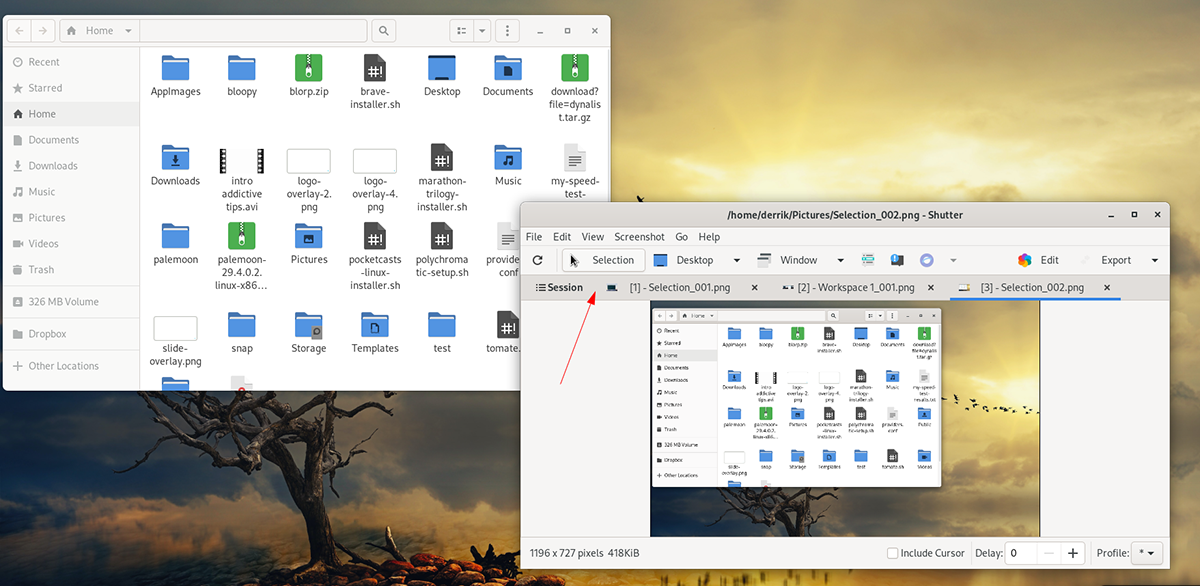
Step 2: Once the app is open, locate the “Selection” button in the Shutter app. Then, click on it with the mouse. When you select this button, a square icon will appear on the screen.
Step 3: After the box appears, use the mouse and create a square (hold the left mouse down while dragging). Press the Enter key on the keyboard to confirm the selection.
Step 4: When you press the Enter key, Shutter will wait a couple of seconds. Then, it’ll take a screenshot and open up the application in Shutter.
From here, you can view the screenshot, save it or place it somewhere else.
How to use Shutter – taking screenshots of (full desktop)
Aside from taking screenshots in Shutter with the “Selection” feature. You can also take a screenshot of the entire desktop (both screens). Here’s how to do it.
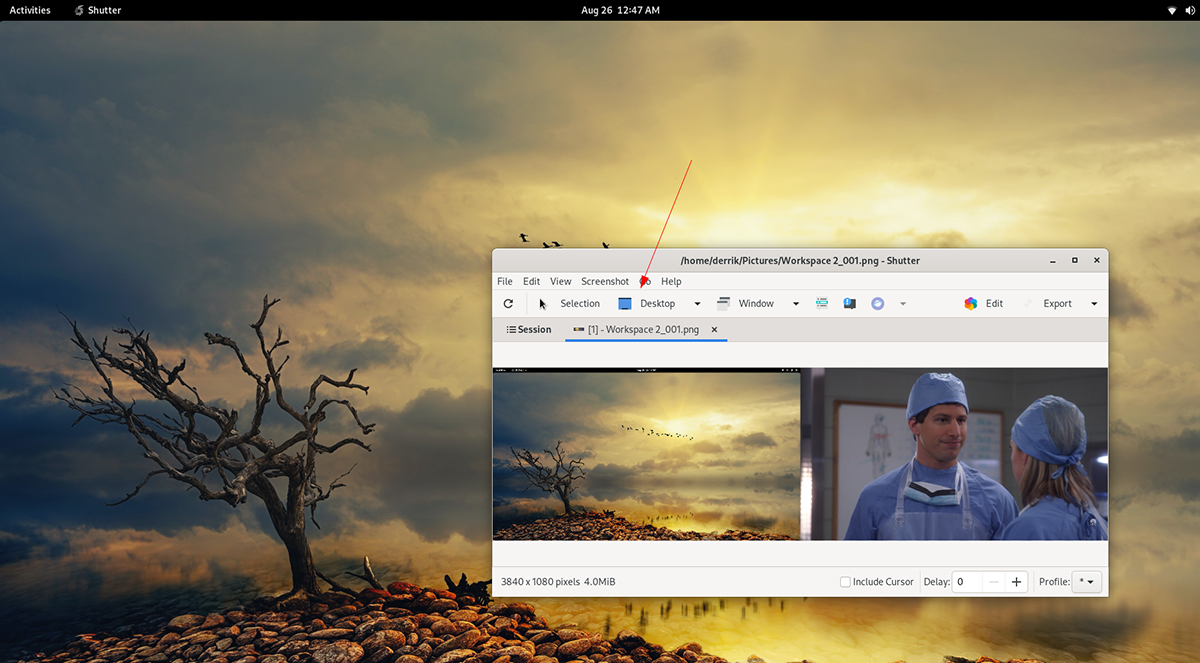
Step 1: Open up the Shutter application by searching for it in the app menu. Once the program is open, find the “Desktop” button, and click on it with the mouse.
Step 2: After selecting the “Desktop” button with the mouse, Shutter will take a bit of time. Then, it’ll present you with your full monitor screenshot in the app.
Inside the Shutter app, select your screenshot to view it. Or, select it to open it up in an external editor.
editing
Shutter has a built-in image editor that you can use. Here’s how to use it. First, take a screenshot. To use the editor, do the following.
Step 1: Take a screenshot with either the “Selection” mode or the “Desktop” mode. When the screenshot is complete, it’ll appear in the Shutter desktop application.
Step 2: Select your screenshot within the Shutter application with the mouse. Then, click on the “Edit” button. When this button is selected, the built-in Shutter image editor will appear.
Using the screenshot editor, edit your screenshot. When the editing is complete, you can save your edits using the “Save” button. Be sure to save your edited screenshot in a familiar location.