Buttercup is an advanced, open-source password vault. It encrypts your passwords with AES 256bit cryptography to keep them safe. If you’re tired of proprietary password solutions on Linux and want something open-source, you’ll love this guide.
In this tutorial, we’ll go over how to install Buttercup on Linux. We’ll also show you how to set up your password vault and generate a secure password.
Note: Buttercup is also available for iOS and Android in their respective app stores.
Installing Buttercup on Linux
Buttercup works on Linux. However, the app only works on Linux via an AppImage. Sadly, there are no RPM packages or DEB packages available for installation. Thankfully though, AppImage works on 99.9% of all Linux distributions.
To get started with the latest release of Buttercup on your Linux computer, open up a terminal window. You can open up a terminal window on the desktop by pressing Ctrl + Alt + T on the keyboard. Alternatively, search for “Terminal” in the app menu and launch it that way.
With the terminal window open and ready to use, execute the mkdir command and create a folder named “AppImages.” This folder will hold the “Buttercup” AppImage file.
mkdir -p ~/AppImages/
After creating the AppImage folder in your home directory, use the wget download command to download the latest release of Buttercup to your computer.
wget https://github.com/buttercup/buttercup-desktop/releases/download/v2.12.0/Buttercup-linux-x86_64.AppImage -O ~/AppImages/Buttercup-linux-x86_64.AppImage
The download process should be quick, as Buttercup for Linux is only about 101 MB. When the process is complete, use the CD command and move your terminal into the “AppImages” folder.
cd ~/AppImages/
Once inside the “AppImages” folder, use the chmod command to update the permissions of the AppImage file so that it is executable. If Buttercup is not marked as executable, you will not be able to use it as a program on your system.
chmod +x Buttercup-linux-x86_64.AppImage
With the AppImage file updated, it can be run. Using the command below, start up Buttercup on your computer. Please do not attempt to start up Buttercup with the sudo command, as it is not good to run it as root.
./Buttercup-linux-x86_64.AppImage
Alternatively, if you wish to launch the Buttercup application with the GUI, open up the file manager, click on the “AppImages” folder, and double-click on the Buttercup AppImage file to start it up.
How to use the Buttercup password manager
To use the Buttercup password manager, launch the application. When the app is open, follow the step-by-step instructions below.
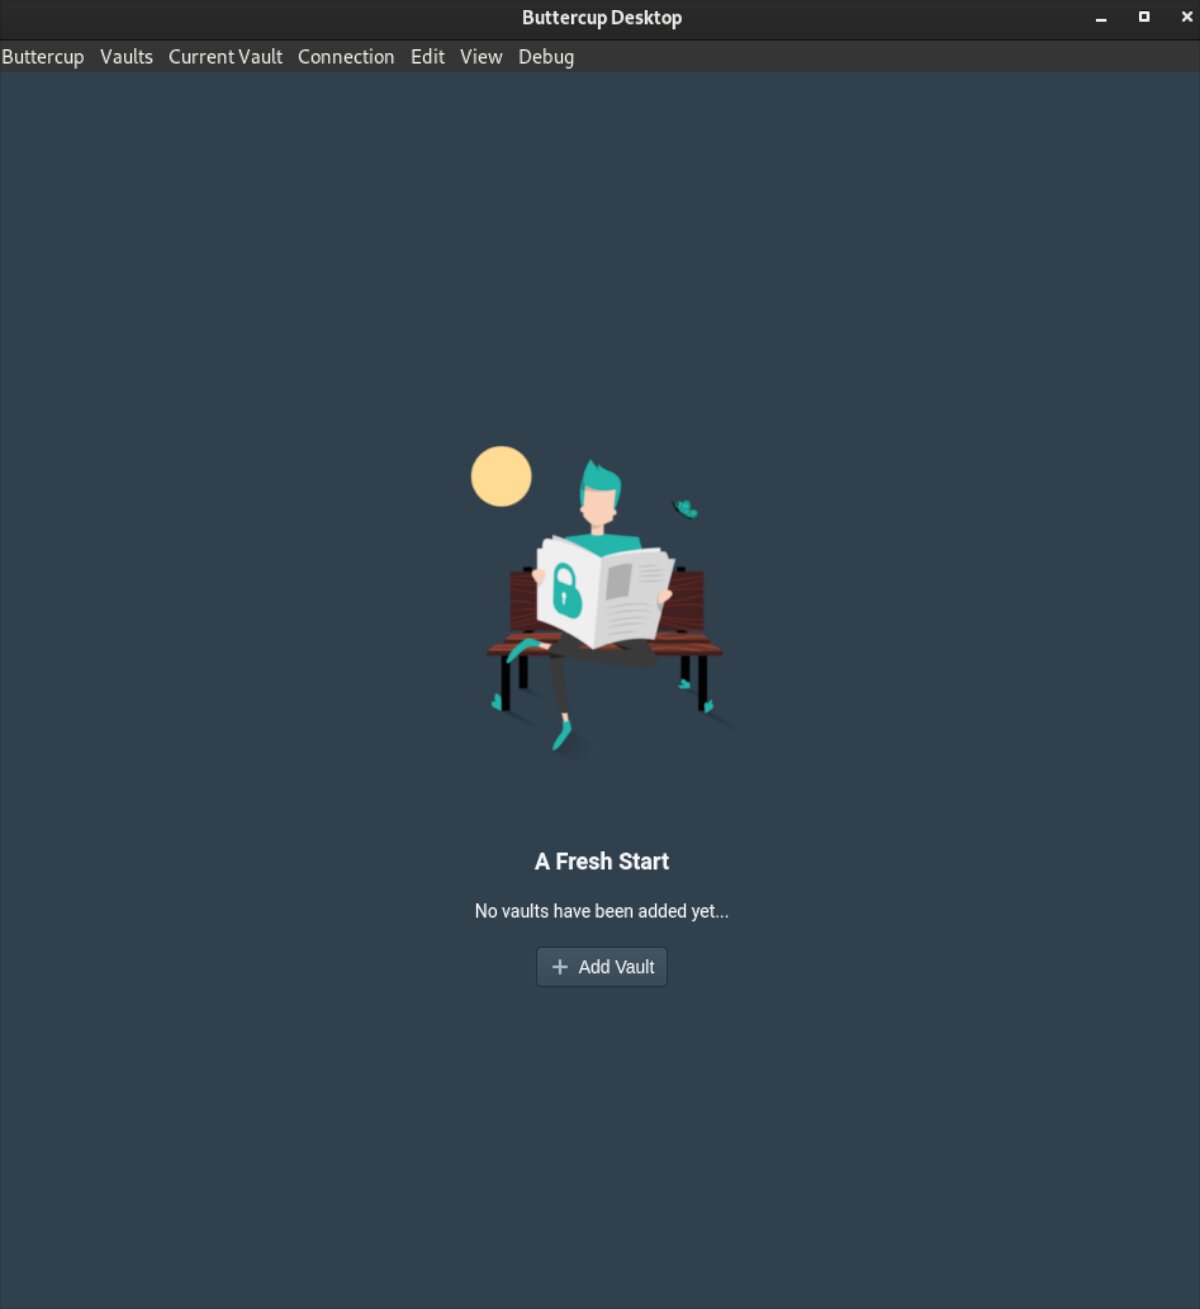
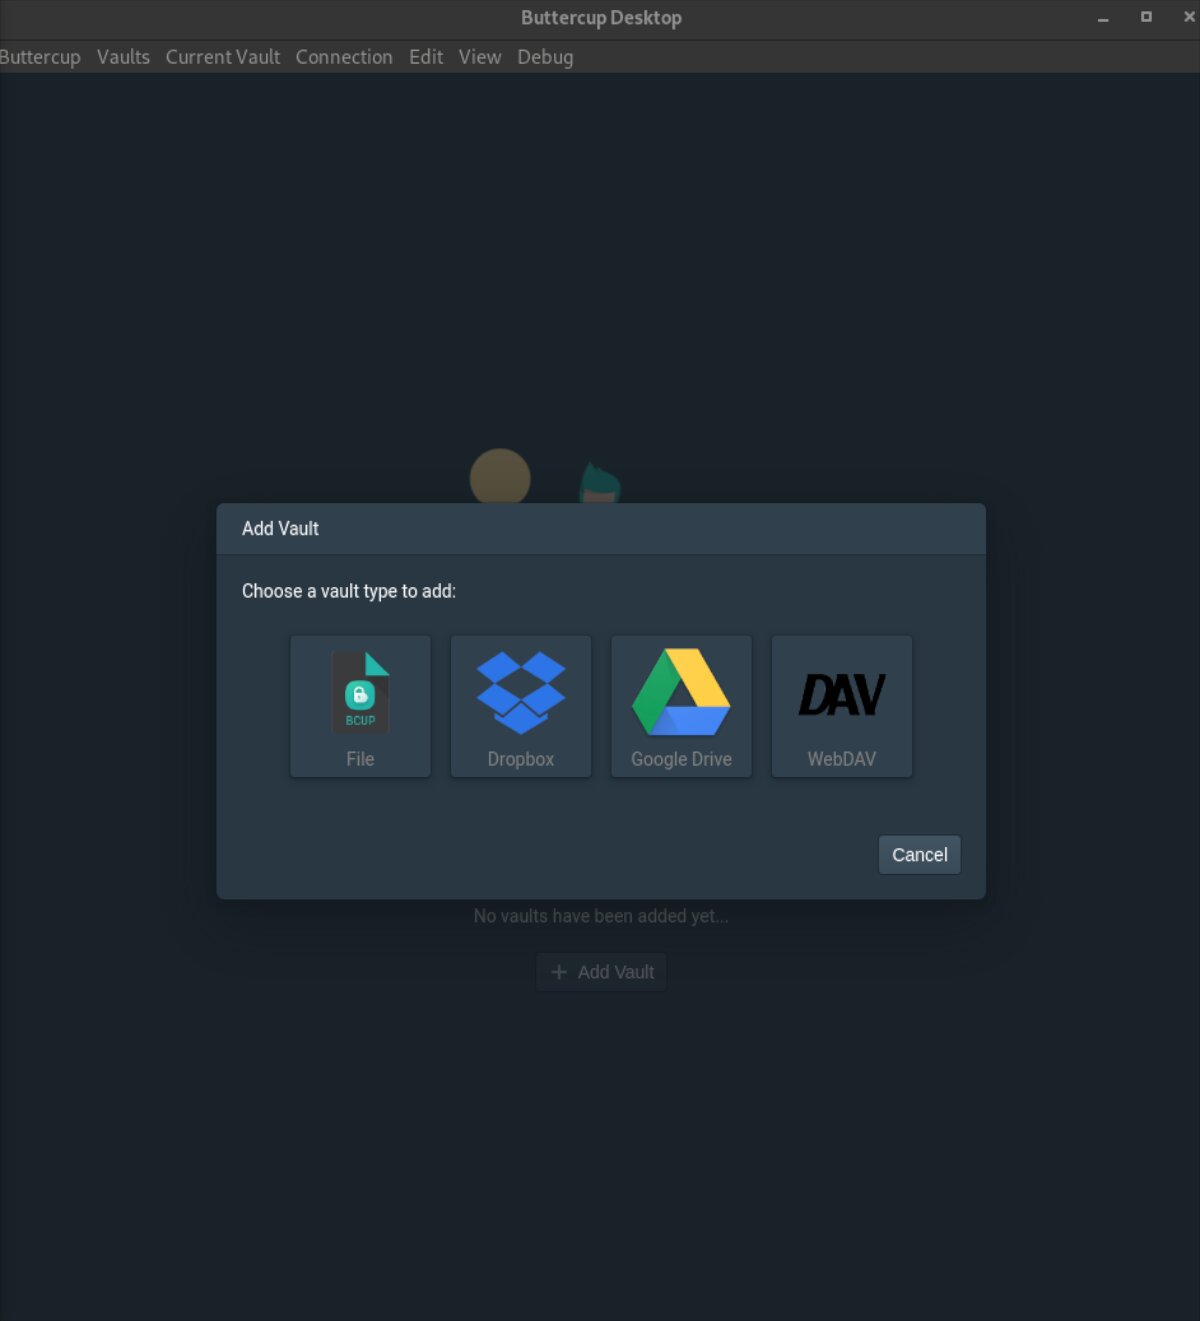
Step 1: Find the “Add Vault” button underneath the “No vaults have been added yet…” message. When you’ve selected the “Add Vault” button, a pop-up window will appear.
Select the “File” button to create a new vault. Or, if you’re an advanced user, select whichever option you prefer to use.
Step 2: Upon selecting the “File” button, Buttercup will ask you if you “wish to create a new vault, or read an existing one?” Select the “Create New” button to make a brand new vault to use in Buttercup.
Step 3: A pop-up window will appear on the screen when you click on the “Create New” button. Using this pop-up window, save your new vault file. For best results, keep it in your Dropbox folder or a network location for easy access.
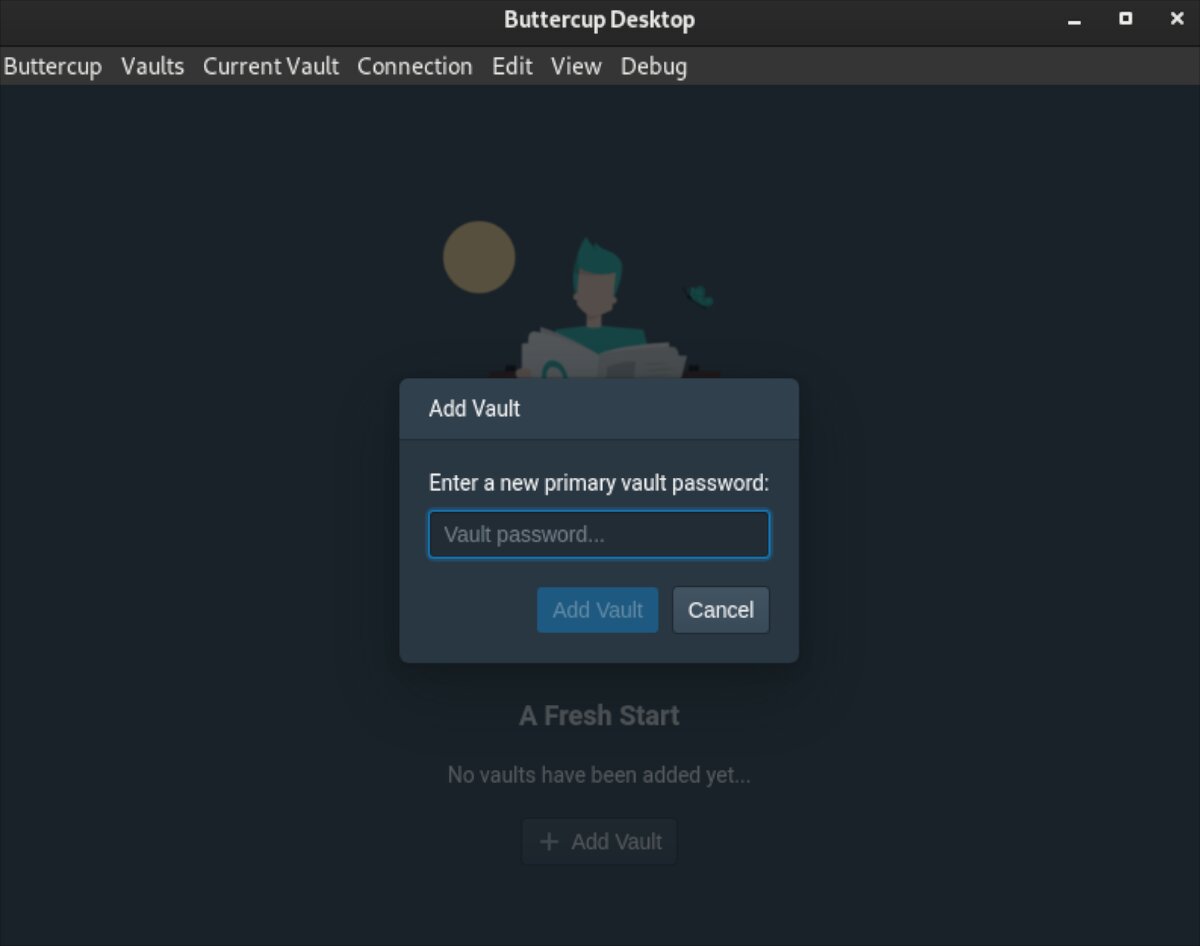
Step 4: After saving the vault file to your computer in a safe location, Buttercup will ask for a “new primary vault password.” This password is the password that unlocks the vault and cannot be recovered. If you lose it, you lose access to your stuff.
Create a new password for your vault that is secure. Please do not write it down anywhere on paper, as someone may gain access to your passwords. If you need help remembering, make sure the password is easy to remember.
Step 5: With your primary vault password set up, Buttercup will load up your new vault. From here, find the “New Entry” button, and click on it with the mouse.
The “New Entry” button will allow you to create a new password entry in your vault.
Step 6: After selecting the “New Entry” button, the “Edit Document” screen will appear inside Buttercup. Find the “Title” text box, and type in the name of the website you’re adding to your vault.
Step 7: Upon entering the title of your new entry, find the “Username” text box. Then, type in the username for the entry you’re creating.
Step 8: Select the “Password” text box, and click on it with the mouse. Then, enter the password for the entry in Buttercup. If you need a new password, click on the key icon.
Selecting the key icon will generate a new, secure password for you to use.
Step 9: After filling out the “Edit Document” section, find the “Save” button and click on it with the mouse. Saving the document will add the password to your vault for use.

Repeat these nine steps to add as many passwords as necessary to your Buttercup vault.
Browser integration
While not necessary, it is possible to integrate Buttercup into your browser. To integrate it, click on the “Connection” button inside the app, and select “Browser Integration.”