Do you have an Apt repository on your Debian Linux PC that you want to delete? Can’t figure out how to do it? We can help! Follow along as we go over two ways you can remove Apt repositories from Debian!
Remove apt repository – Text editor
The easiest way to remove an Apt software repository from Debian Linux is through a text editor. Why? You can easily open up your Debian Apt sources list file in a text editor tool and turn things on and off without a lot of trouble.
To get started, open up a terminal window. A terminal window is required for editing software sources on Debian, as they are system files. Users aren’t able to edit these system files without elevated privileges.
Open up a terminal window on your Debian Linux desktop by pressing Ctrl + Alt + T on the keyboard. Or, search for “Terminal” in the app menu on your computer to launch the app. Once the terminal window is open, use the su – command to log into the root account.
Note: if you have sudo set up on your Debian Linux PC, you can execute sudo -s to gain root terminal access rather than using the su command.
su -
Once the terminal session has root access, we can open up the /etc/apt/sources.list file for editing purposes. In this guide, we’ll make use of the Nano text editor. Nano is highly user-friendly, pre-installed on most Debian Linux systems, and works right in the terminal.
nano /etc/apt/sources.list
Inside the Nano text editor, look for the software repository you wish to disable. In this example, we are disabling the VirtualBox third-party Apt repository. Once you’ve found the repo, place a # symbol in front of it.
By placing a # symbol in front of the repository, you are turning it off. Debian will ignore this repository, as any line with the # symbol is a code comment.

Once you’ve added the # symbol in front of the repo, press the Ctrl + O key on the keyboard to save your changes. After that, exit Nano by pressing the Ctrl + X key.
When you’ve exited the Nano text editor, you can execute the apt update command to refresh Debian’s software sources. Debian will exclude the repo you turned off from the update, thus disabling it.
sudo apt update
Remove repo for good
If you want to remove an Apt repository from Debian for good, adding a # symbol in front to turn it off isn’t enough. To remove it altogether, do the following.
First, open up your /etc/apt/sources.list file in the Nano text editor with the command below.
su -
nano -w /etc/apt/sources.list
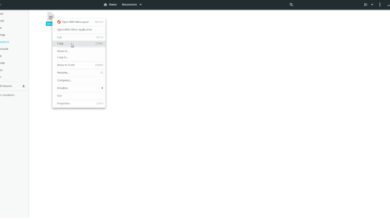
Inside the Nano text editor, locate the repo you wish to remove. Then, erase the repo line from the file by using the Backspace key. When the entire repo line is removed, press Ctrl + O to save the edits and Ctrl + X to exit Nano.

Once out of Nano, run the apt update command to refresh your Debian sources. By updating, Debian will exclude the now removed repo.
sudo apt update
Remove apt repository – Synaptic Package Manager
If removing Apt repositories via the terminal window isn’t your thing, you’ll be happy to know that it is possible to remove repos via the Synaptic package manager tool on Debian.
The Synaptic package manager tool comes pre-installed on most installations of Debian Linux. However, if you do not have this app installed, open up a terminal window and use the command below to get the app working on your system.
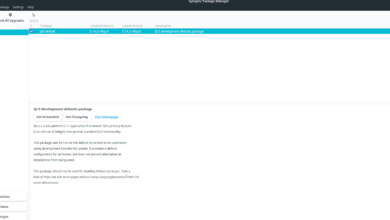
sudo apt install synaptic
To remove Apt repositories from your Debian Linux PC via Synaptic package manager, do the following. First, open the app and enter your user account password.
Once the app is open on the desktop, look for the “Settings” button at the top of the page, and click on it with the mouse. Inside the “Settings” menu, there are several options to choose from. Select the “Repositories” button.
After clicking on the “Repositories” button with the mouse, the “Software & Updates” window will open on the Debian desktop. From here, click on the “Software & Updates” window with the mouse, and select “Other Software.”
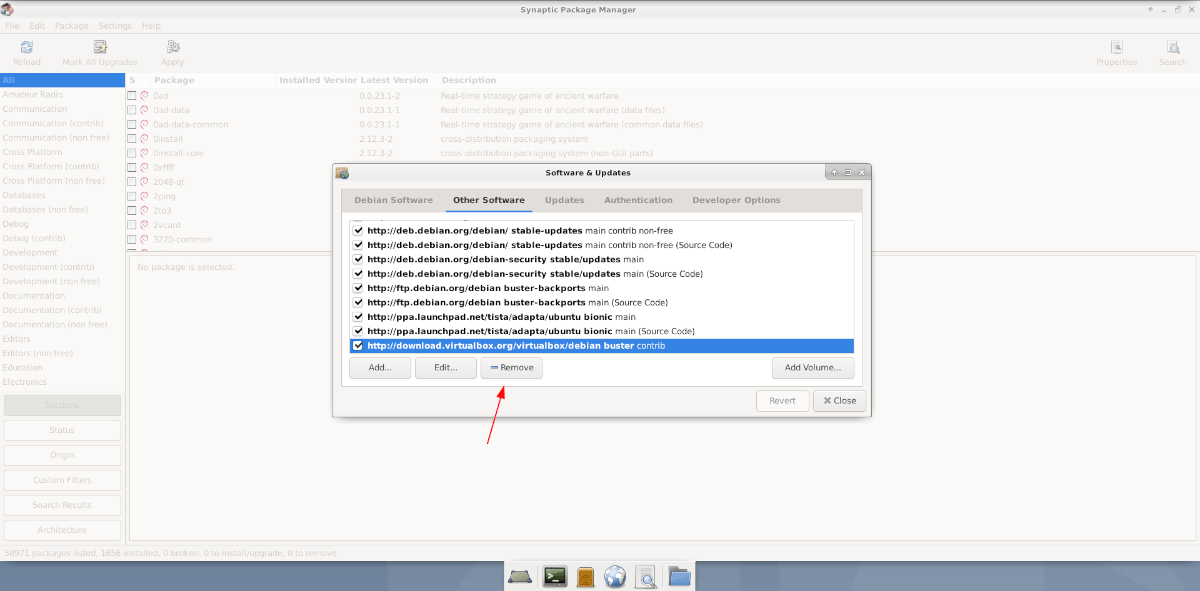
In the “Other Software” tab, you’ll see software repositories available on your Debian Linux system. Look through the list for the one you wish to remove from your system.
Once you’ve found the Apt repository you wish to remove from Debian, select it with the mouse. Then, find the “Remove” button in the “Other Software” window and click on it to delete the repo from Debian for good.
When you’ve deleted your software repo, click the “Close” button. After selecting the “Close” button with the mouse, the Software & Updates app will ask you to reload your software sources. Allow it to do so to complete the removal of the Apt repository from your system.