As soon as humans discovered writing, they invented signatures. The purpose being the identification of the author and possibly a return address. This tradition carried over to emails as well; more out of tradition than necessity people set up email signatures. With the passage of time though, those signatures have grown to have a real purpose. An email signature can convey additional information in terms of job title, a phone number, social media profile links, and even a personal website. Here’s how you can set up an email signature on your iPhone, Android Phone, Windows PC, and macOS.
GMAIL
Gmail is the most popular email service that hides its signature settings pretty well. If you have set a certain signature on your web account, you might have to set another one on your Android or iOS apps. Here’s how to do all three.
Web
When you log in to your gmail account, you will be greeted with your inbox. Here, if you look to the top-right, you will see a cog wheel icon. Click on it and from the drop-down menu select ‘Settings’ menu.

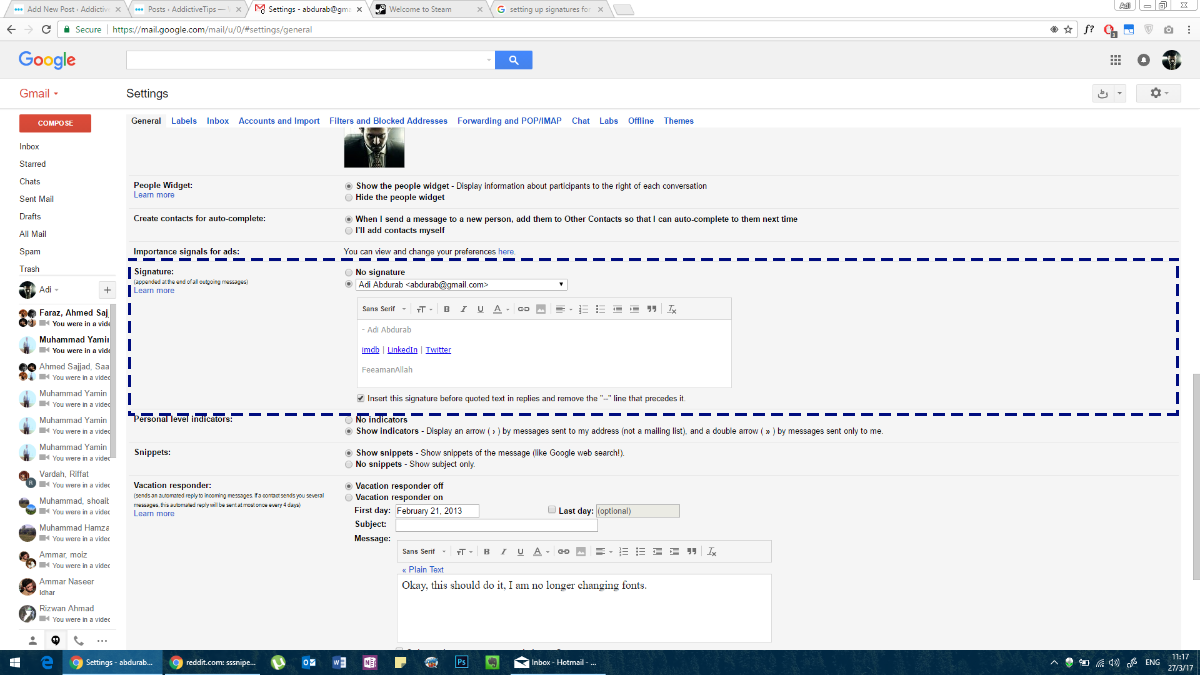
Go to the ‘General’ tab. Scroll down and you will see a section for ‘Signature’. You can choose not to have one altogether, or you can choose to assign one as you see fit. Gmail lets you add links to your signature and supports rich text which means you can use different colors and text styles in your signature. We highly recommend you stick to one font and one color though.
Gmail for Android
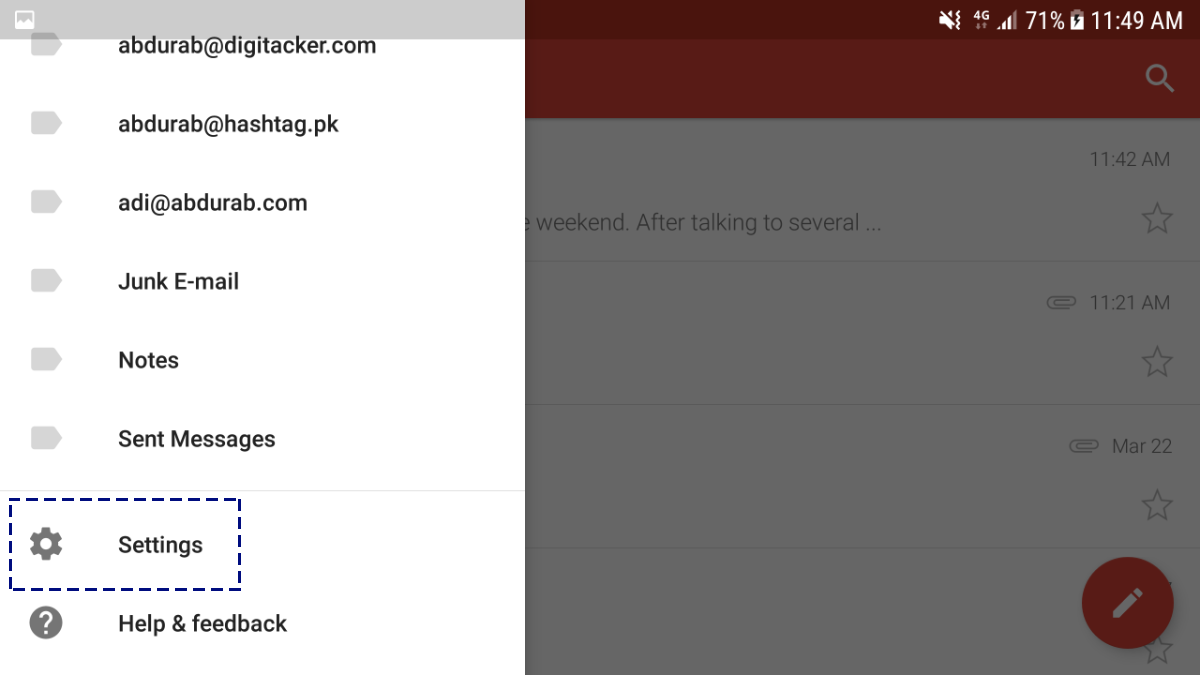
To set up an email signature in the Gmail app on Android, you follow more or less the same steps as you did for the web. Open the Gmail app on your Android phone. Tap the hamburger icon to open the navigation drawer. Here, scroll to the end and tap ‘Settings’.
Tap on your email address and you will be taken to a menu for further configuration.

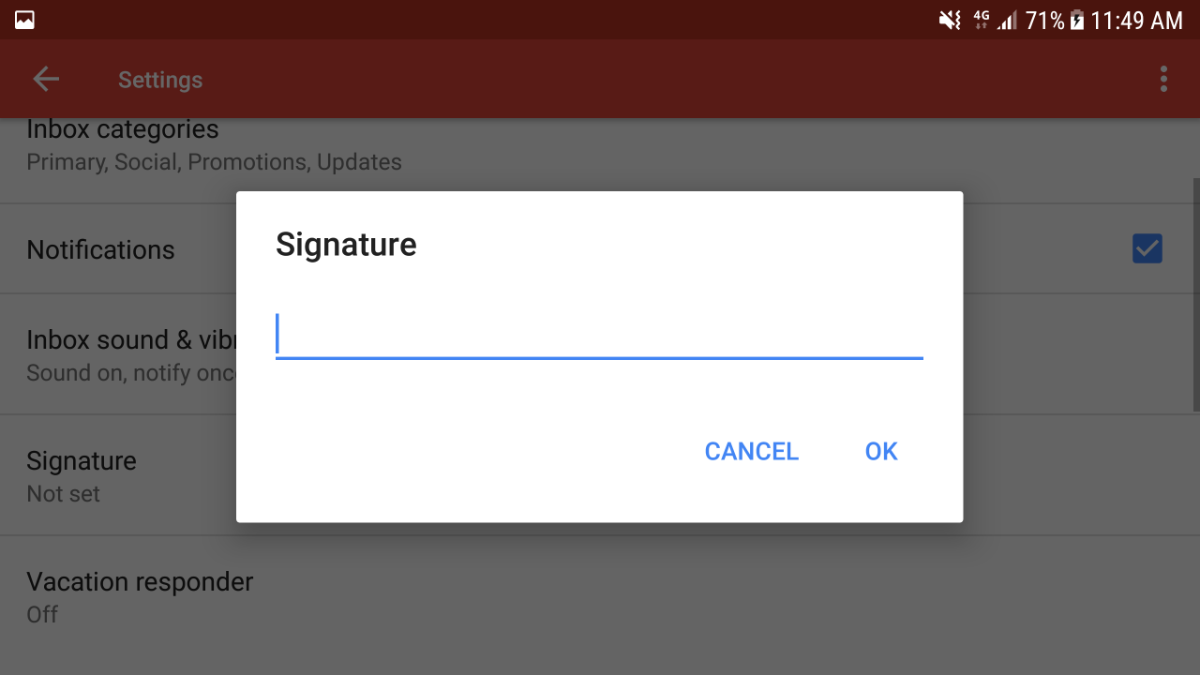
Scroll to the bottom of this page to see ‘Signature’. This signature can only be text though, you cannot add hyperlinks or images to it.
Gmail for iOS
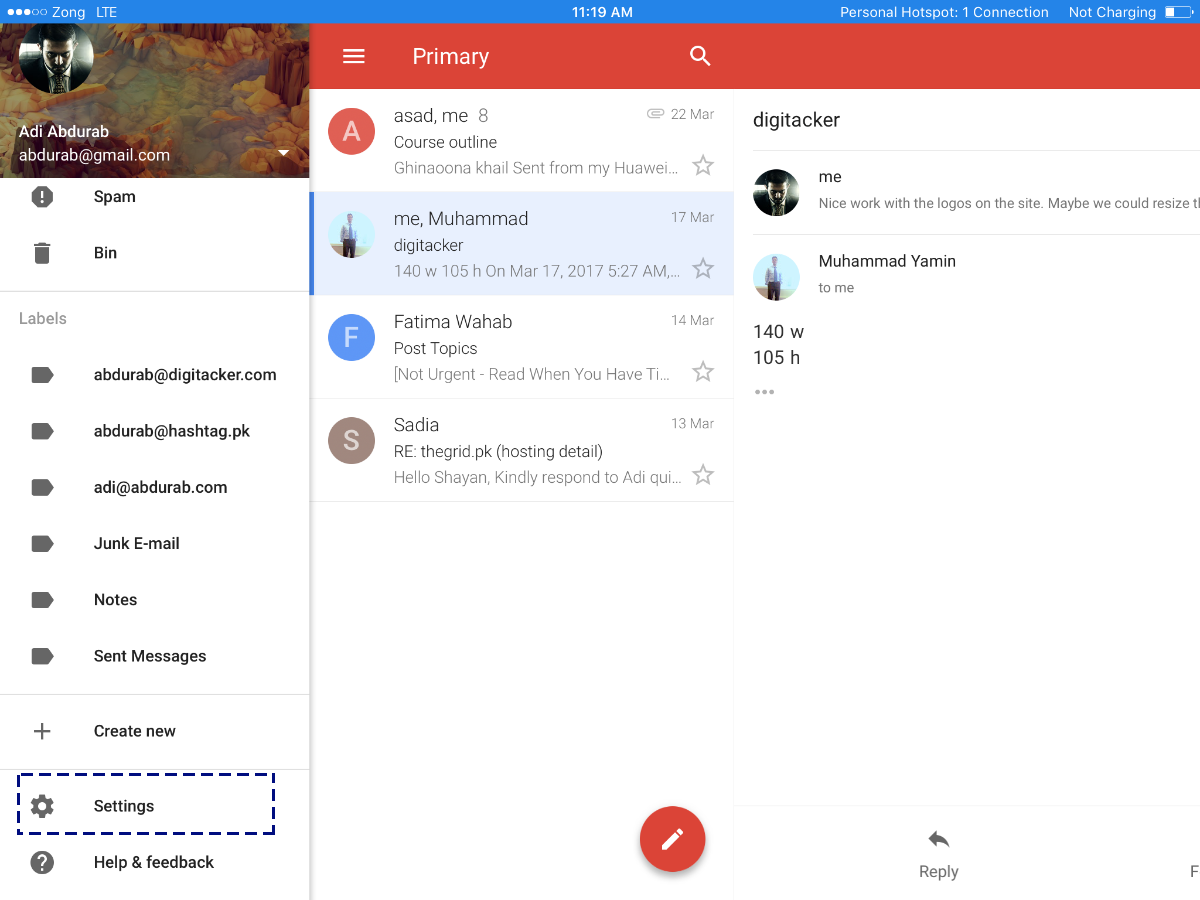
Configuring an email signature on the iOS Gmail app is almost identical to the Android app. Tap on the hamburger icon in the upper left corner.

Scroll all the way down to ‘Settings’ and tap it.
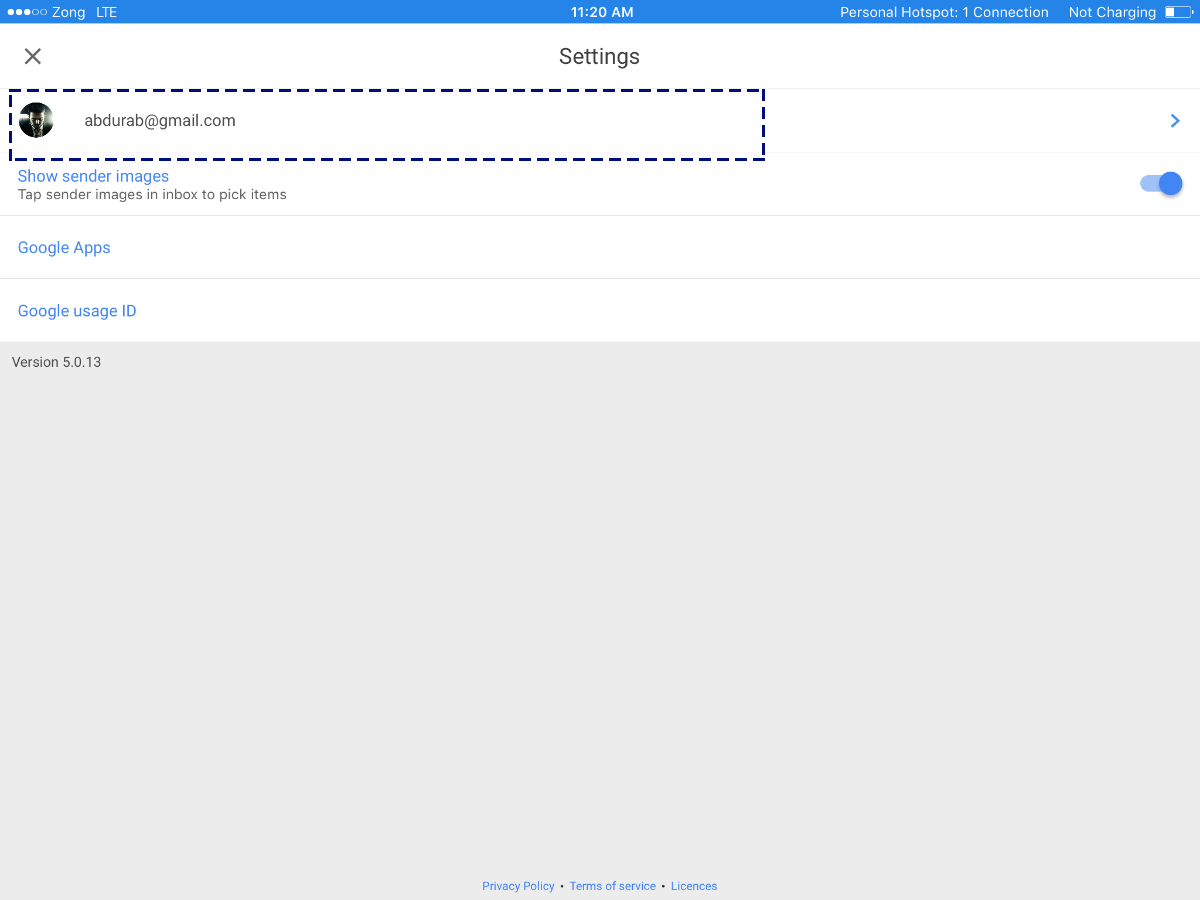
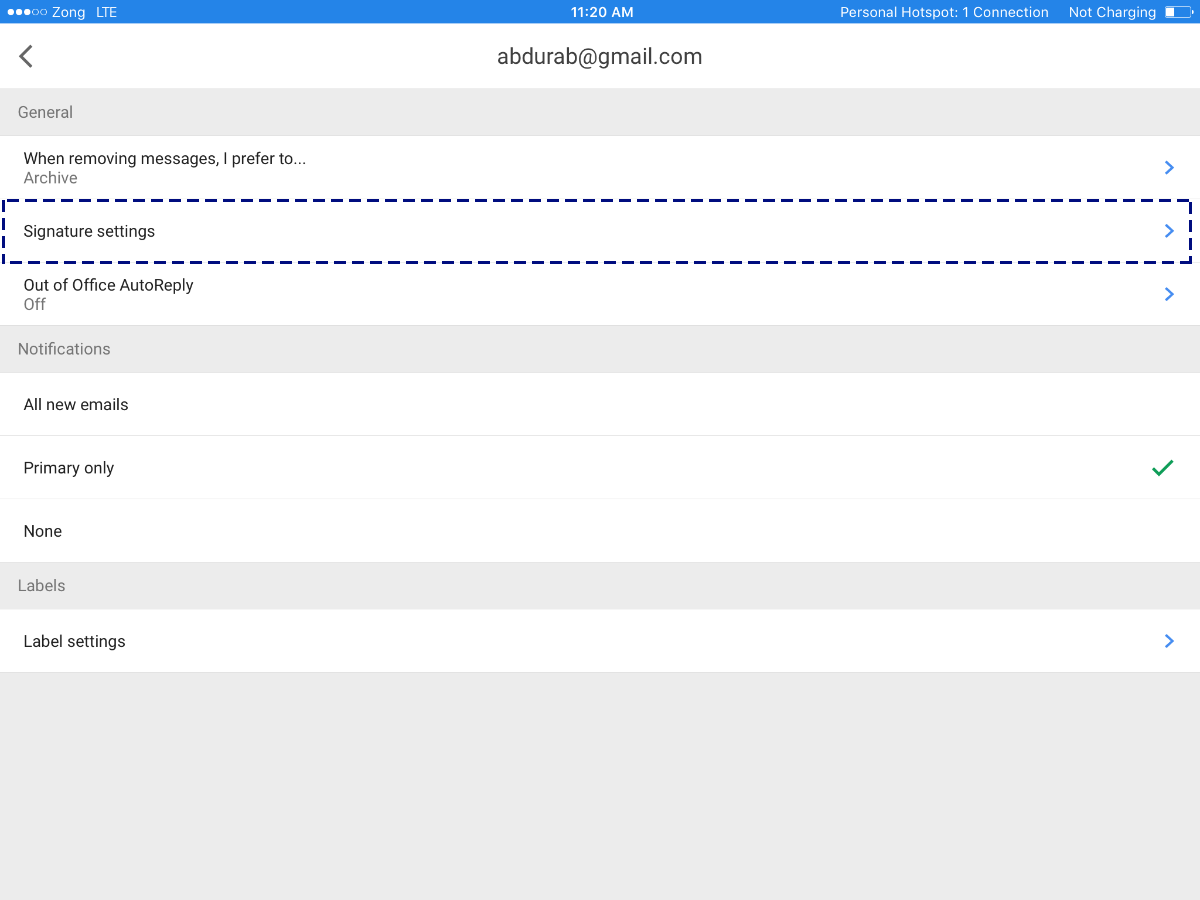
In this window, tap on your email address.
Tap ‘Signature Settings’. Add a signature here, save it and you’redone. Again, you will not be able to include hyperlinks or images. If those are important to you, we recommend going with some other email client.
MAIL FOR WINDOWS
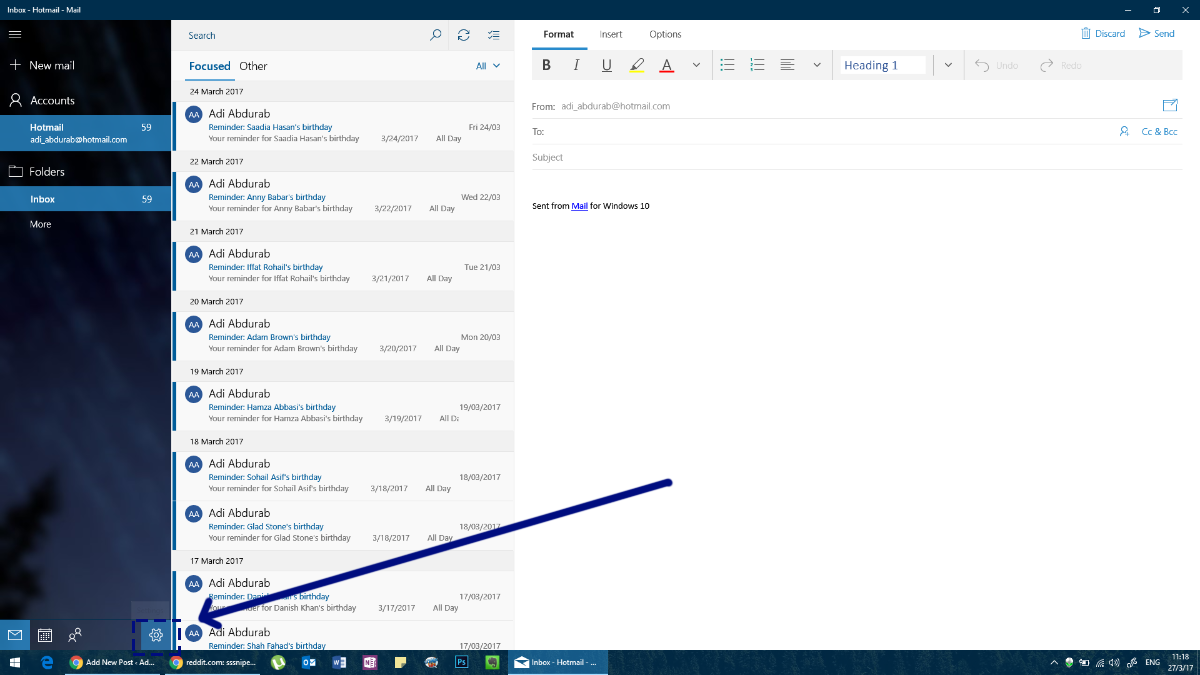
Mail for Windows is Windows 8 and above’s native email client. Despite its minimalist and seemingly simple design, it is a capable and versatile app. In order to set your signatures. Open your Mail app and look at bottom of the left menu; you will see a settings icon (a cog). Click on that.
On the right side of the screen, a settings panel will open on the right. Click on Signature in this panel.
Now you select the account for which you want to assign a signature (or even multiple accounts, if you want). You can have hyperlinks in the signatures here, but you can’t add images or select fonts.

MICROSOFT OUTLOOK
Outlook may very well be a genre defining email client. It is the go-to platform for professional communication. The signature in MS Outlook can be as complex as you want. There are no limits on what you can do on this platform but again, don’t add too much color or use different fonts.
To set up an email signature in Outlook, go to File>Options.
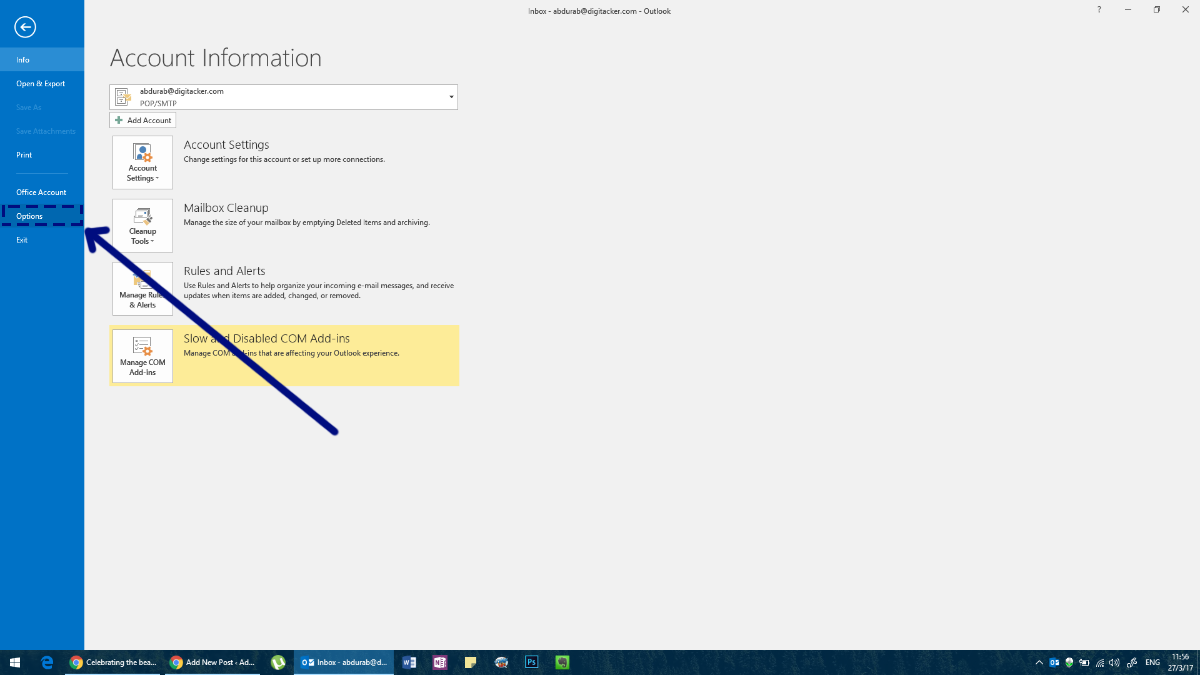
This will open the Options window for Outlook where you can modify everything about MS Outlook and add a signature.
On this window, go to the Mail tab and click the ‘Signature’ button on the ‘Create or modify signatures for messages’ field.
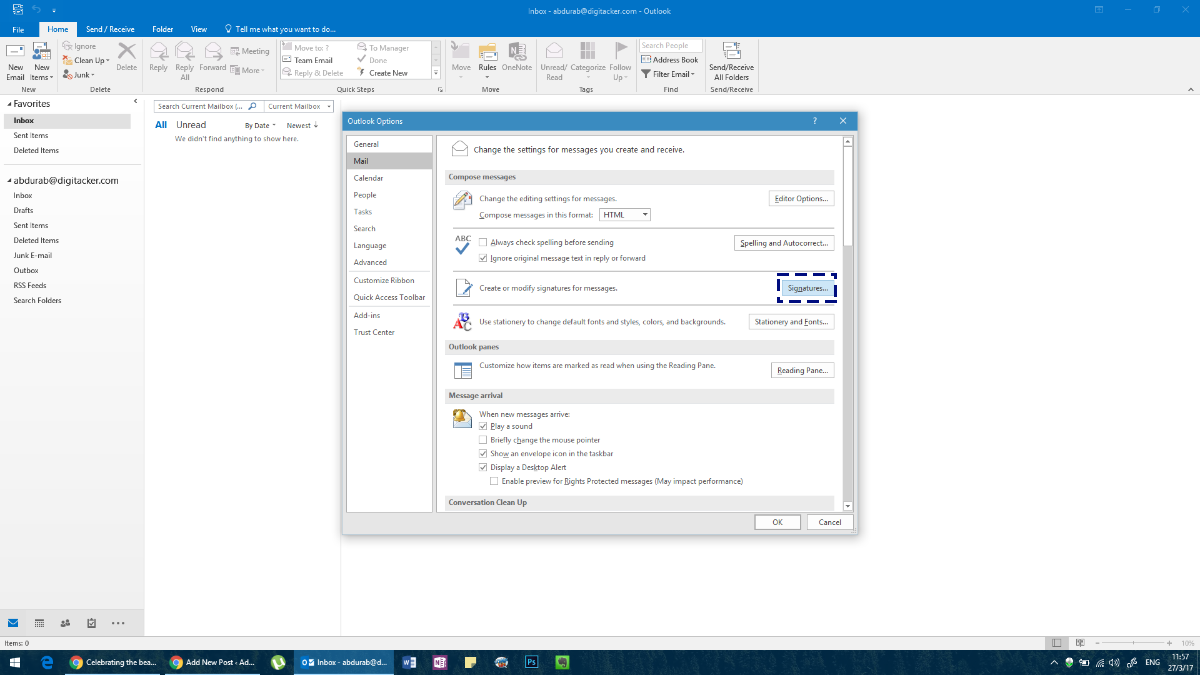
Create your signature. You can set up different signature for each account you’ve added to Outlook.
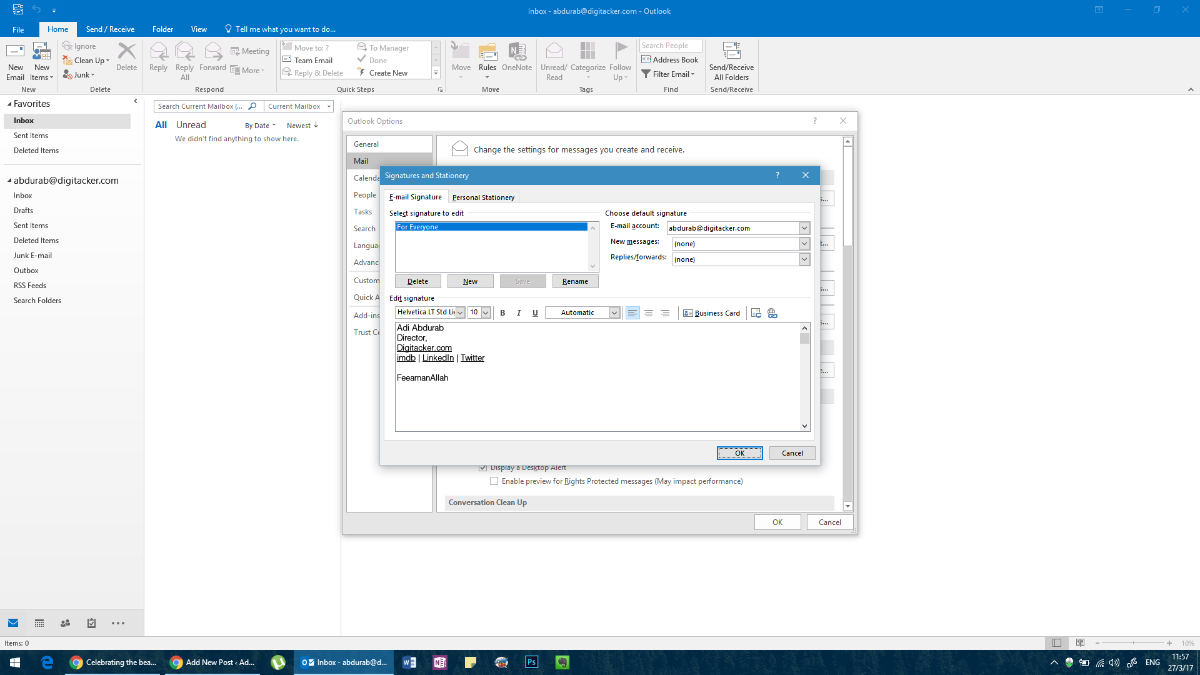
Here you can add any text in any font, in any color; supplemented with any image or even certain widgets and that ought to get you on your merry way. However, unlike other apps/clients.
Alternatively, you can access the same menu by composing a ‘New Mail’ in MS Outlook and then click on ‘Signature’ and then ‘Signatures’ from the drop down menu.

When you have selected your signature, make sure you choose a default signature for different types of communications, otherwise it will not accompany your messages. Add a signature for ‘New Messages’ and one for ‘Replies/Forwards’ (if you want separate messages for each that is).
MOZILLA THUNDERBIRD
Mozilla Thunderbird is a powerful open-source email client. Given its community driven nature, there are a few wrinkles to iron out (such as an absence of adhering to a client’s folder structure). However, people who like this platform can make it work for them through some customization. One such customization lets you set up an email signature in Thunderbird.
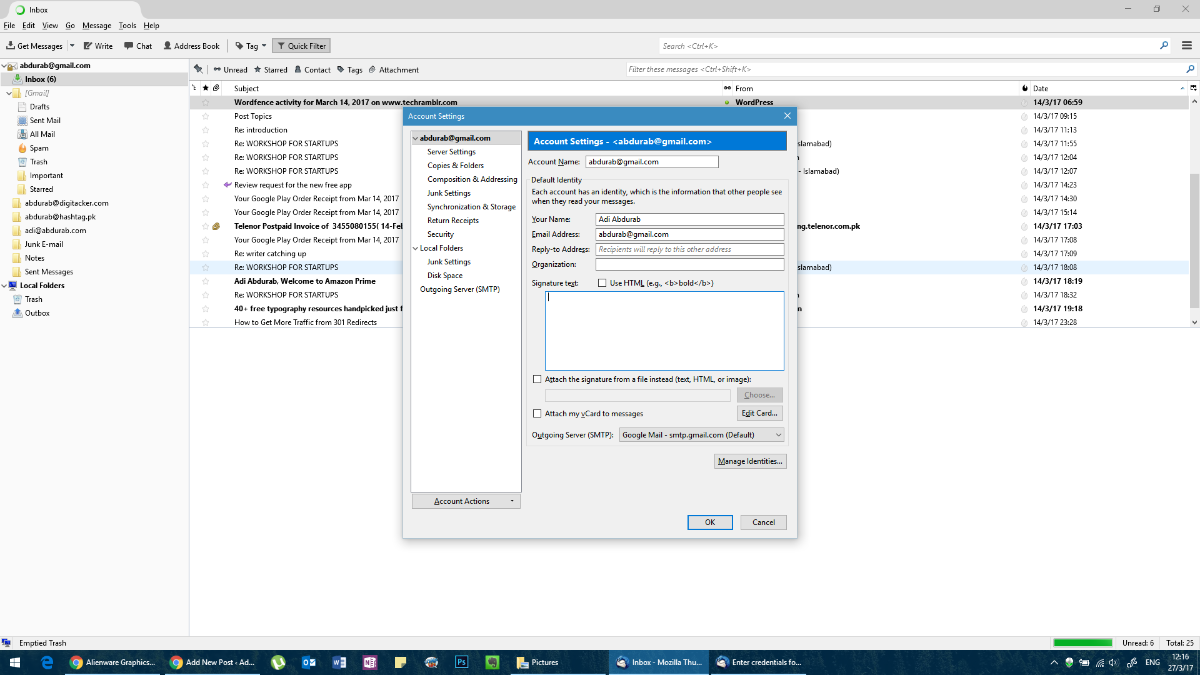
It is fairly straight forward. In the menu bar click on ‘Tools’. In case you don’t see a menu bar, click on ‘alt’ and the menu bar will appear.
In tools, click on ‘Account Settings’ and select your e-mail ID. You will automatically be taken to a screen to add your signatures. Much like Outlook, you can add virtually anything you want here. However, you will either have to compose it elsewhere and copy it and paste it here. If you know HTML just a bit you can use HTML tags to customize the look of your signature. Alternatively, you can import a completely developed HTML document.
MAIL FOR iOS
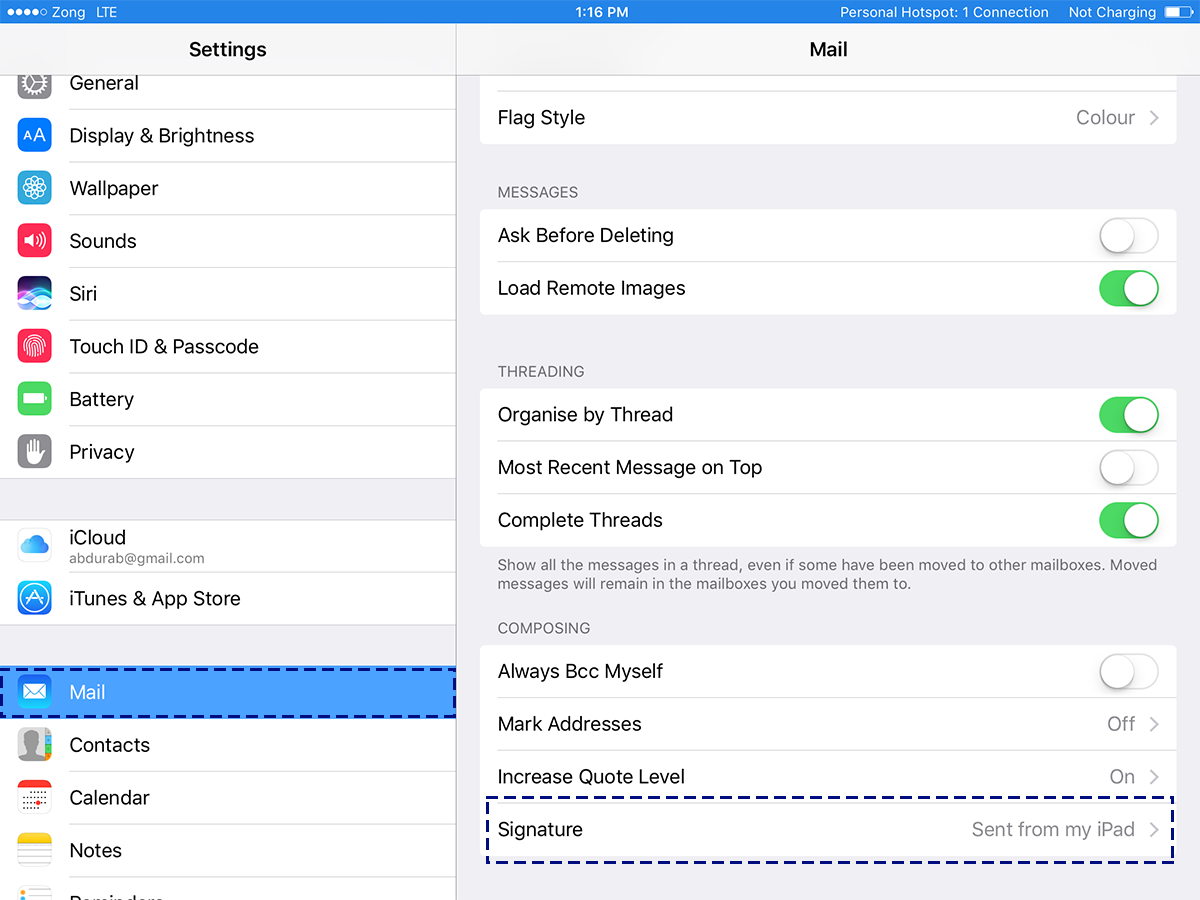
iOS’ native mail app is quite powerful, even comparable to the MacOS version and much better than any web based solutions out for the platform. To add set up an email signature in Mail for iOS, go to the Settings app and tap Mail.
Scroll to the bottom of the page, and you will find a space to modify/update your default signature. Again, no hyperlinks supported.
MAIL FOR MacOS
The MacOS’ default Mail app is a powerful e-mail client. It is not as versatile as MS Outlook, but it still packs quite a punch. The signature on the default Mail for macOS is very customizable, much like in Ms Outlook.
To set up an email signature on the Mail app, go to its preferences. On the Preferences window, select the ‘Signatures’ tab. Click the plus button and compose a signature in the right pane. You can name your signature so that it’s easier to distinguish from other signatures you might add.

Did we miss an email client? Let us know in the comments and we’ll add it to the list.