If you’re looking to run Ubuntu from a USB flash drive, you’ll be happy to know that there are many ways to run Ubuntu from USB. You can take traditional Ubuntu and install it to a USB flash drive, though the OS isn’t built for that and will probably be slow. You can also take a distribution that uses Ubuntu as a core but is designed for a USB flash drive.
In this guide, we’ll focus on Puppy Linux’s Ubuntu release. The reason for this is that Puppy is specifically designed to run off of a USB flash drive and already has persistent storage set up. It’s much easier to figure out for the average user.
To get started, be sure you have a 32 GB (or larger) USB flash drive. A large drive like this will enable you to get the most out of storage and performance.
Downloading Puppy Linux ISO
Puppy Linux, like all Linux operating systems, is distributed via an ISO file via the internet. You will need to download this ISO file to your computer and flash it to a USB flash drive to use it.
To get your hands on the Ubuntu version of Puppy Linux, head over to the Puppy Linux website. Once on the website, click on the “Download” icon. After clicking on the “Download” icon, locate “Ubuntu Focal 64”. This is Ubuntu 20.04 LTS but specially designed to run on your USB flash drive.
Original download link for “Ubuntu Focal 64” not working? Try clicking on “Mirror.” It provides an alternative download link to the primary download option.
Want to download Puppy Linux to your computer through the terminal? Open up a terminal window by pressing Ctrl + Alt + T on the keyboard and execute the command below.
wget http://distro.ibiblio.org/puppylinux/puppy-fossa/fossapup64-9.5.iso -O ~/Downloads/fossapup64-9.5.iso
The download will not take long to complete. When the download process is complete, move on to the next section of the guide.
Creating Puppy Linux USB installation
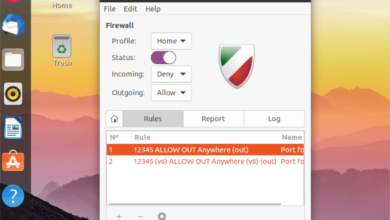
Puppy Linux needs to be flashed to your USB flash drive before it can be used. There are many ways to flash an ISO USB file. This guide focuses on the Etcher USB/SD Card creation tool as it is easy to use and cross-platform.
To start the process, you must install Etcher on your computer. To install Etcher, head over to Etcher.io and download the latest release for your computer. Then, extract it from the ZIP archive and double-click on the AppImage file to open it up.
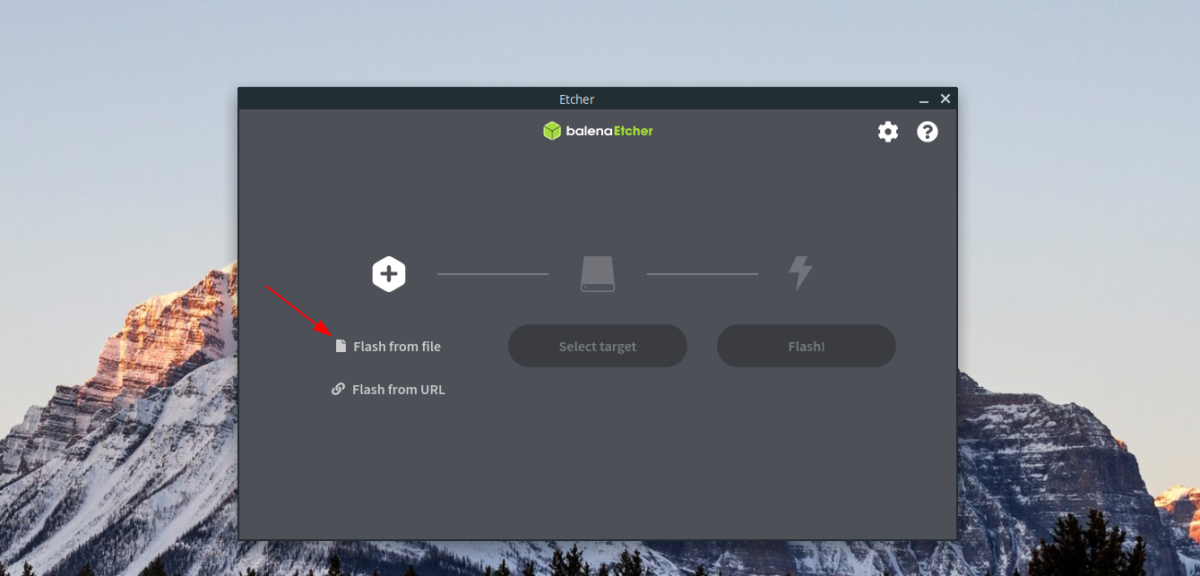
Once Etcher is open, plug in your USB flash drive. From there, look for the “Flash from file” button, and click on it with the mouse. Then, locate the Puppy Linux ISO file you downloaded, and select it to add it to Etcher.
After adding the Puppy Linux ISO file to Etcher, locate the “Select Target” button, and click on it with the mouse. Then, use the UI to select your USB flash drive.
When the ISO is loaded, and your USB flash drive is selected, click on the “Flash!” button to start up the process of flashing the ISO file to USB. When the process is complete, leave the USB plugged in and turn off the computer.
How to run Ubuntu from USB
To run Ubuntu from USB, you’ll need to choose a boot mode in the Ubuntu version of Puppy Linux. To do that, plug in the USB stick with Puppy Linux Ubuntu installed onto it and boot it up.
Once the PC is booted up, access your BIOS. You will need to access your BIOS to change the boot order so that it will load up the USB stick with Puppy Linux Ubuntu installed.
After you’ve configured your BIOS to boot from USB, save the changes, and exit the BIOS. On most BIOS systems, changes can be saved by pressing F10 on the keyboard.
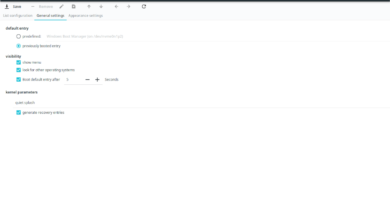
When the PC starts booting Puppy Linux Ubuntu from USB, you will see a boot screen. This boot screen is large and has tons of options to choose from, including “Copy SFS files to RAM,” “Don’t copy SFS files to RAM,” “No X,” etc. Select the option that works best for your needs.
Note: unsure about what option to choose for when booting? Select “Copy SFS files to RAM” for best results.

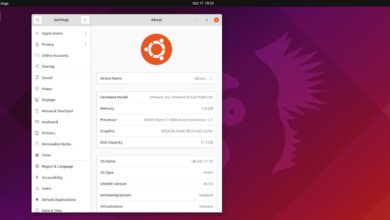
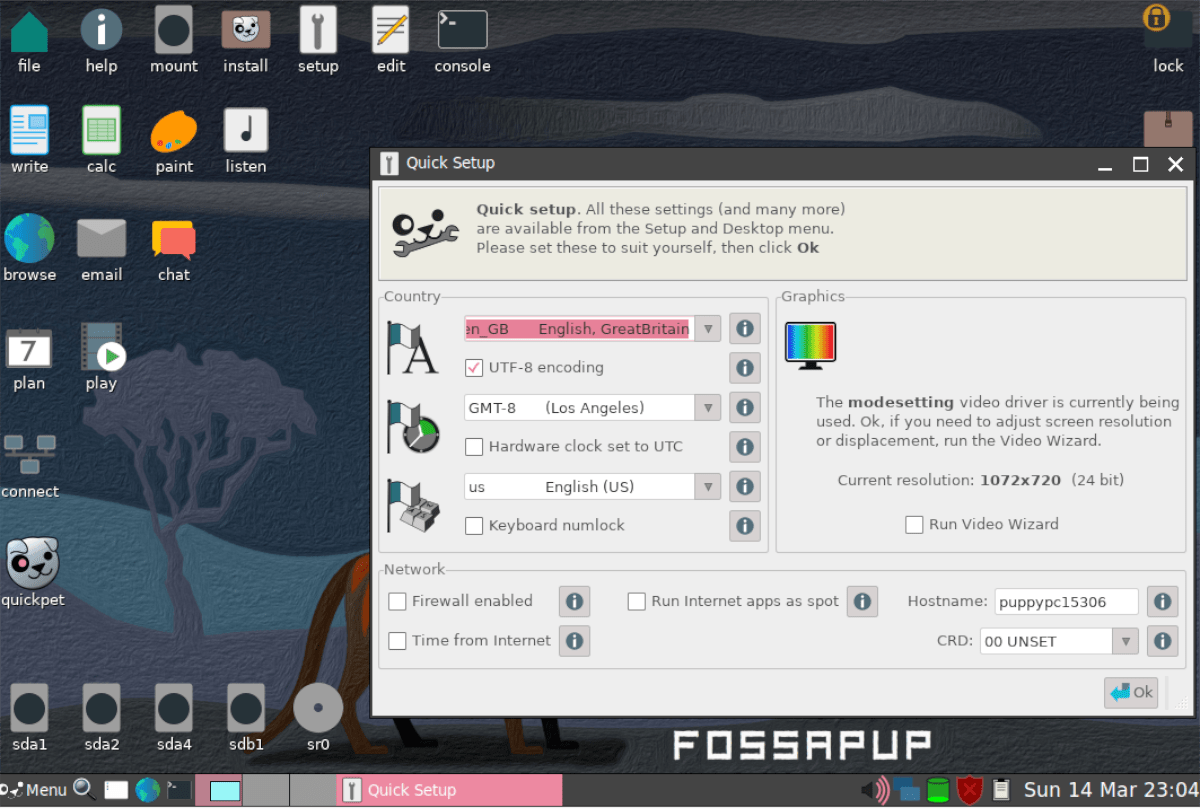
With the boot option selected, Puppy Linux Ubuntu will begin to load up the desktop. From here, you’ll see the “Quick Setup” window. You can configure your country, timezone, keyboard layout, screen resolution, and more in this window.
After going through the “Quick Setup,” you’ll be free to use a full-fledged, lightweight Ubuntu desktop right from your USB stick! Enjoy!