Are you looking to install Ubuntu Server 21.04 on your home server via a USB flash drive but don’t know where to start? We can help! In this guide, we’ll show you exactly how you can install Ubuntu Server 21.04 via USB.
Need to update Ubuntu server? Check out our guide.
Downloading Ubuntu Server 21.04
To install Ubuntu Server 21.04, you need to download it. Downloading this release of the operating system isn’t difficult. To get it, head over to this link here in your favorite web browser.
Once on the page, locate the “Download Ubuntu Server” button, and click on it with the mouse. When you click on it, you’ll be taken to a “Get Ubuntu Server” page, followed by three options to download.
In this guide, we assume you are installing Ubuntu Server via a physical server (such as a home server) and thus need a USB stick to get it working. With that in mind, locate the “Option 2 – Manual server installation” button, and click on it with the mouse.
Upon selecting the “Option 2” button, you’ll be taken to a third page. On this page, you’ll see a few download options. By default, Ubuntu suggests you download Ubuntu Server 20.04.2. This version is the long-term support version, and while helpful, it isn’t what we need.
Scroll down to “Alternative releases.” Here you’ll find Ubuntu Server 21.04, the latest release of Ubuntu Server. In this area, click on the “Download Ubuntu Server 21.04” button.
When you select the “Download Ubuntu 21.04” button, the ISO file will begin downloading to your computer. The ISO file is about 1.1 GB in size, so that it may take a couple of minutes. After the download is done, move on to the next section of the guide.
Creating the Ubuntu Server 21.04 USB
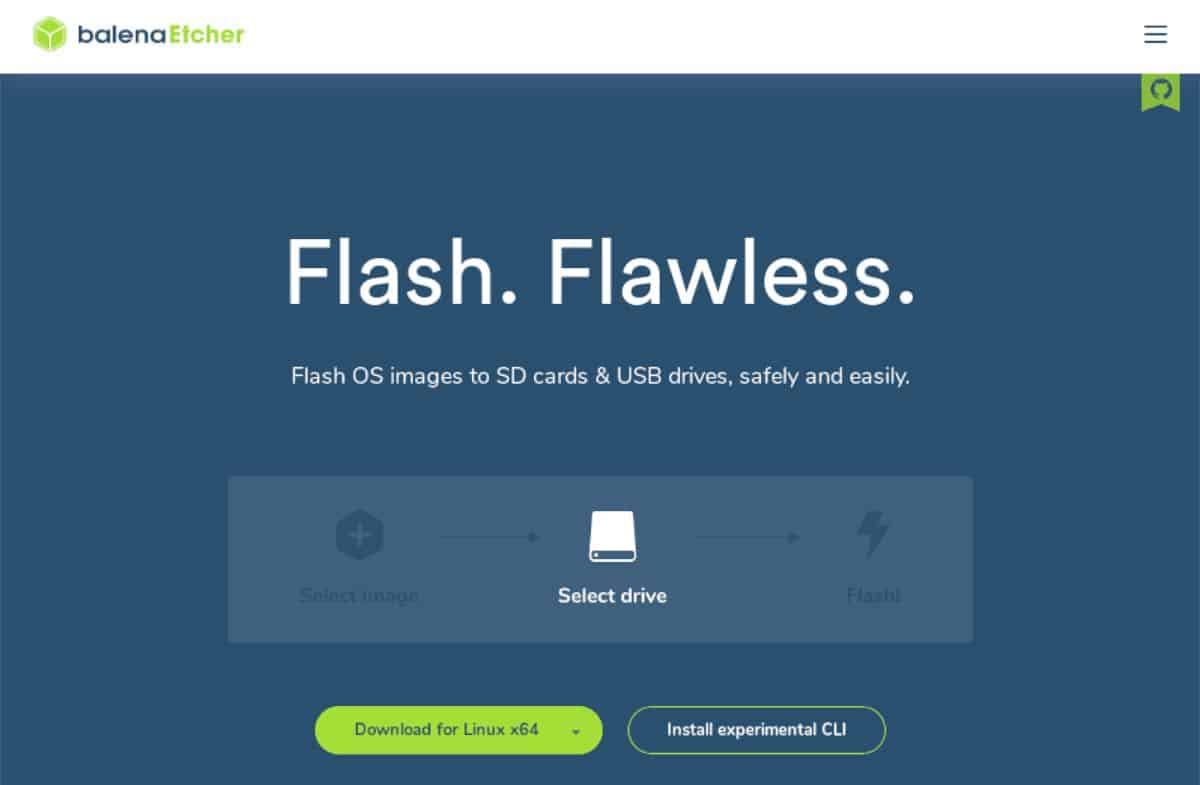
You’ll need to create a bootable USB stick to install Ubuntu Server 21.04. There are quite a few ways to make bootable USB sticks. In this guide, however, we’ll show you how to do it with Etcher.
Why Etcher? It is cross-platform. It will work on any Mac, Linux, or Windows desktop. So, no matter what OS you are making your Ubuntu Server USB on, the instructions will be the same.
To get started, you’ll need to download and install the Etcher application. To do that, head over to Etcher.io, download the app, and start it up. Once it is open, follow the instructions below.
Step 1: To start, find the “Flash from file” button, and click on it with the mouse. When you select this button, a pop-up browser will appear. Using the pop-up browser, locate the Ubuntu Server ISO file, and select it to add it to Etcher.
Step 2: Find the “Select target” button. Then, insert your USB flash drive into the USB port, and select your flash drive in the “Select target” menu. Once you do that, Etcher will use your USB as the default flashing device.
Step 3: Find the “Flash!” button, and click on it with the mouse. Selecting this button will begin the flashing process. It may take some time. When the process is complete, plug the USB into your server, and boot from USB to begin the installation process.
Installing Ubuntu Server 21.04 via USB
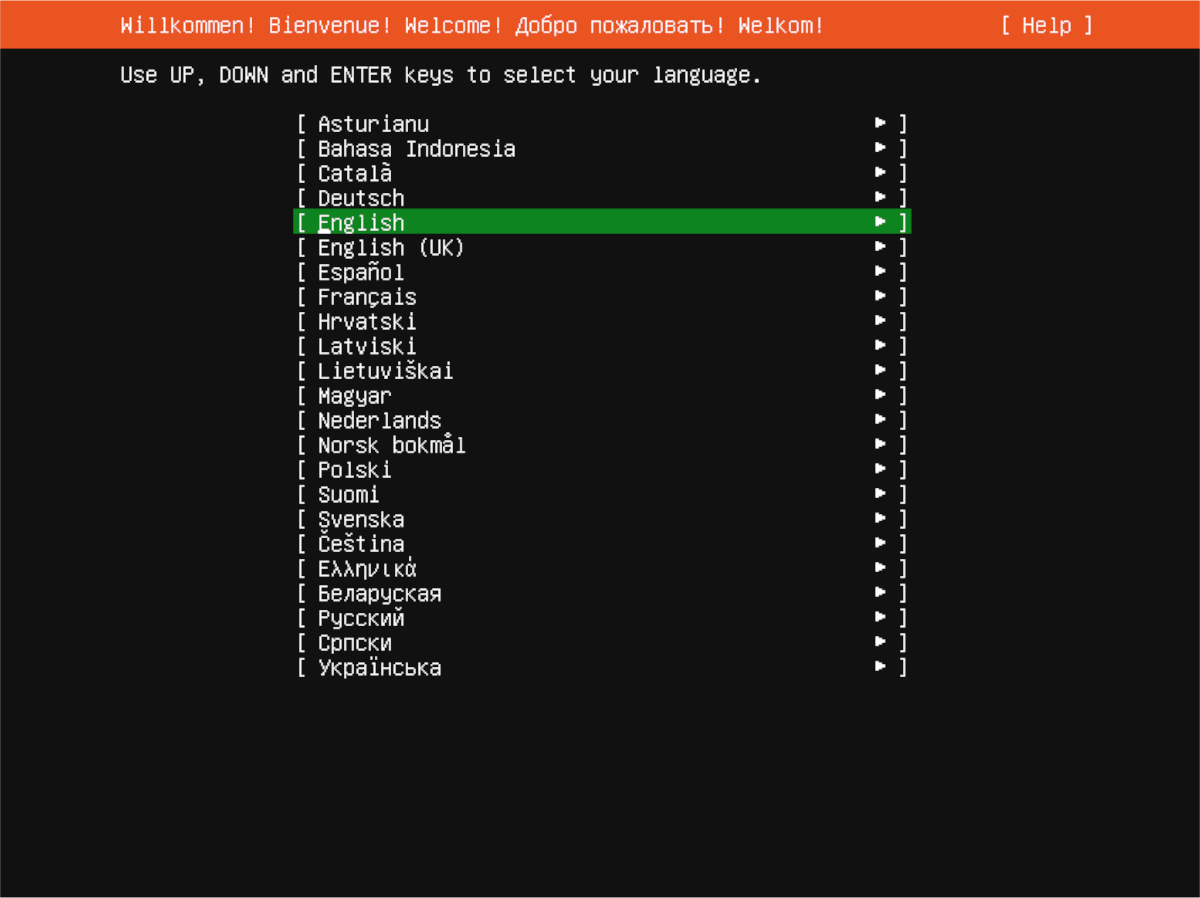
To start the installation of Ubuntu Server 21.04 via USB, select your language with the welcome menu. You can select your language using the Up and Down arrows, as well as the Enter key.
After selecting your language, choose your keyboard layout. By default, it should auto-detect the layout. If not, look under “Layout” and “Variant” and set your keyboard layout as needed.

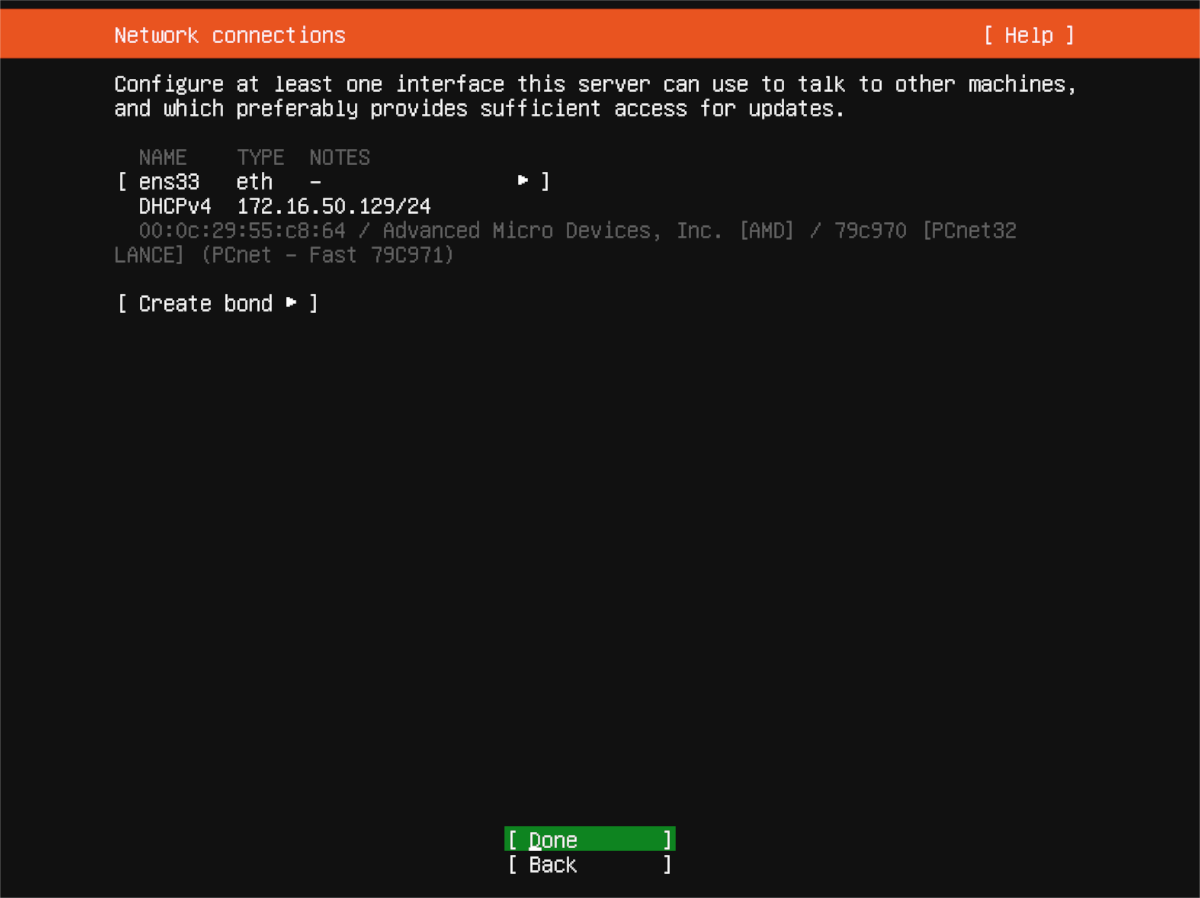
With the keyboard layout configured, you must configure a network connection. By default, your Ubuntu Server (if it is connected via an Ethernet) will autodetect. Select “Done” in the menu to continue. Or configure your network connection using the UI.
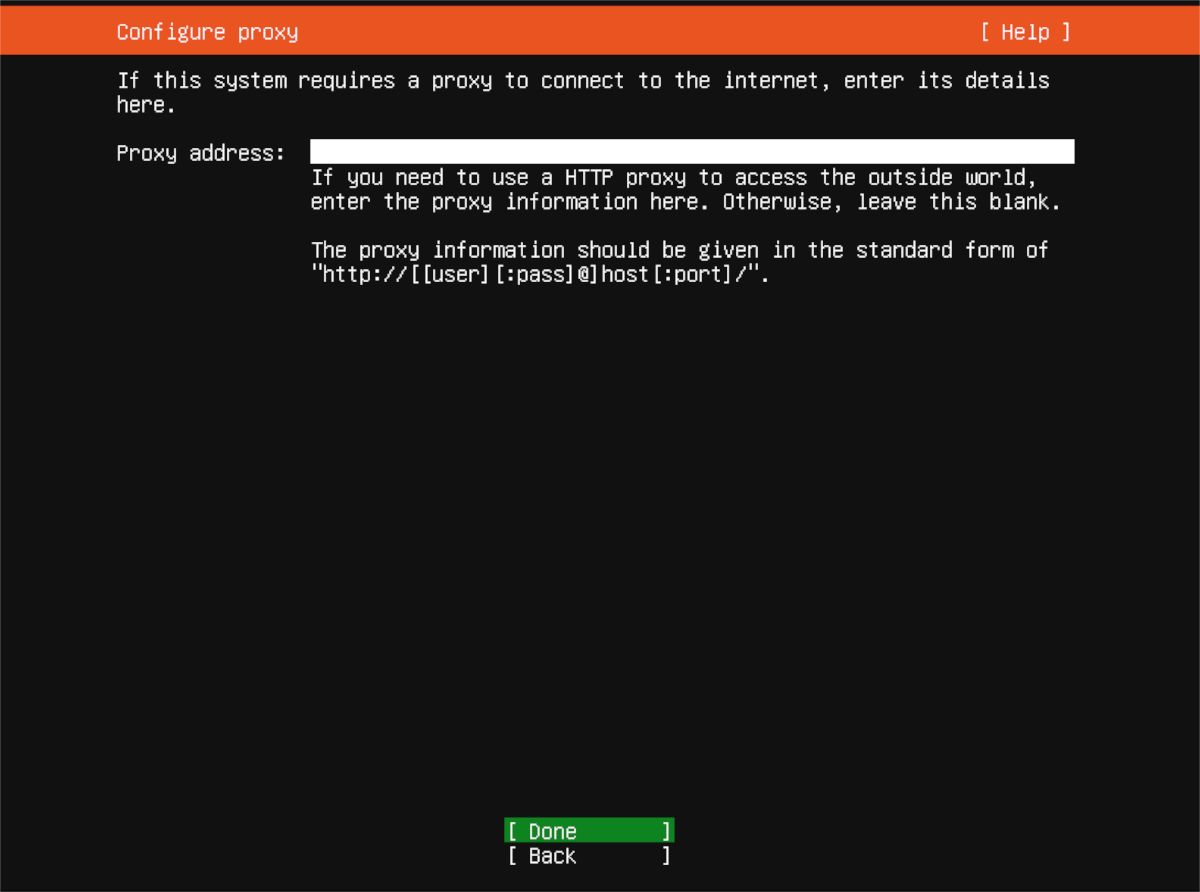
After networking, Ubuntu Server will ask you to configure your proxy address. If you have one, enter it into the box, and press the Enter key to confirm it. If you do not have a proxy address, leave it blank and select “Done” to move on.
From here, Ubuntu Server will prompt you to add a mirror address. This address will make it easier to install Ubuntu packages, as the mirror will likely be closer to your physical location. Use the default mirror provided, and select “Done.” Or, specify your own in the box.

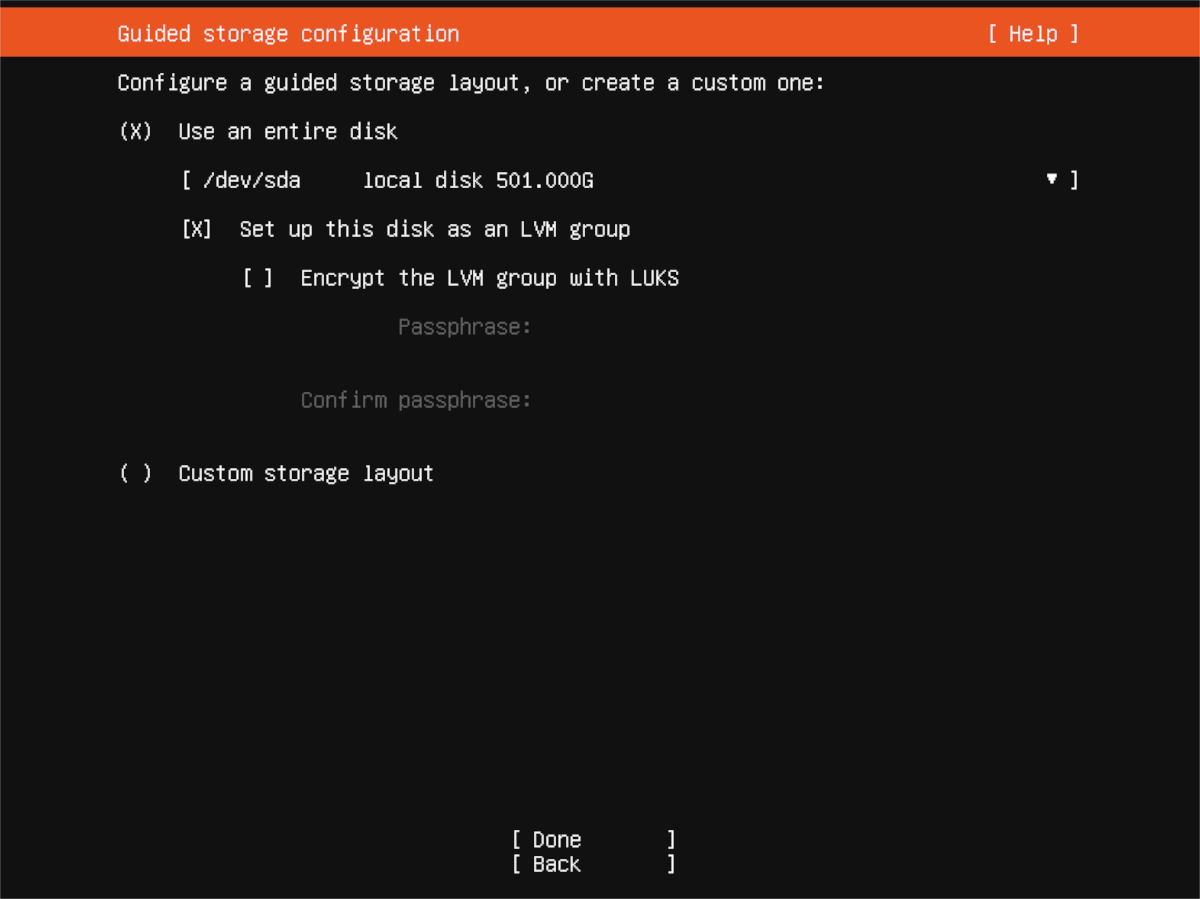
With the mirror configured, select your storage installation setup. By default, Ubuntu Server will erase the hard drive it detects (/dev/sda usually). Leave it at that, or use the UI to select the hard drive you wish to install Ubuntu Server on using the UI. When done, select “Done” to continue.
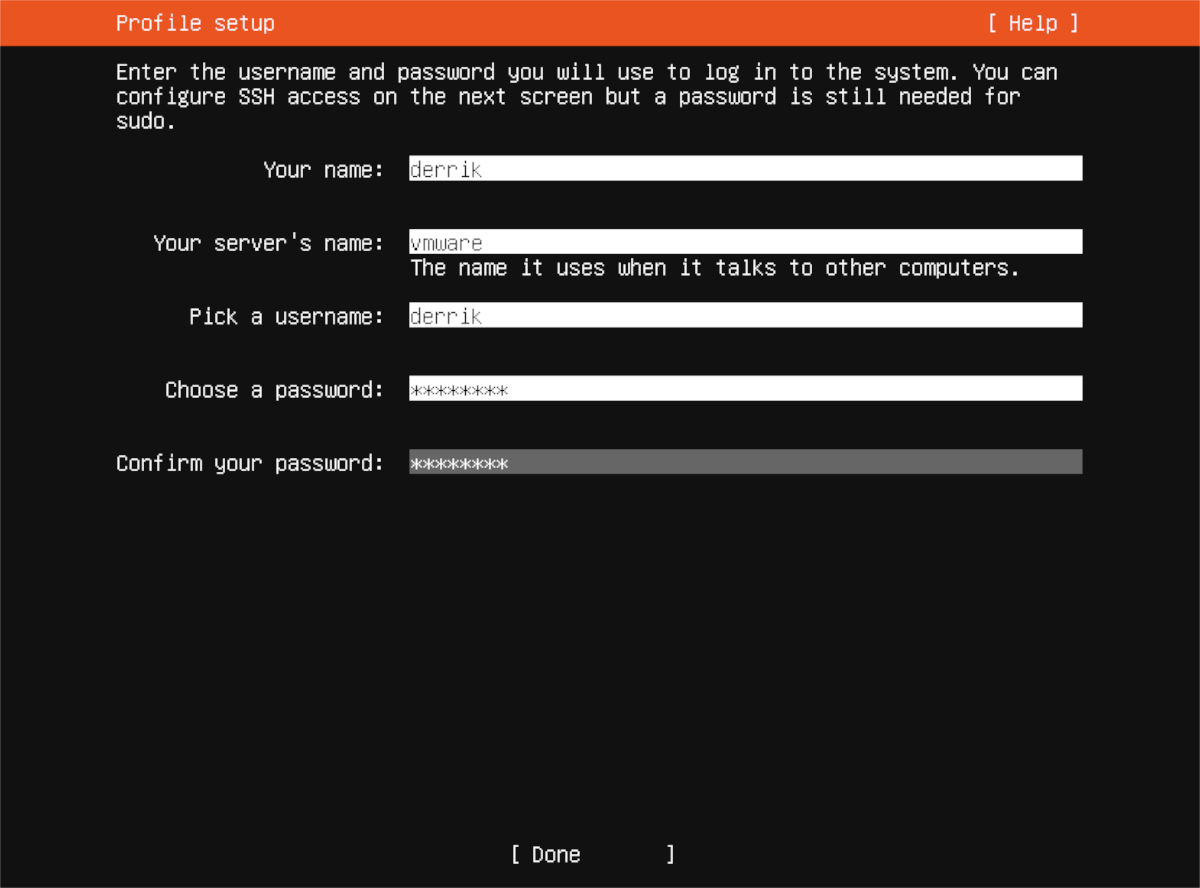
Upon selecting your disk setup, Ubuntu will do a file system summary. Read it, then select the “Done” button to continue. You’ll then need to enter your name, your server’s name, a username, as well as password information.
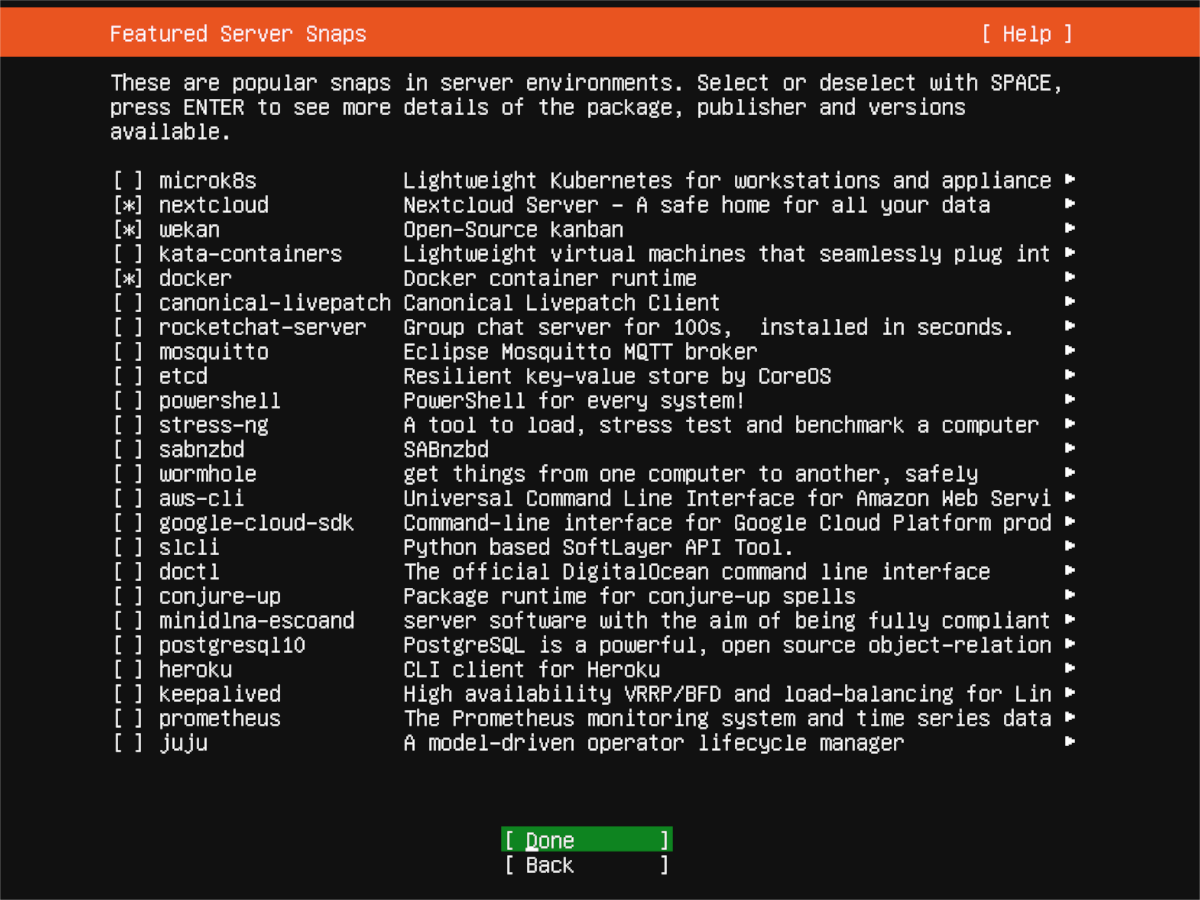
After entering your username, you’ll be able to select what server snaps you wish to install. To get these, select with Up or Down arrow keys and choose with the Space bar. When you’ve chosen all of your apps, select “Done.”
With all snaps selected, Ubuntu Server will install onto your server. Sit back and wait. When the installation is done, reboot the server.