The world is becoming paperless as fast as we’d all like it to. People still use business cards to exchange contact information. Often, you need more than just a name and phone number and a business card is the quickest way to give it. The only problem is keeping track of the business card and of course, remembering to save it to your phone. Drop: Exchange business cards is a free app for iOS and Android that can scan a business card and save it to your phone’s contacts. It’s an app that can read information from a card and convert it to a vCard that can be read on both an iPhone and an Android phone.
It also has a neat ‘conference’ feature whereby the cards you scan are geotagged with the location you scan them in. If there are multiple cards scanned at the same location, the app groups them together under the assumption that you met that many people during a conference or similar networking event. You can use the app to scan a business card or you can use it to ‘read’ one that’s saved to your camera roll.
Scan A Card
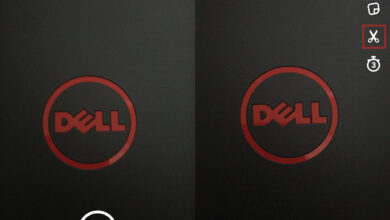
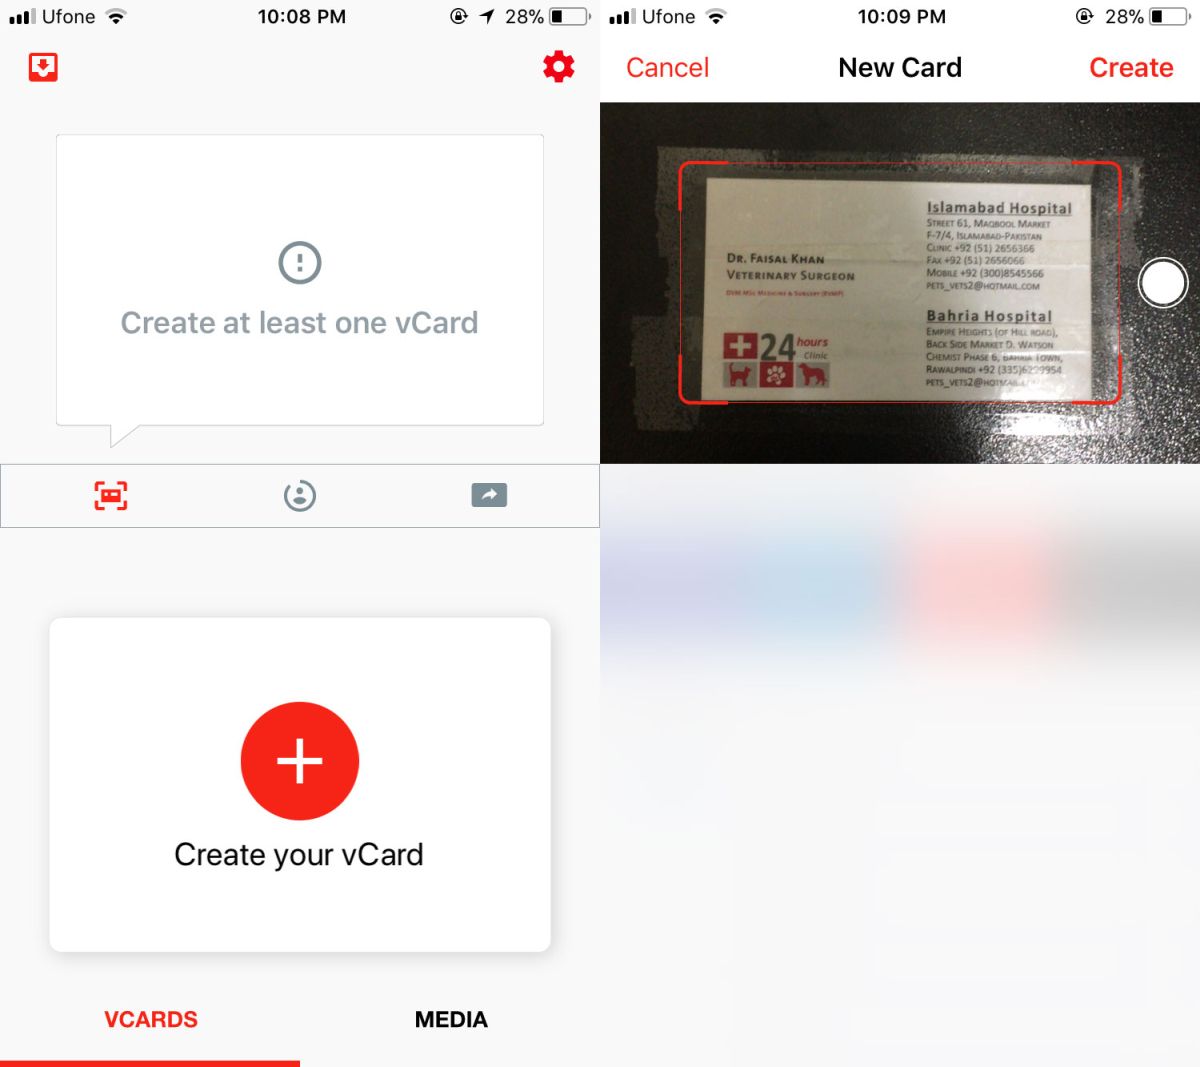
Download Drop and open it. If you have a physical business card that you want to scan, select the VCARDS tab. Tap the little scan button and allow the app to use your camera. Position the card inside the camera and take a photo. If you already took a picture of the card and it’s in your camera roll, switch to the Media tab and select the photo from your device’s storage.
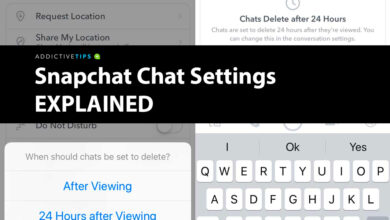
Wait for Drop to analyze the card and read the information on it. It can correctly identify names, phone numbers, addresses, and social media accounts from the card. Once it’s done, you can save it to the app, or to your contacts.
Drop lets you choose whether the cards you scan are geotagged or not, and if they should automatically be added to your contacts. You can toggle this from the app’s settings. Tap the cog wheel icon at the top right to go to the app’s settings.

Limitations
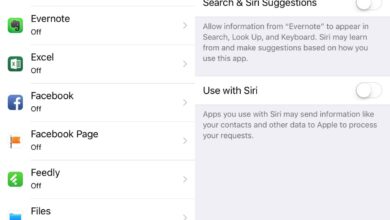
Drop works great for the most part however, it did misread a name when I used it to scan a card which means the OCR needs some work. Additionally, the app can only recognize one address per card. The card I scanned had two addresses and a separate set of phone numbers to match for two different branches of an establishment. The app was only able to read one of them though, this might be a limitation with how contacts themselves are saved.