If you’re an Ubuntu LTS user, you don’t upgrade your system every 6 to 8 months to a new release. Instead, you upgrade to every LTS release, which is every two years. In this guide, we’ll show you how you can upgrade from Ubuntu 18.04 LTS to Ubuntu 20.04 LTS using both the GUI and the terminal.
Note: please be sure to back up your files before attempting to upgrade your Ubuntu installation. While Ubuntu upgrades almost always go smoothly, it’s still smart to save your data before trying to upgrade.

Upgrade 18.04 to 20.04 – GUI
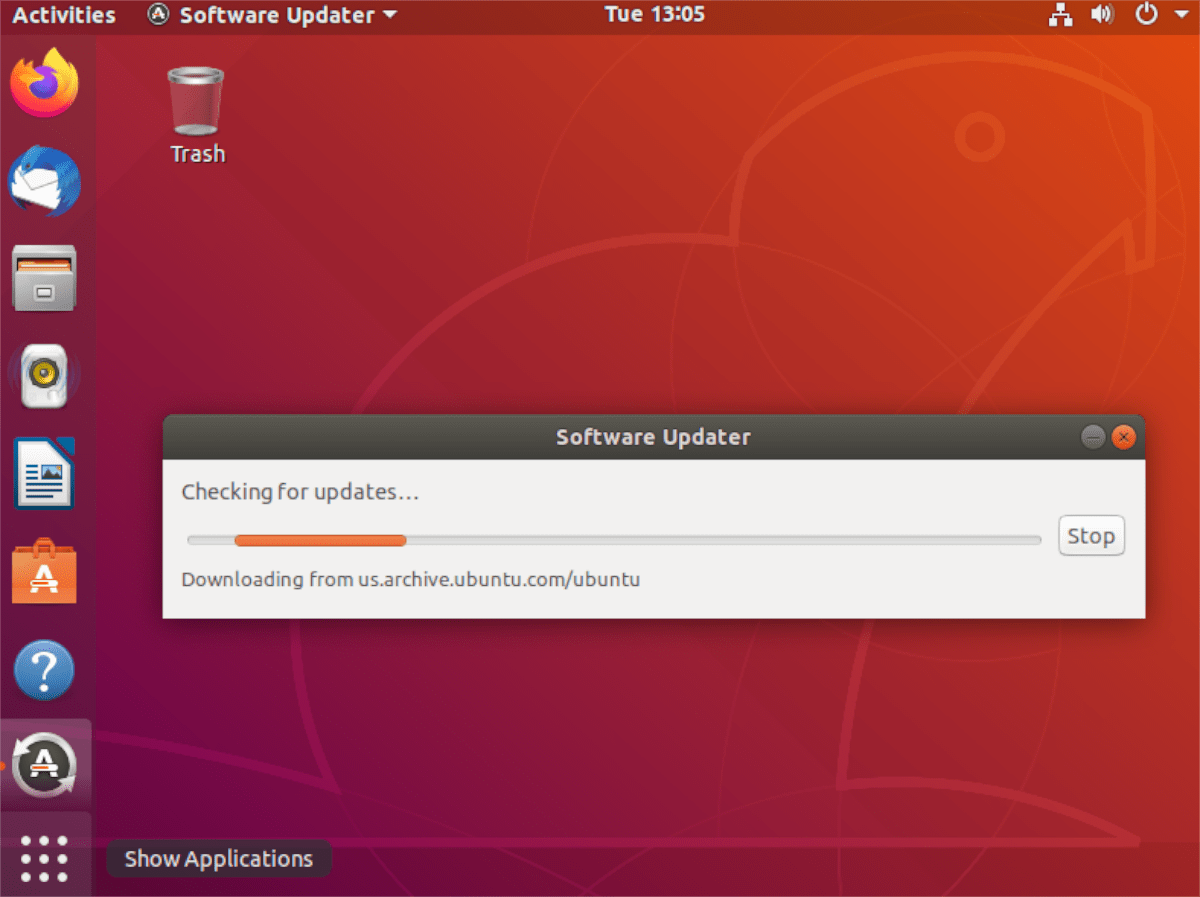
Upgrading Ubuntu within the built-in update manager is pretty straightforward, and the easiest way to go for most users. To start the process, open up the app menu in Ubuntu, search for “Software Updater,” and open it up.

Once the Software Updater is opened up, it will check for updates to Ubuntu. After it’s done checking, it’ll notify you that Ubuntu 20.04 is available for installation. From here, click on the “Yes, Upgrade Now” button to begin the upgrade.
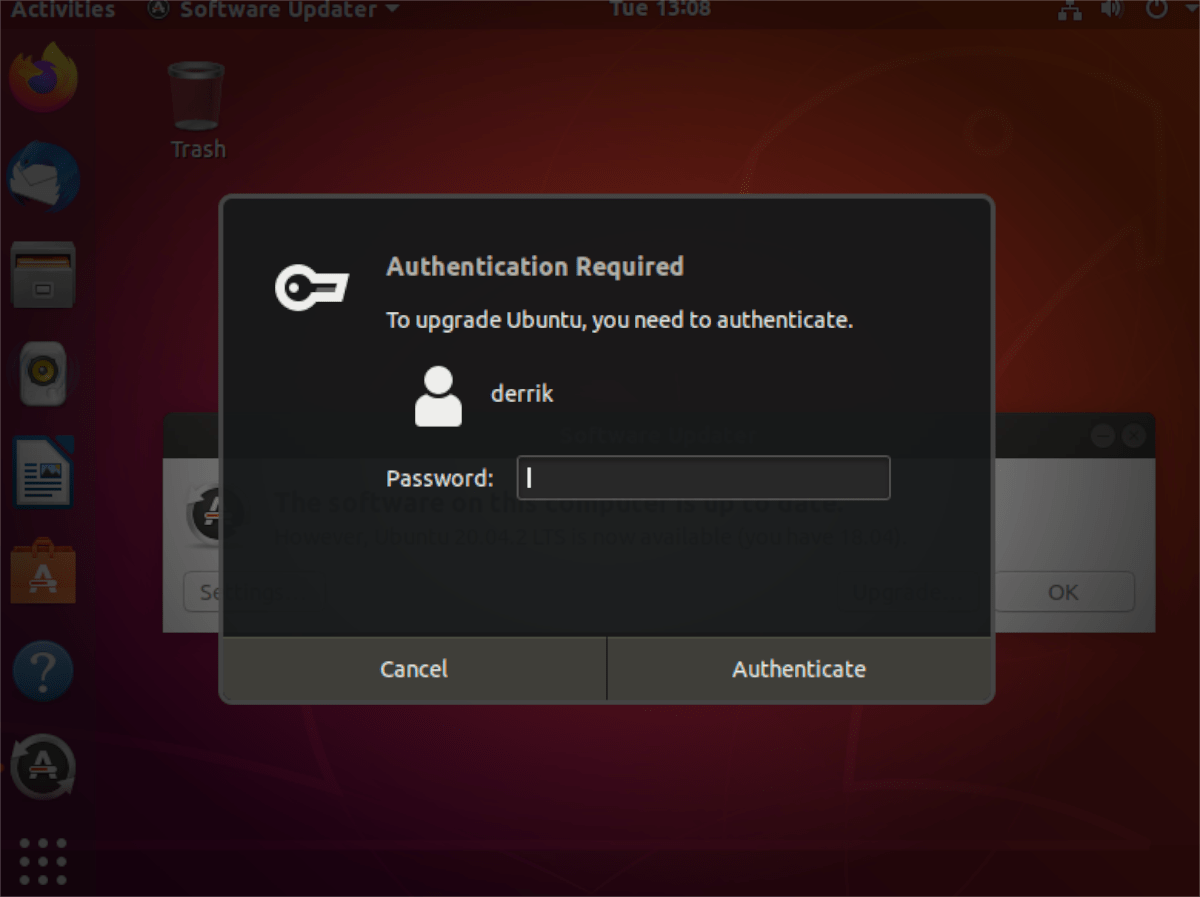
After clicking on “Yes, Upgrade Now,” you will be prompted to enter your password. Do so. Then, press the Enter key to continue.

With your password entered, the updater will show you Ubuntu 20.04 release notes on the screen. Read them. Then, click on the “Upgrade” button to continue.

Past the release notes, Ubuntu will prepare your system to update to 20.04 by setting up new software sources, downloading the new packages, etc. When it is done, you will see “Do you want to start the upgrade?” Click “Start Upgrade.”

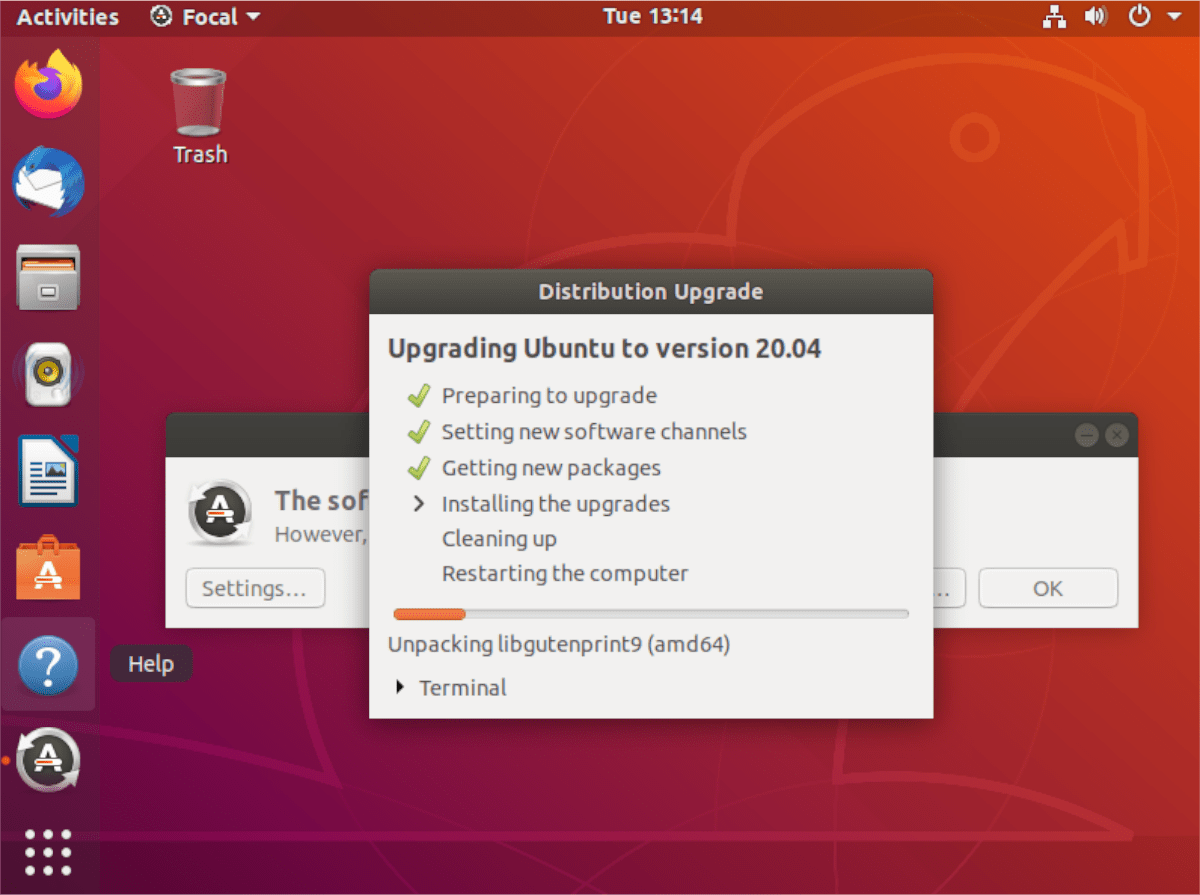
Once the “Start Upgrade” button is selected, Ubuntu will begin upgrading to 20.04. This process may take some time so sit back and be patient.

When the upgrade process is complete, Ubuntu will reboot your PC. After rebooting, you’ll be using Ubuntu 20.04!
Upgrade 18.04 to 20.04 – Terminal upgrade
If you’re not afraid of the command-line, a terminal upgrade from Ubuntu 18.04 to Ubuntu 20.04 is possible. To start the upgrade process, open up a terminal window on the Ubuntu desktop.
To open up a terminal window on the Ubuntu desktop, press the Ctrl + Alt + T keyboard combination. Or, search for “terminal” in the app menu. Once the terminal window is open, you must use the apt update command to check Ubuntu for updates.
sudo apt update
After checking for updates, the next step is to install all software updates on your system. Ubuntu 18.04 needs to be entirely up to date before attempting to install Ubuntu 20.04. To install all the software upgrades on Ubuntu, make use of the upgrade command below.
sudo apt upgrade
Upgrading Ubuntu 18.04 to the latest packages shouldn’t take too long. Sit back and wait for the updates to install. When Ubuntu 18.04 is entirely up to date, execute the dist-upgrade command. This command will install any packages that Ubuntu has been holding back when the upgrade command is run.
sudo apt dist-upgrade
Now that everything is up to date, it is time to change Ubuntu’s software sources from Ubuntu 18.04 (Bionic) to Ubuntu 20.04 (Focal). To do this, you will need to modify the codename in /etc/apt/sources.list.
There are many ways to edit the codename in the sources file in Ubuntu. You can use a text editor and many other options. In this guide, we’ll focus on the sed command. It’s a straightforward tool that can be used to replace text.
To update Ubuntu’s software sources from Bionic to Focal, use the following sed command. Keep in mind that this command needs to be run with the sudo command, or it will not work.
sudo sed -i 's/bionic/focal/g' /etc/apt/sources.list
After changing the Ubuntu codename from Bionic to Focal, you will need to execute the update command. This command will refresh Ubuntu’s software database, add Ubuntu 20.04 packages and remove 18.04 ones.
sudo apt update
Following the update command, it is time to rerun the upgrade command. This upgrade will install all Ubuntu 20.04 package upgrades over your 18.04 ones.
sudo apt upgrade
Once the upgrades are installed, you must run the dist-upgrade command for a second time. This command will install all Ubuntu 20.04 packages held back (for one reason or another).
sudo apt dist-upgrade
Finally, once the dist-upgrade command has run its course, you’ll need to run the autoremove command. This command will uninstall obsolete, needed packages that are not needed with Ubuntu 20.04.
sudo apt autoremove
With the autoremove command finished running, you’ll have finished upgrading Ubuntu 18.04 to Ubuntu 20.04. At this point, reboot your PC. When it boots back up, you’ll be using Ubuntu 20.04!


